I used to make ice cream all the time at our farm when my kids were growing up. There was an Amish community close by that we had a special relationship with—whenever they knew we were coming, they’d skim the cream off the top and save it for me. How sweet is that?
Of course the kids always had a great time when we made homemade ice cream recipes! They’d always take the lid off and dip their little spoons in for a taste before we were done. My mom would never let us sneak a spoonful before dessert was done, but for me, I think it’s a huge (and fun!) part of enjoying a meal together. Especially if we are cooking together! I definitely let the grandkids try some as I go, especially as it starts to crystallize from its liquid form. Yum!

Tips for Making Homemade Ice Cream
#1 Do I need an ice cream maker for this recipe?
Yes, you do need an ice cream maker for this one. Ice cream makers come in all kinds of sizes and price ranges to suit any budget. My personal recommendation is the Cuisinart Ice Cream Maker. It’s budget-friendly and makes about 2 pints of ice cream at a time. Keep reading for some extra helpful tips for you if you are using this ice cream machine!
#2 Use a frozen bowl in your ice cream maker!
Your ice cream maker’s bowl needs to be really, really frozen before starting the recipe. I like to put the canister in the freezer at least two days before I start to make the ice cream. A good test to see if the canister is frozen is to give it a shake. If you hear a sloshing sound, it isn’t cold enough yet!


#3 Spin First, Freeze Later: The Secret to Smoother Ice Cream
This process might seem intuitive, but make sure you have the canister and paddle on top of the ice cream maker and in the “on” position before you add any ice cream base through the feed tube. “Why?” you may ask. Because as soon as that ice cream base touches the cold walls of the canister, it starts to freeze up. If you have the motion going when you pour in the liquid base, your ice cream won’t build up on the walls of the canister. The end result will be so much better!
#4 What kind of ice cream will the homemade ice cream maker make?
Most homemade ice creams will be similar to a soft serve consistency when they are done. They can be eaten right away or placed in a new container and kept frozen until they harden to the consistency you want. Never freeze the ice cream in the canister! If it gets too frozen for your liking, just take the ice cream out of the freezer and let it sit on the kitchen counter for a few minutes before you serve it.
What to Serve with Homemade Strawberry Ice Cream
I usually go for vanilla ice cream with my chocolate desserts, but if you like strawberries, you should try serving this variation instead. Strawberries and chocolate are a match made in heaven, too! I’d recommend my Cast Iron Skillet Chocolate Chip Cookie with Sea Salt Caramel or my Rhubarb Upside Down Cake for two unique pairings!


Although it’s great on its own, you can also serve this homemade strawberry ice cream with your favorite cakes, cookies, and pies! Here are a few more of my favorite choices:


Homemade Strawberry Ice Cream Recipe
Choose another yummy dessert to pair with it, or grab your spoon and just dig in… It’s time for some homemade strawberry ice cream! Strawberry season doesn’t get any better than this.
Ingredients
Instructions
- In a large mixing bowl, combine the strawberries, honey, sugar, and lemon juice. Let it sit at room temperature for 20 minutes. The strawberries will release their juices.
- Using a potato masher, fork, or a pastry blender, mash the strawberries until all the larger pieces disappear. It’s okay to have some small chunks of berries.
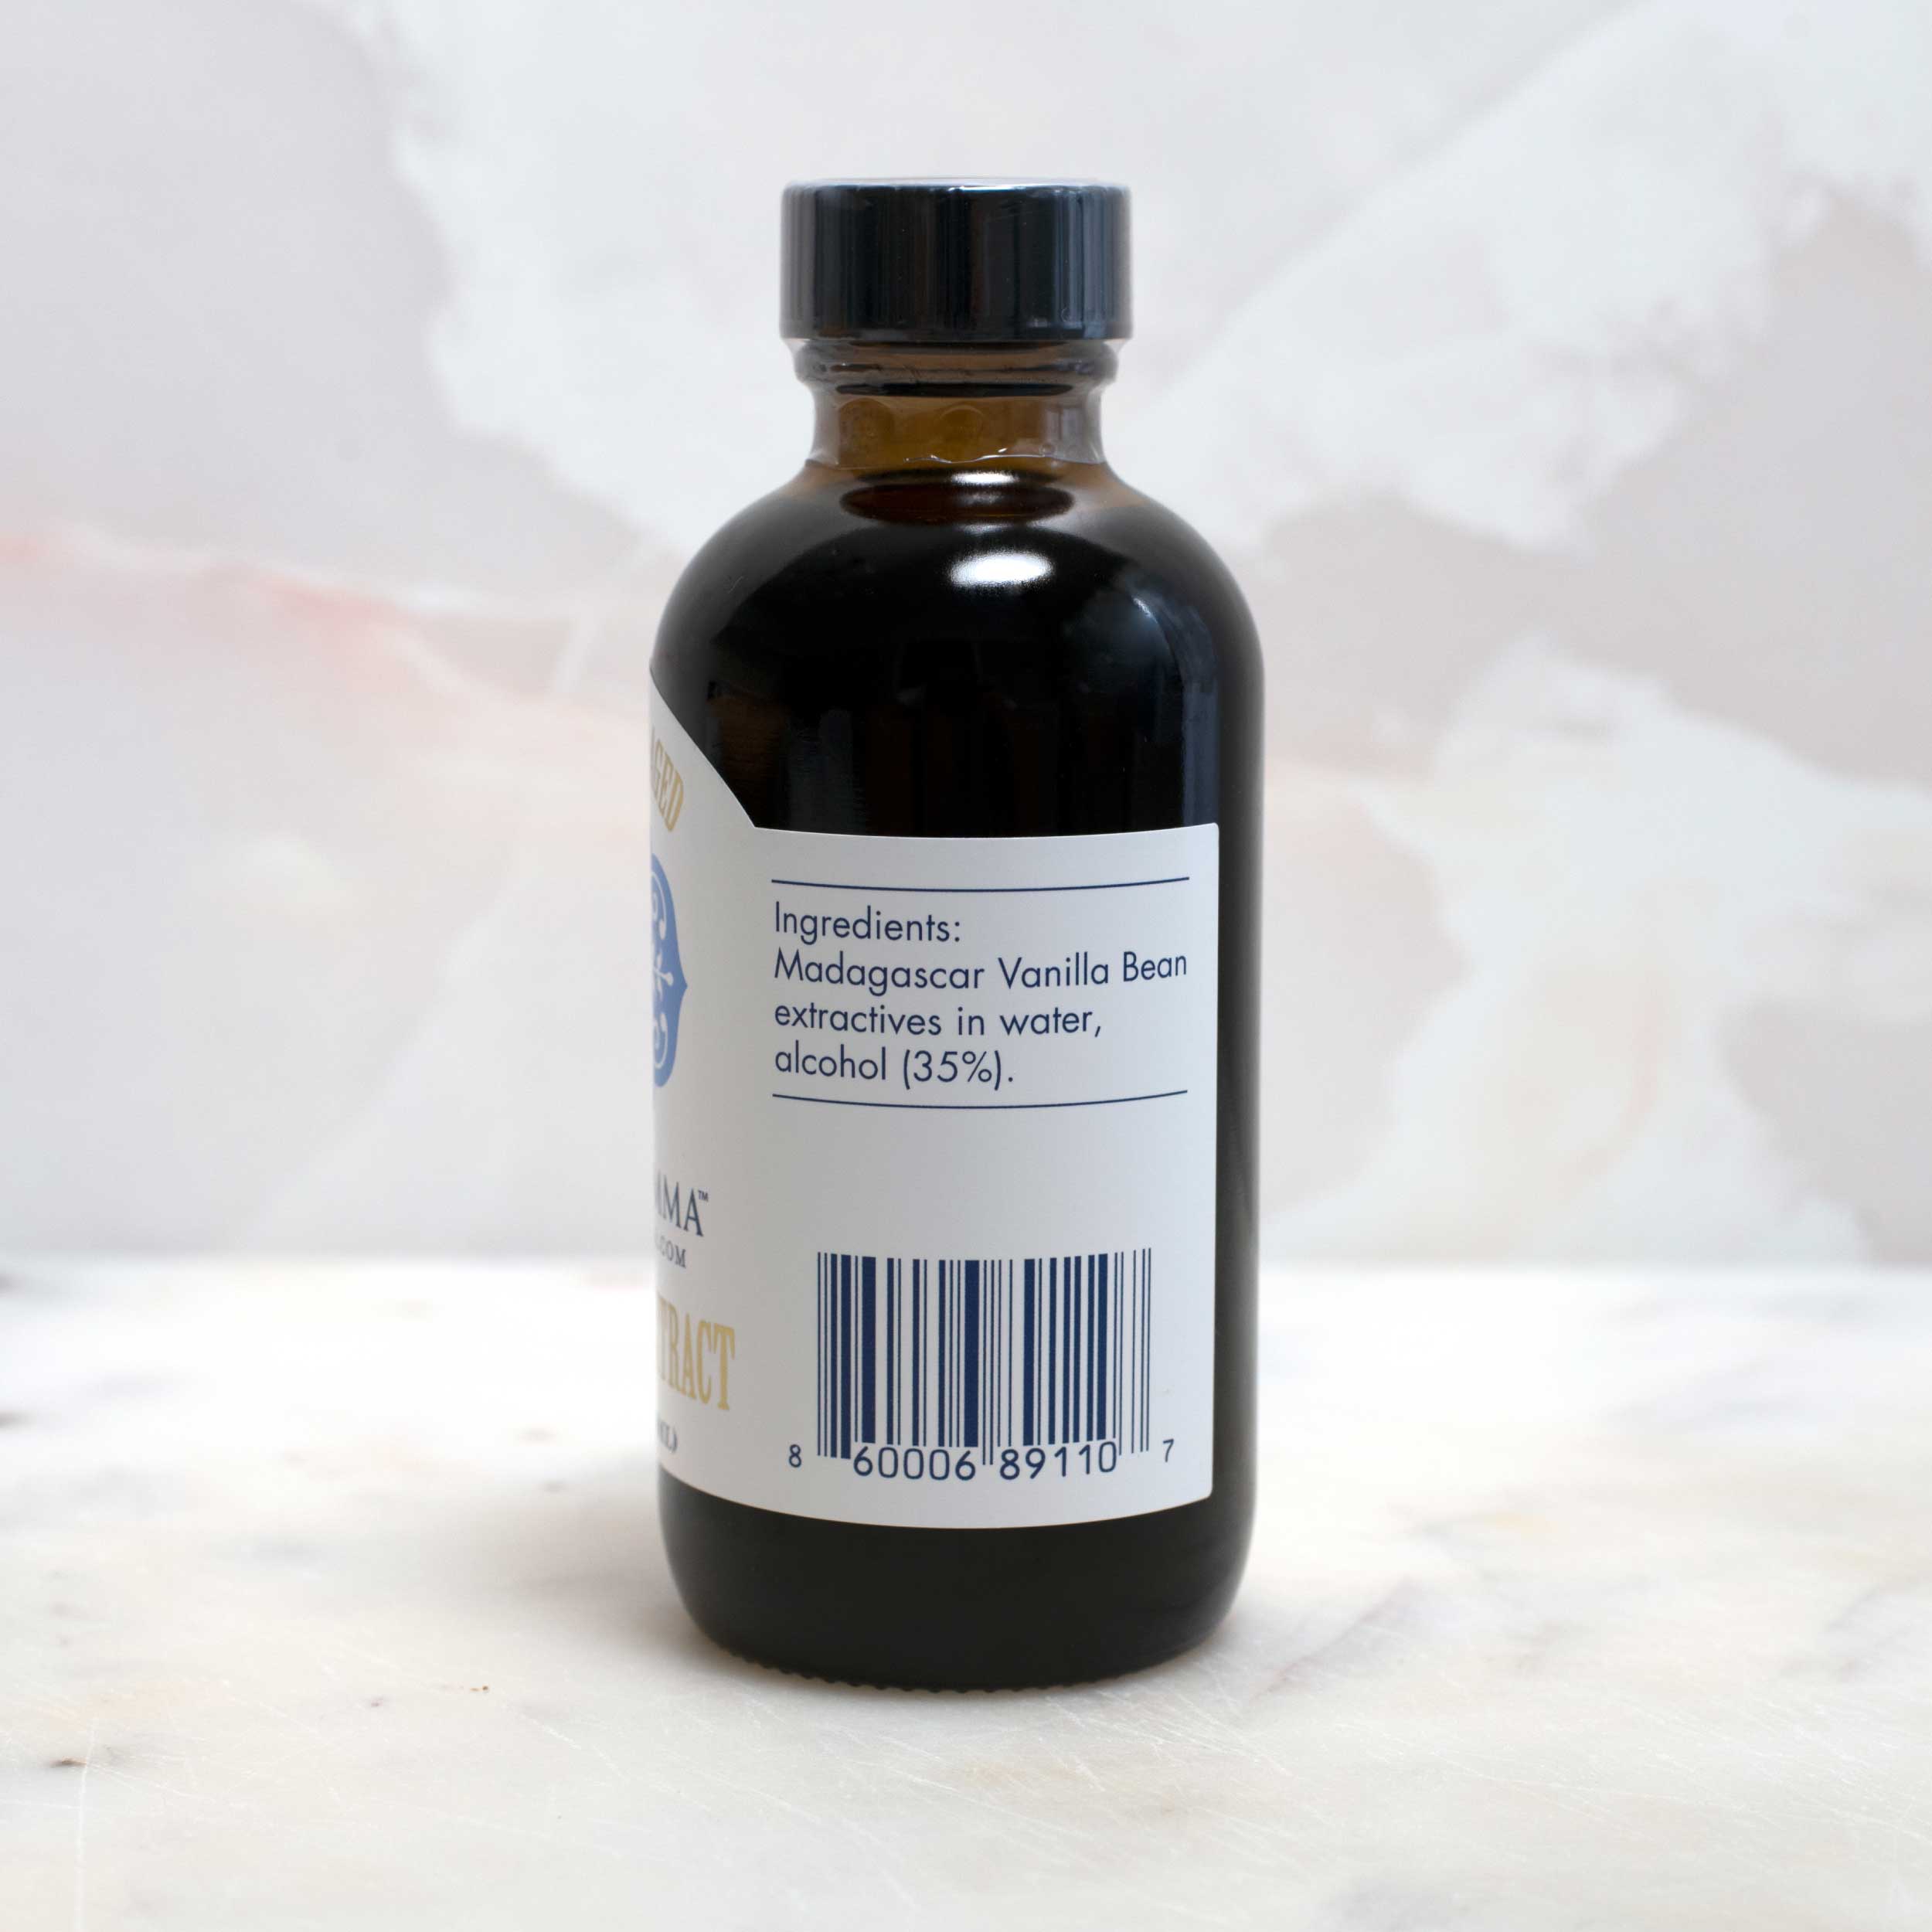
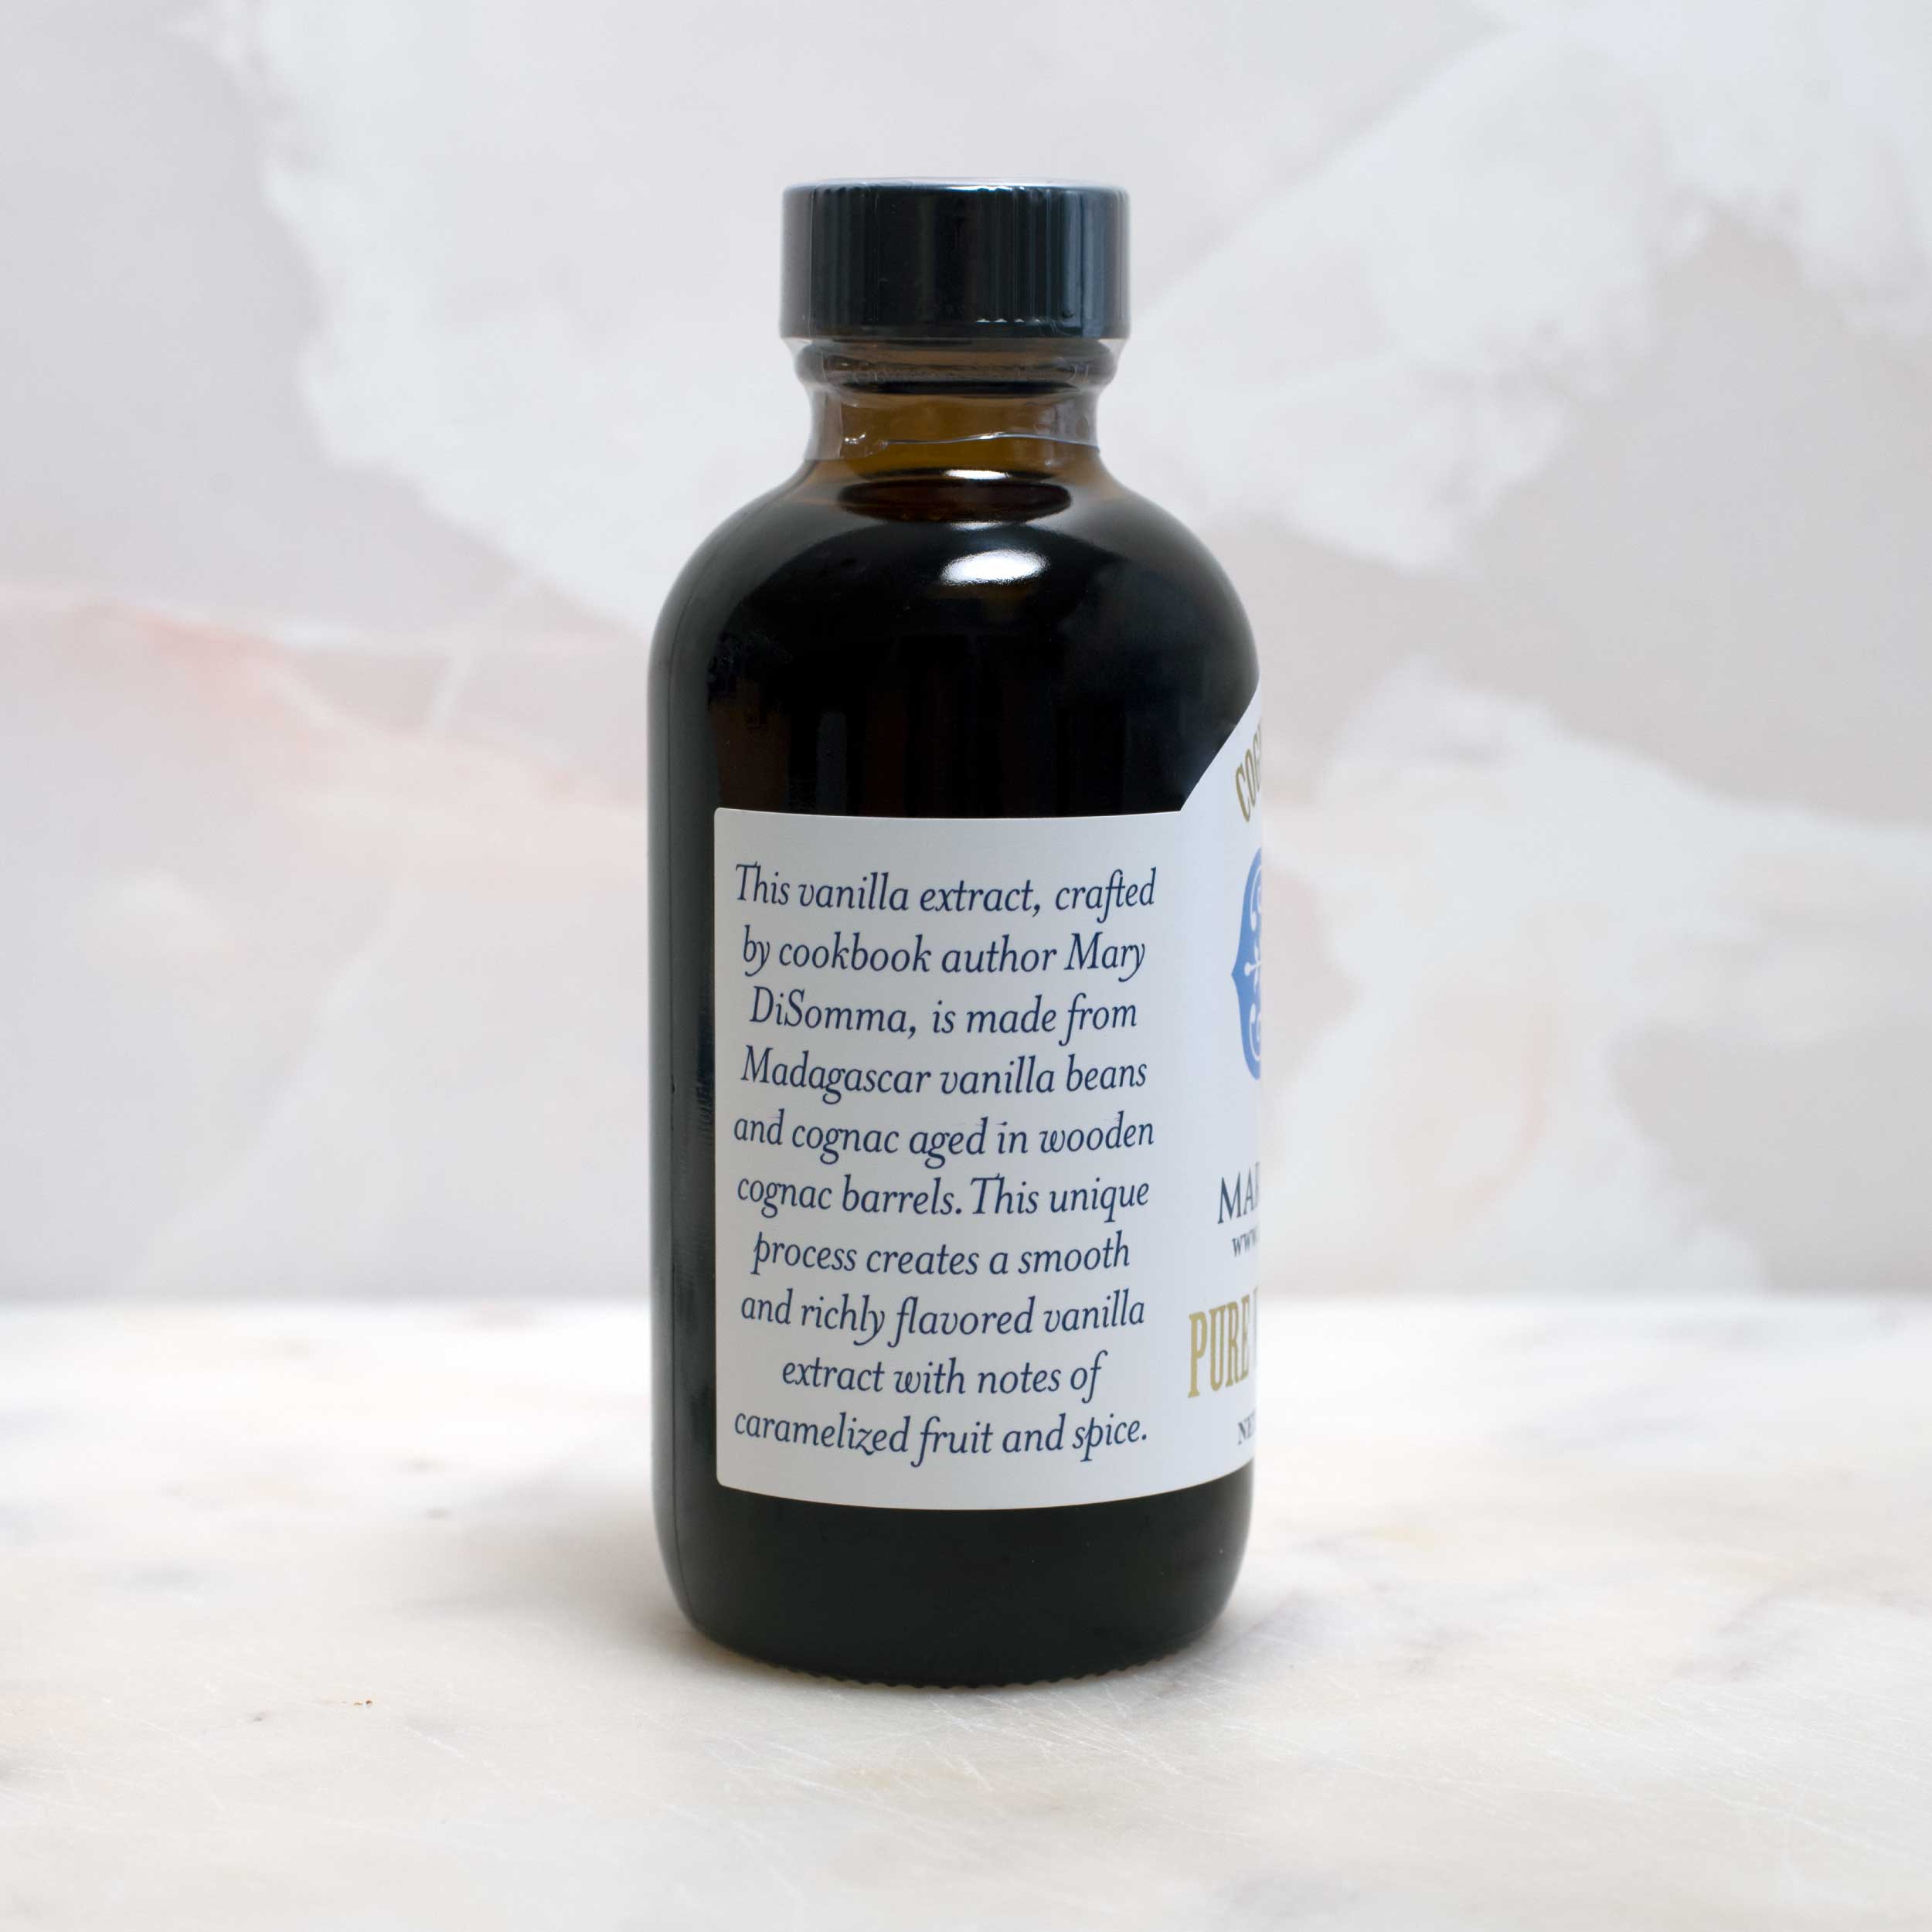
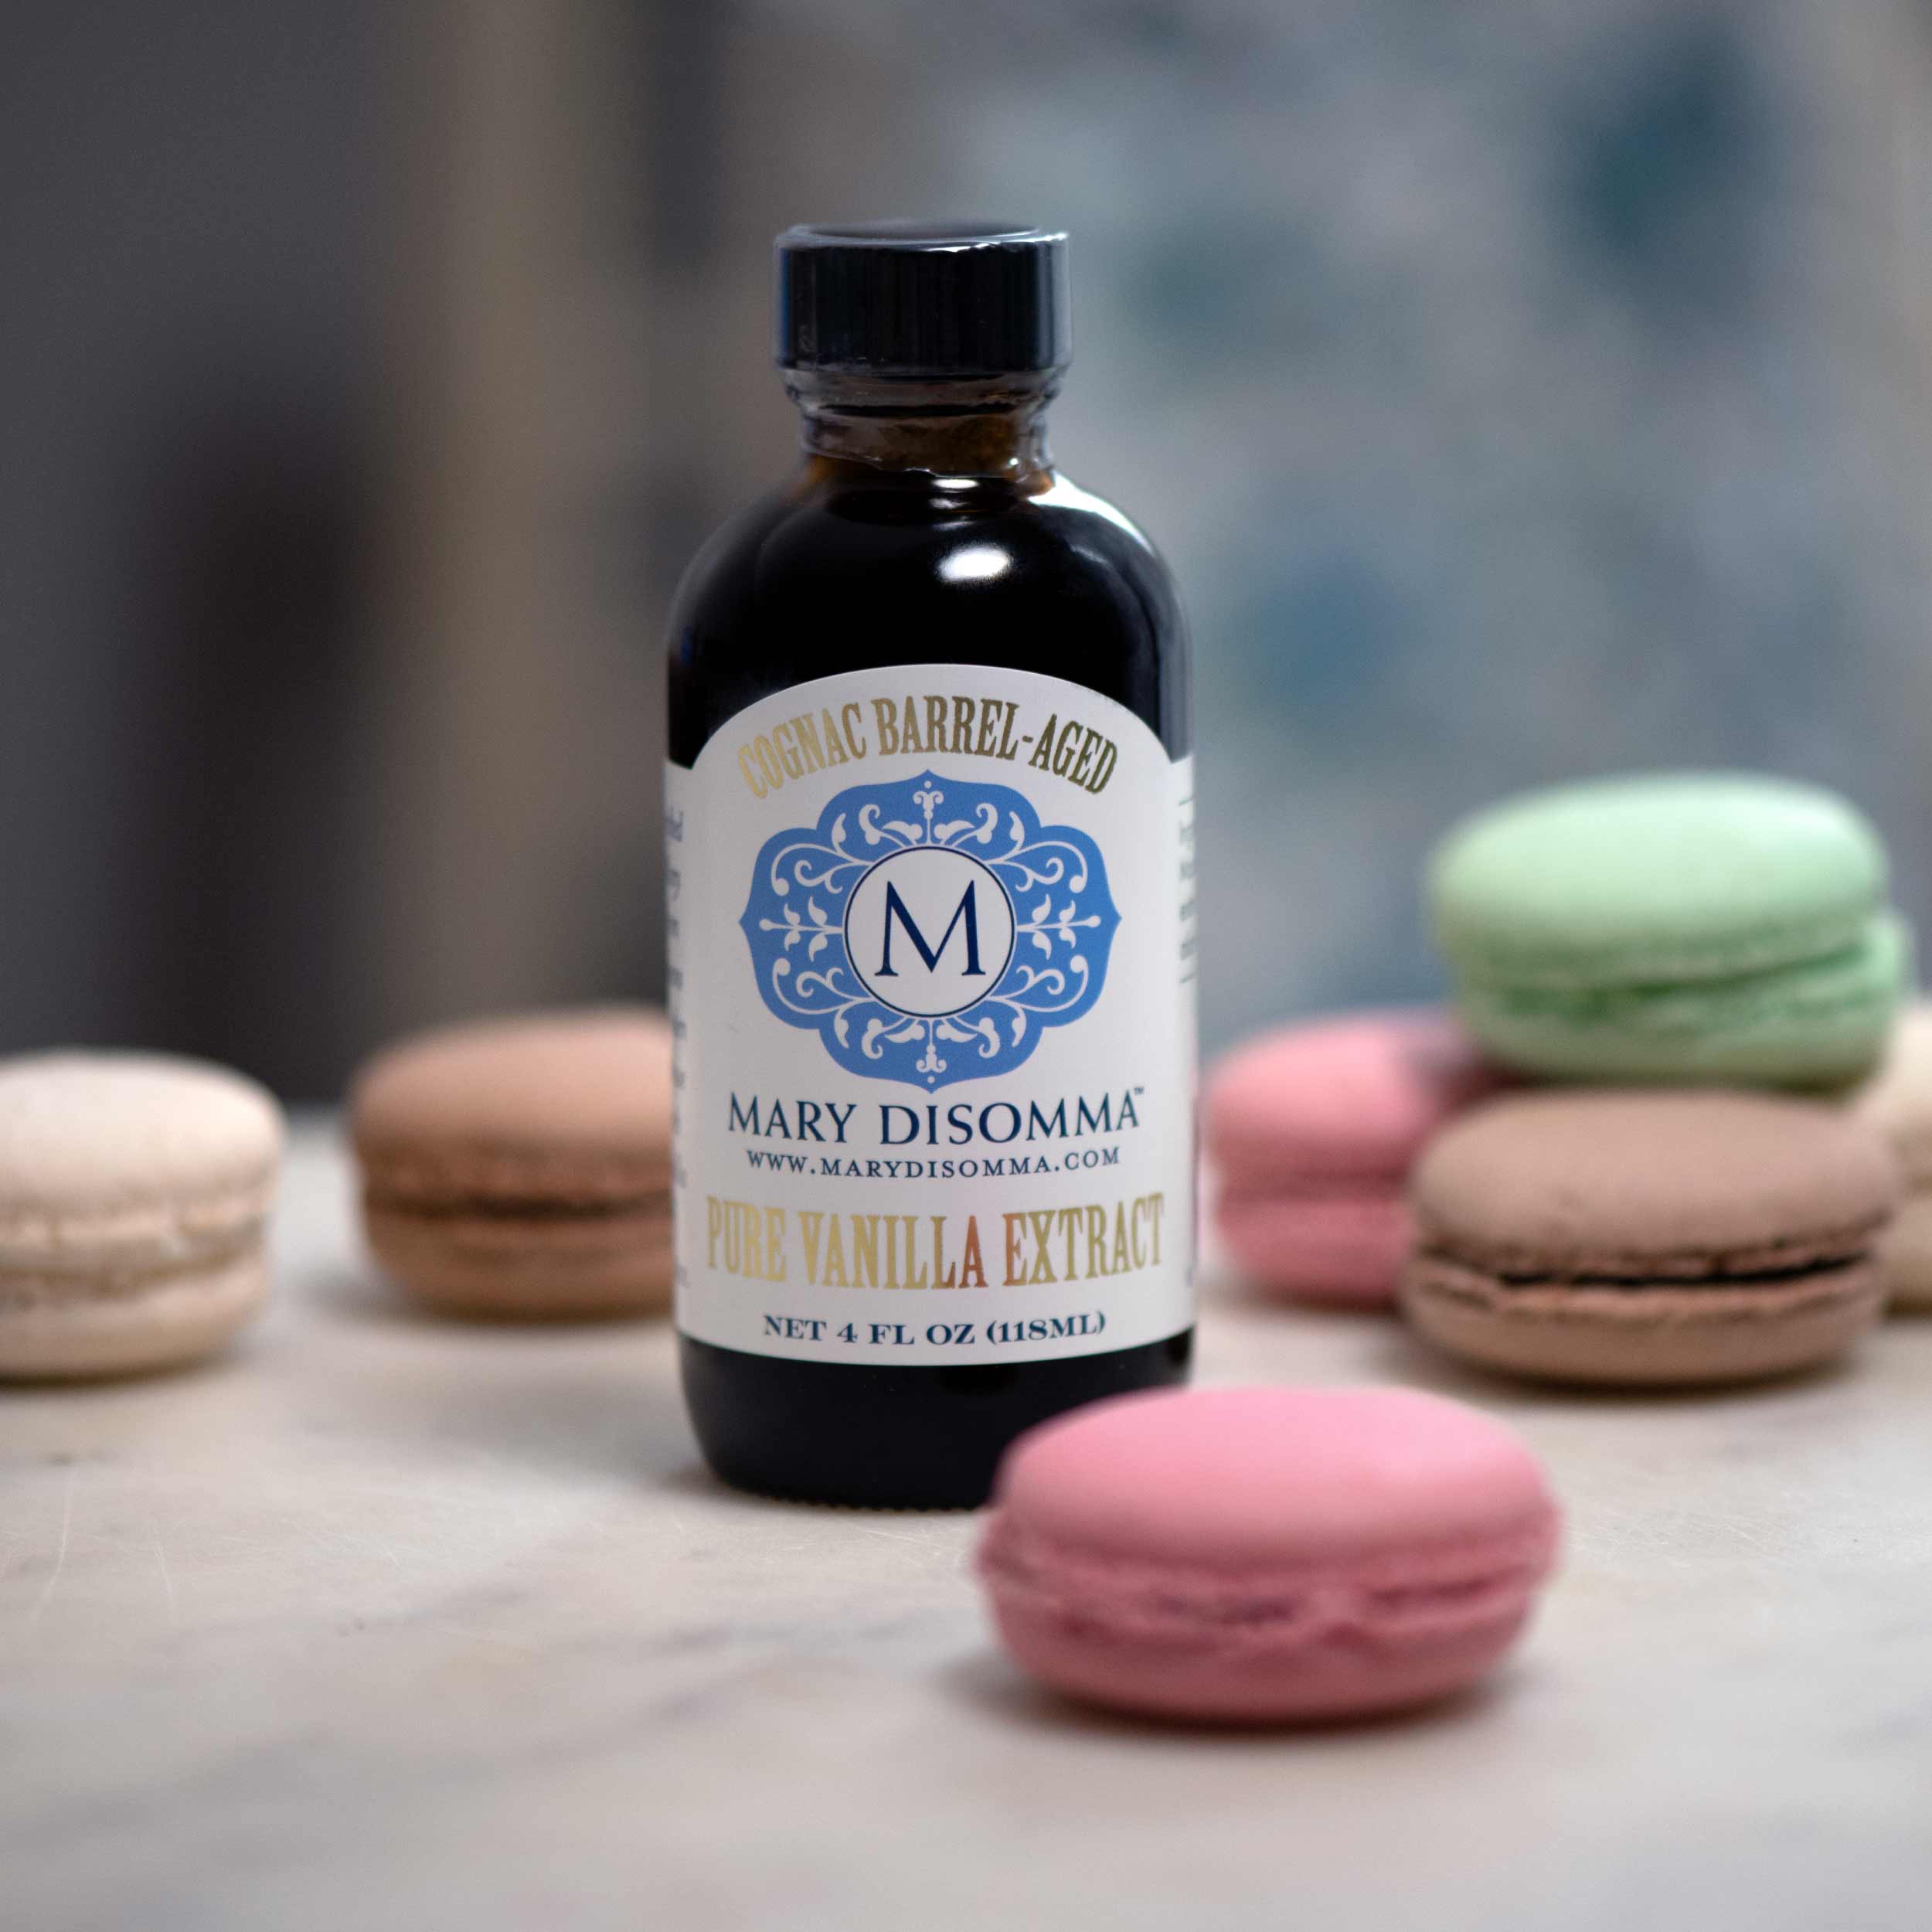
- Add the whipping cream, half and half, and vanilla extract. Mix to combine.
- Now it’s time to pour the ice cream mixture into your ice cream maker. If using a Cuisinart Ice Cream maker, place the frozen canister on top of the ice cream maker base. Place the paddle in the canister and put the top on the ice cream maker. There is a hole in the top to pour in the ice cream mixture.
- Turn the ice cream maker on and slowly pour the ice cream mixture into the opening on top of the ice cream maker. I find it easier to transfer the ice cream mixture to a pitcher so it can be poured into the ice cream maker without spilling it.
- Process the ice cream for about 20 minutes. Note that if you have a different brand of ice cream maker, you should process the mixture according to the manufacturer’s directions. After 20 minutes, the mixture should be the consistency of soft serve ice cream. The ice cream is ready to eat immediately, but if you prefer a harder consistency, transfer the ice cream to a freezer container with a lid and freeze. The ice cream will harden up after about 90 minutes and can be kept in the freezer for up to 2 weeks. If the ice cream becomes too hard, just take it out of the freezer and let it sit at room temperature for a few minutes.