Nothing says “fall is here” more than a bite into a crisp, just-picked apple. But nothing says “I love fall” more than that crisp, just-picked apple dipped in homemade caramel and garnished with your favorite edible embellishments.
How to Pick the Perfect Apple for Caramel Apples
Selecting the perfect apple to be dipped in that luxurious caramel coating is essential. Look for apples that are firm, bruise-free and more on the tart side than sweet. Granny Smith apples are always a great choice. The flavor combo of tart apple and sweet caramel is the perfect balance of yin and yang.
If you want the best apples you can get, set one day aside to take a little road trip—to an orchard where you can often pick your apples right off the tree. If you want to impress your kiddos or your sweetheart, you’re in luck. Apple picking is so much fun!

Do apples really have wax on them?
If you purchase your apples at a grocery store, they may have a waxy coating on them. Simply take a paper towel dipped in hot water and gently rub the skin of the apple to remove the wax. Make sure your apples are dry before you dip them in caramel.
One last hint (but an important one!): Pick apples that still have their stems attached. When the stem is torn off, a portion of the apple flesh is exposed, which can cause your apple to turn quickly. You know how they say “One bad apple can spoil the whole bunch?” Well, it’s true. The natural gas let out by damaged apples can cause the apples around it to ripen—and spoil—before you know it.

What kitchen tools do you need to make caramel apples at home?
For equipment, you’ll want a 3 or 4 quart saucepan. Stainless steel and copper are great choices because they help prevent sugar crystallization. You might think 4 quarts is too large, but you’ll realize why I suggested it as soon as you add the cream: It will bubble. A lot. If your pan is too small, your caramel will bubble over.
You’ll also want to make sure you have a good candy thermometer. Don’t skimp on this one—you really do need it! Achieving the correct temperature is the key to a successful caramel. That candy thermometer will prove to be a great investment, since you’ll probably want to make this recipe again… and again (wink, wink).
Tips for Making the Best Caramel Apples

When preparing homemade caramel, temperature and timing are your two best friends. The ingredients are simple, but the perfect homemade caramel really comes down to temperature and timing.
Before you start, make sure you have all of your ingredients ready to go. Don’t wait until the last second for this one. And yes, that includes your apples. They should already be chilled and have a stick in them. A cold apple will help your hot caramel set more quickly, which results in a nice, thick coating—and keeps the mess off your countertop.

Mary’s Deliciously Decadent Caramel Apples
Ingredients
- ¼ cup water
- 1½ cups granulated sugar
- ¾ teaspoon kosher salt
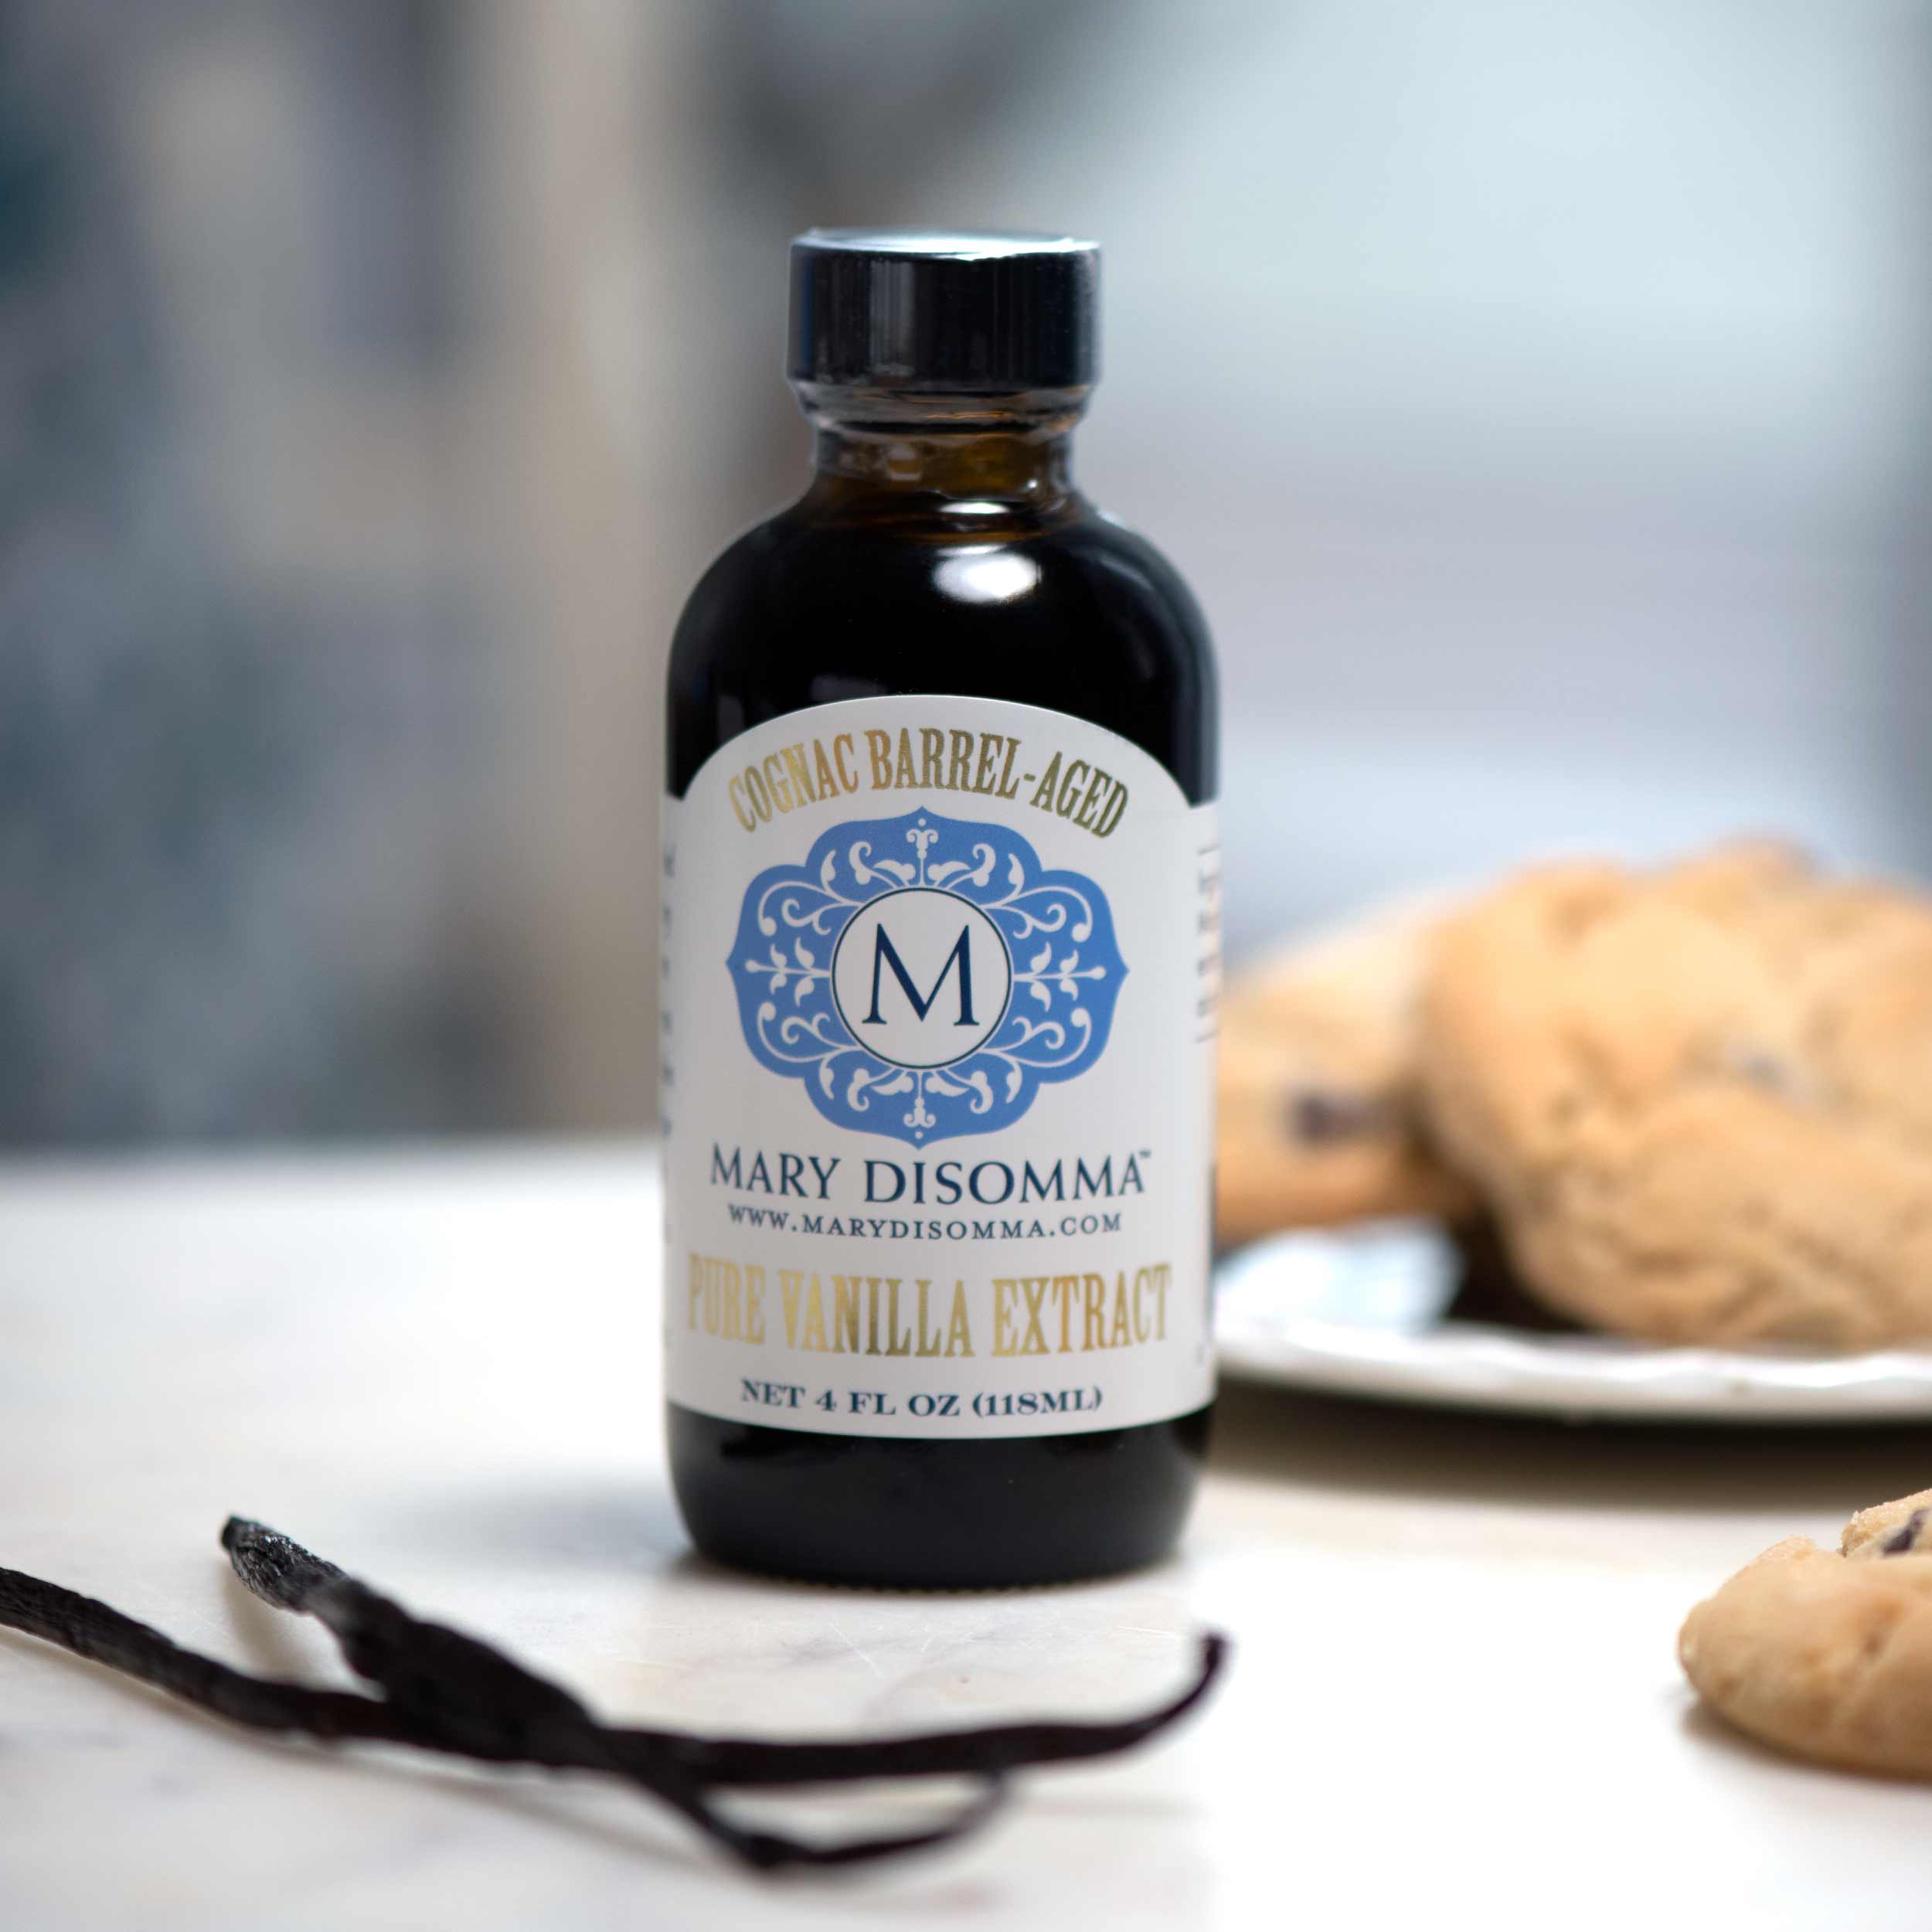
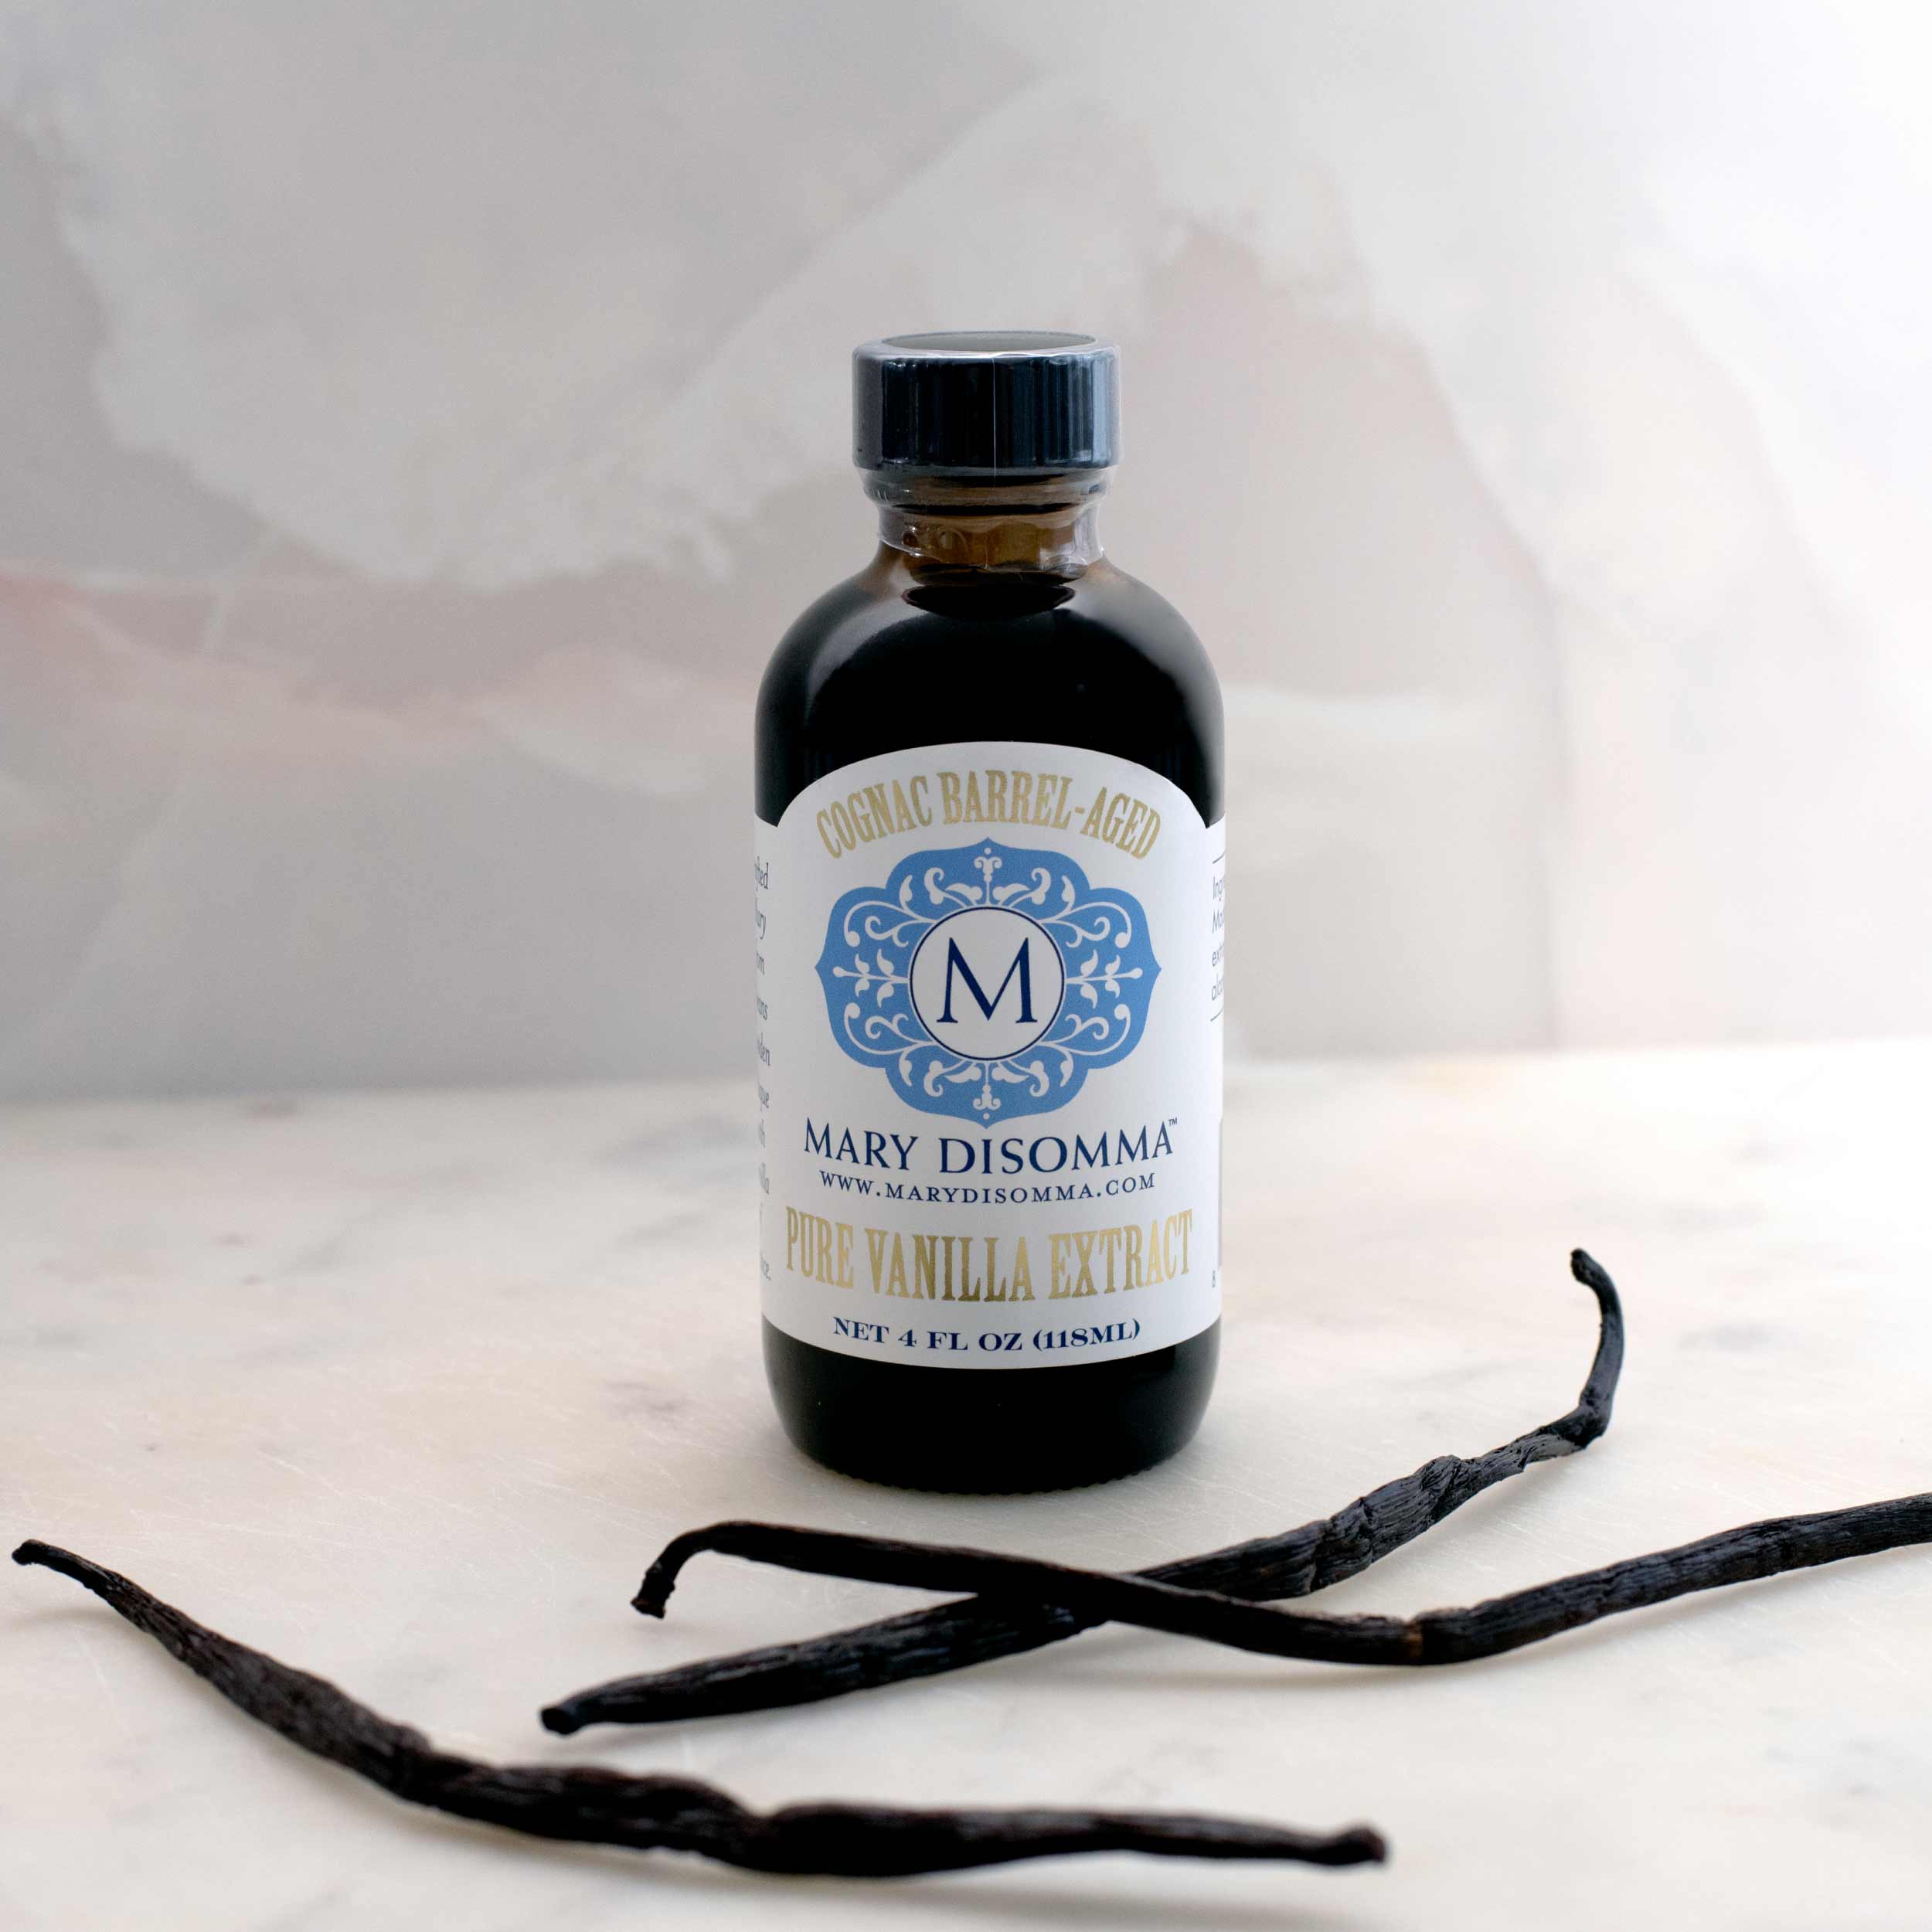
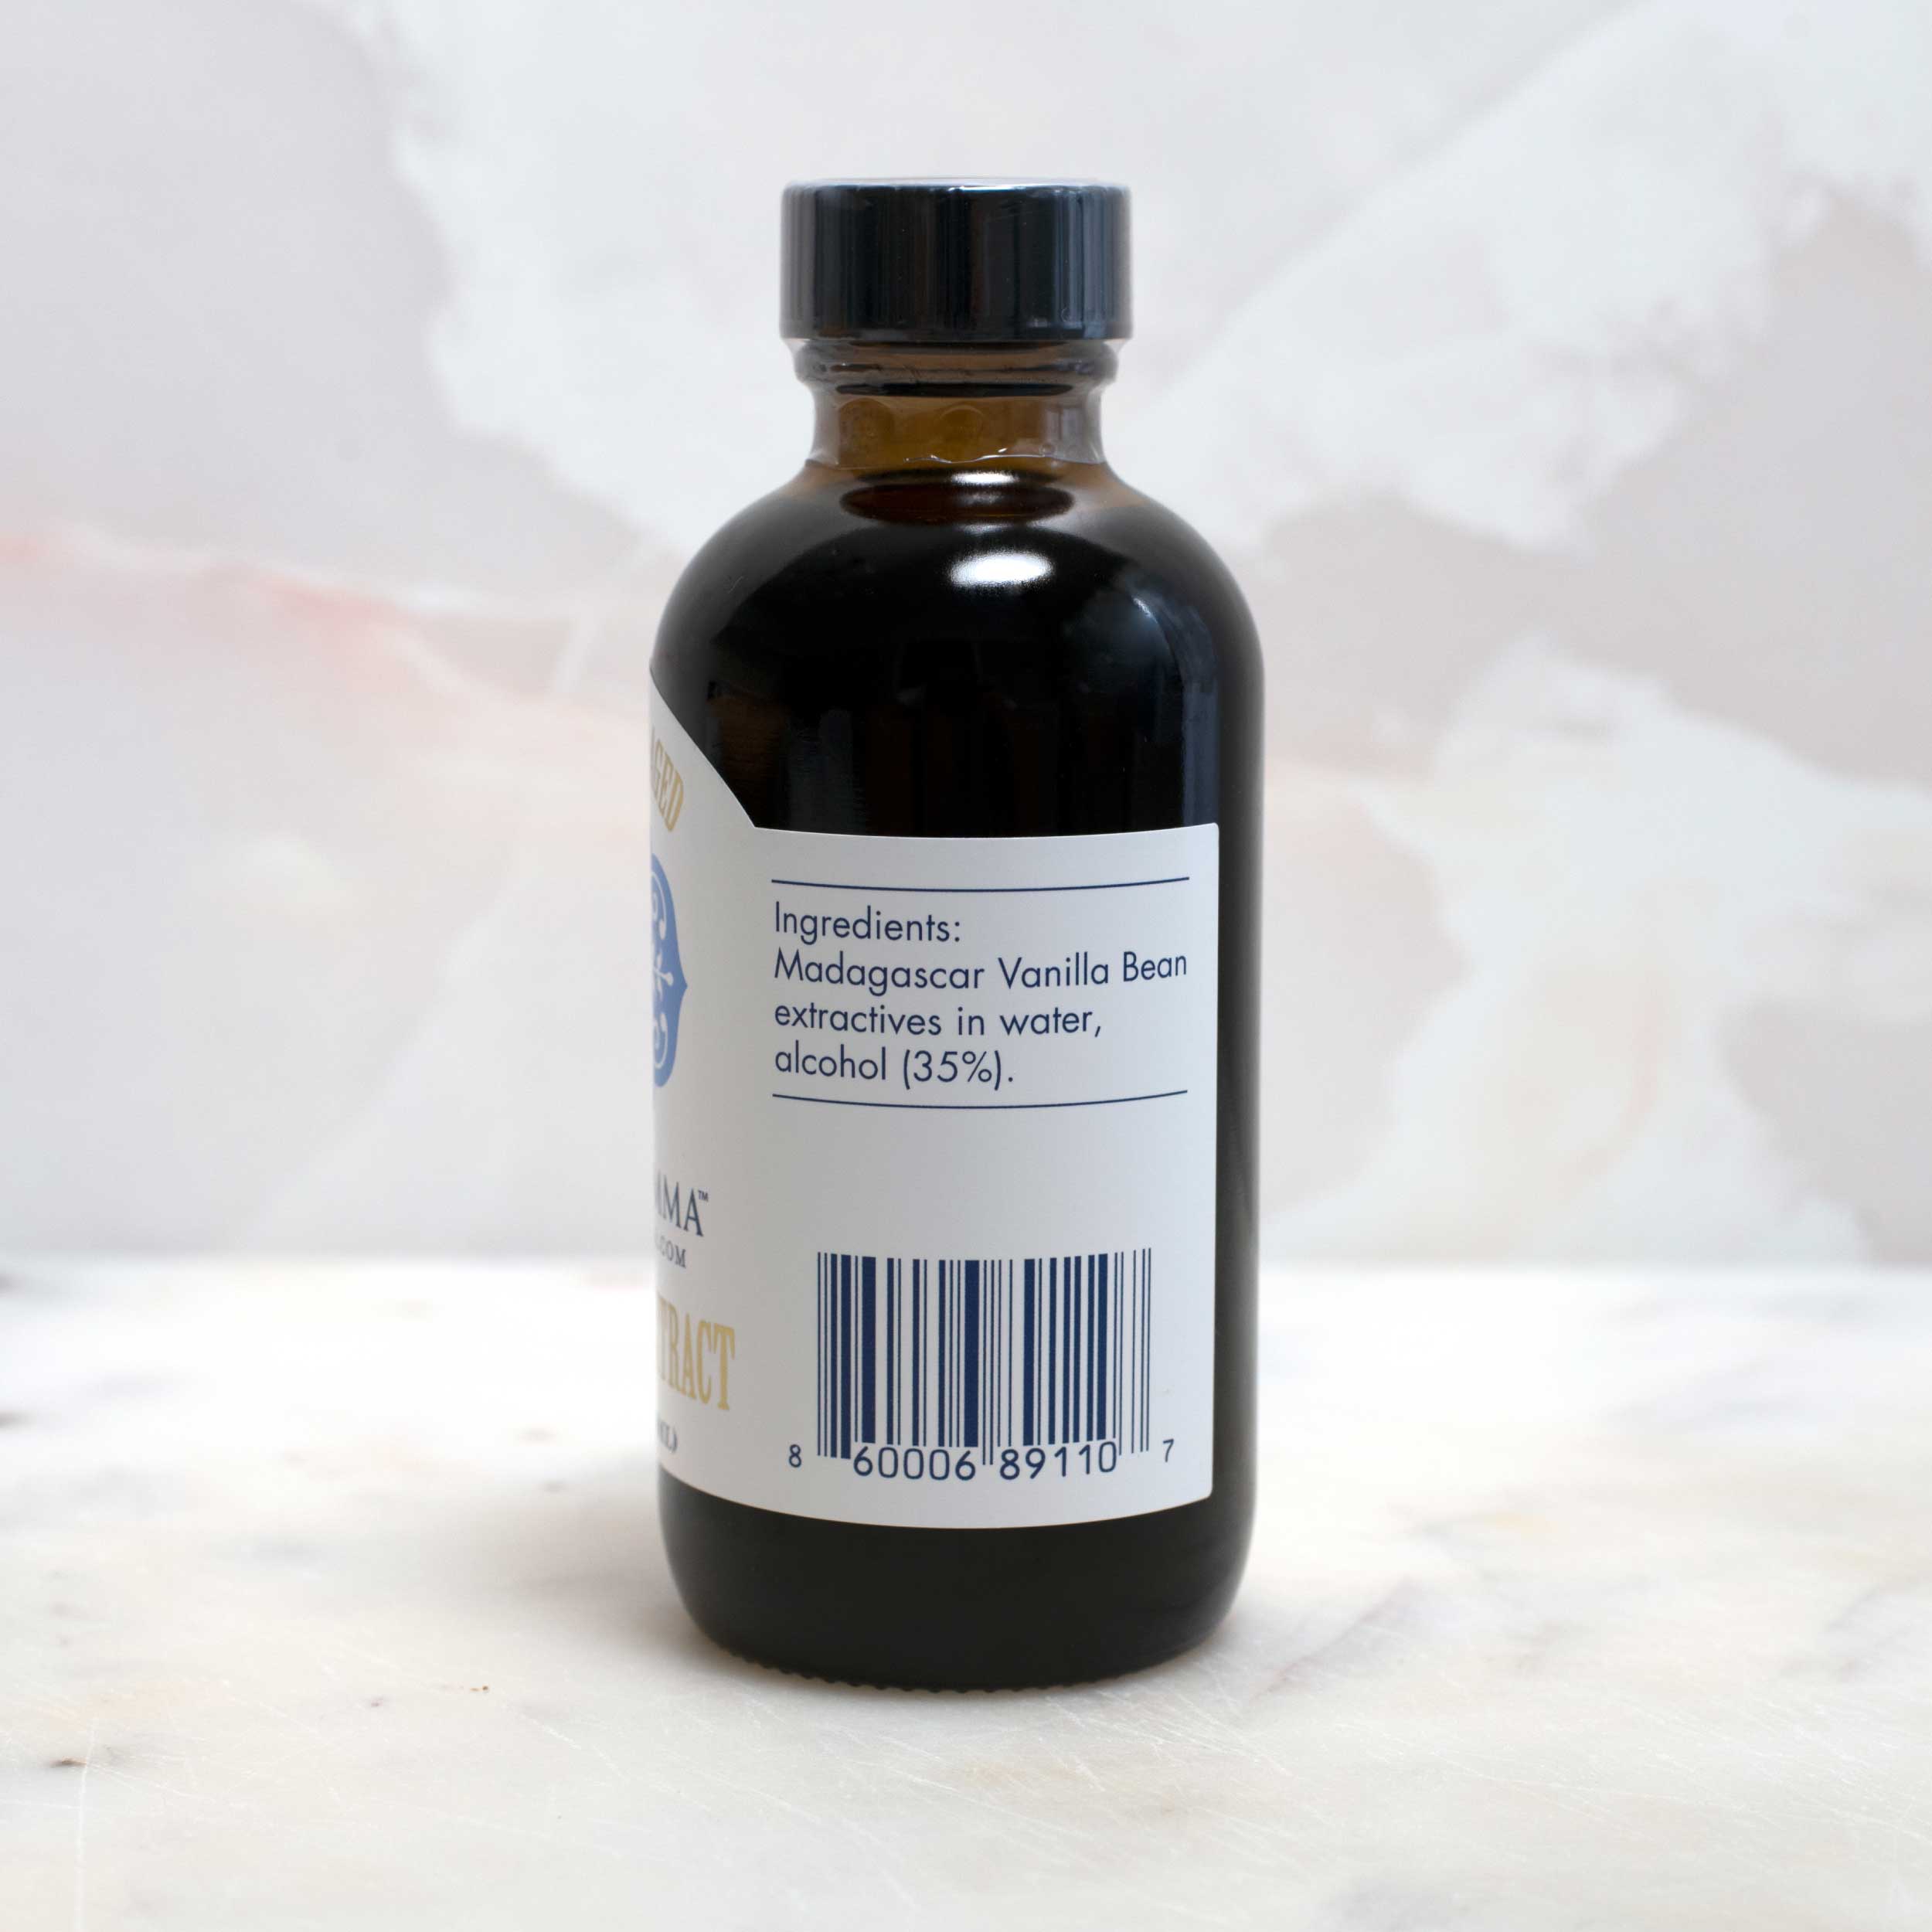
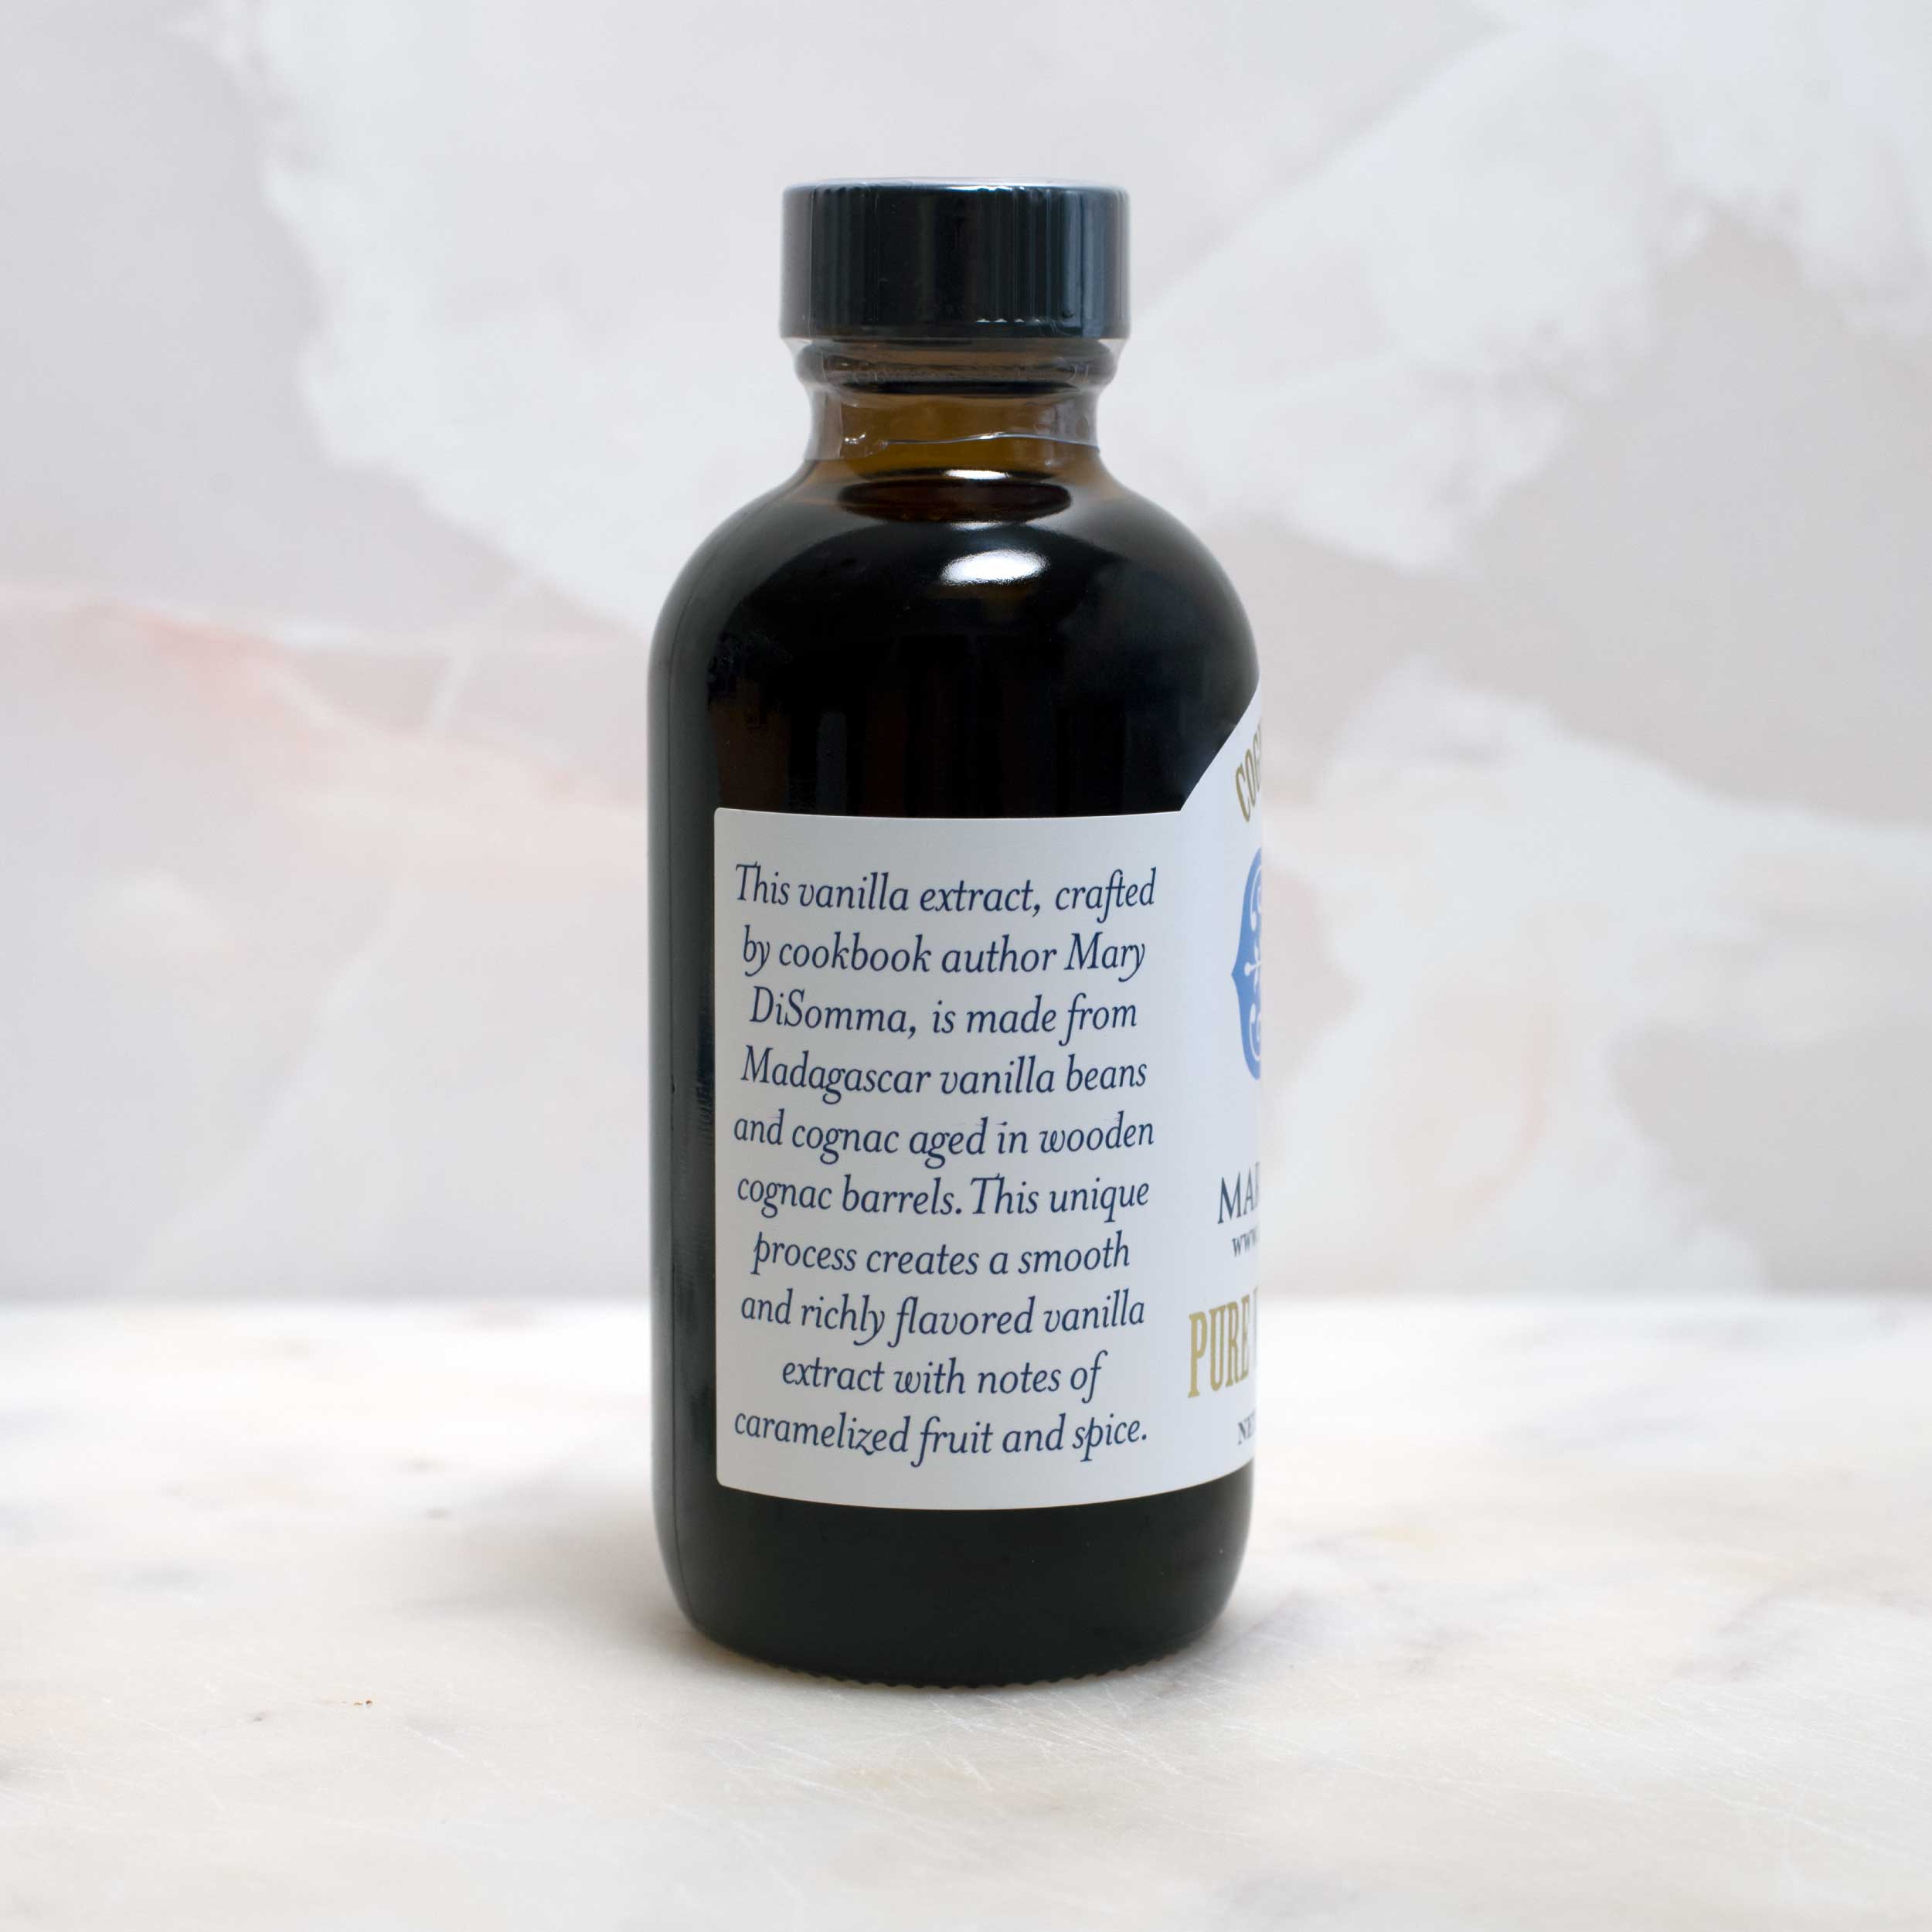
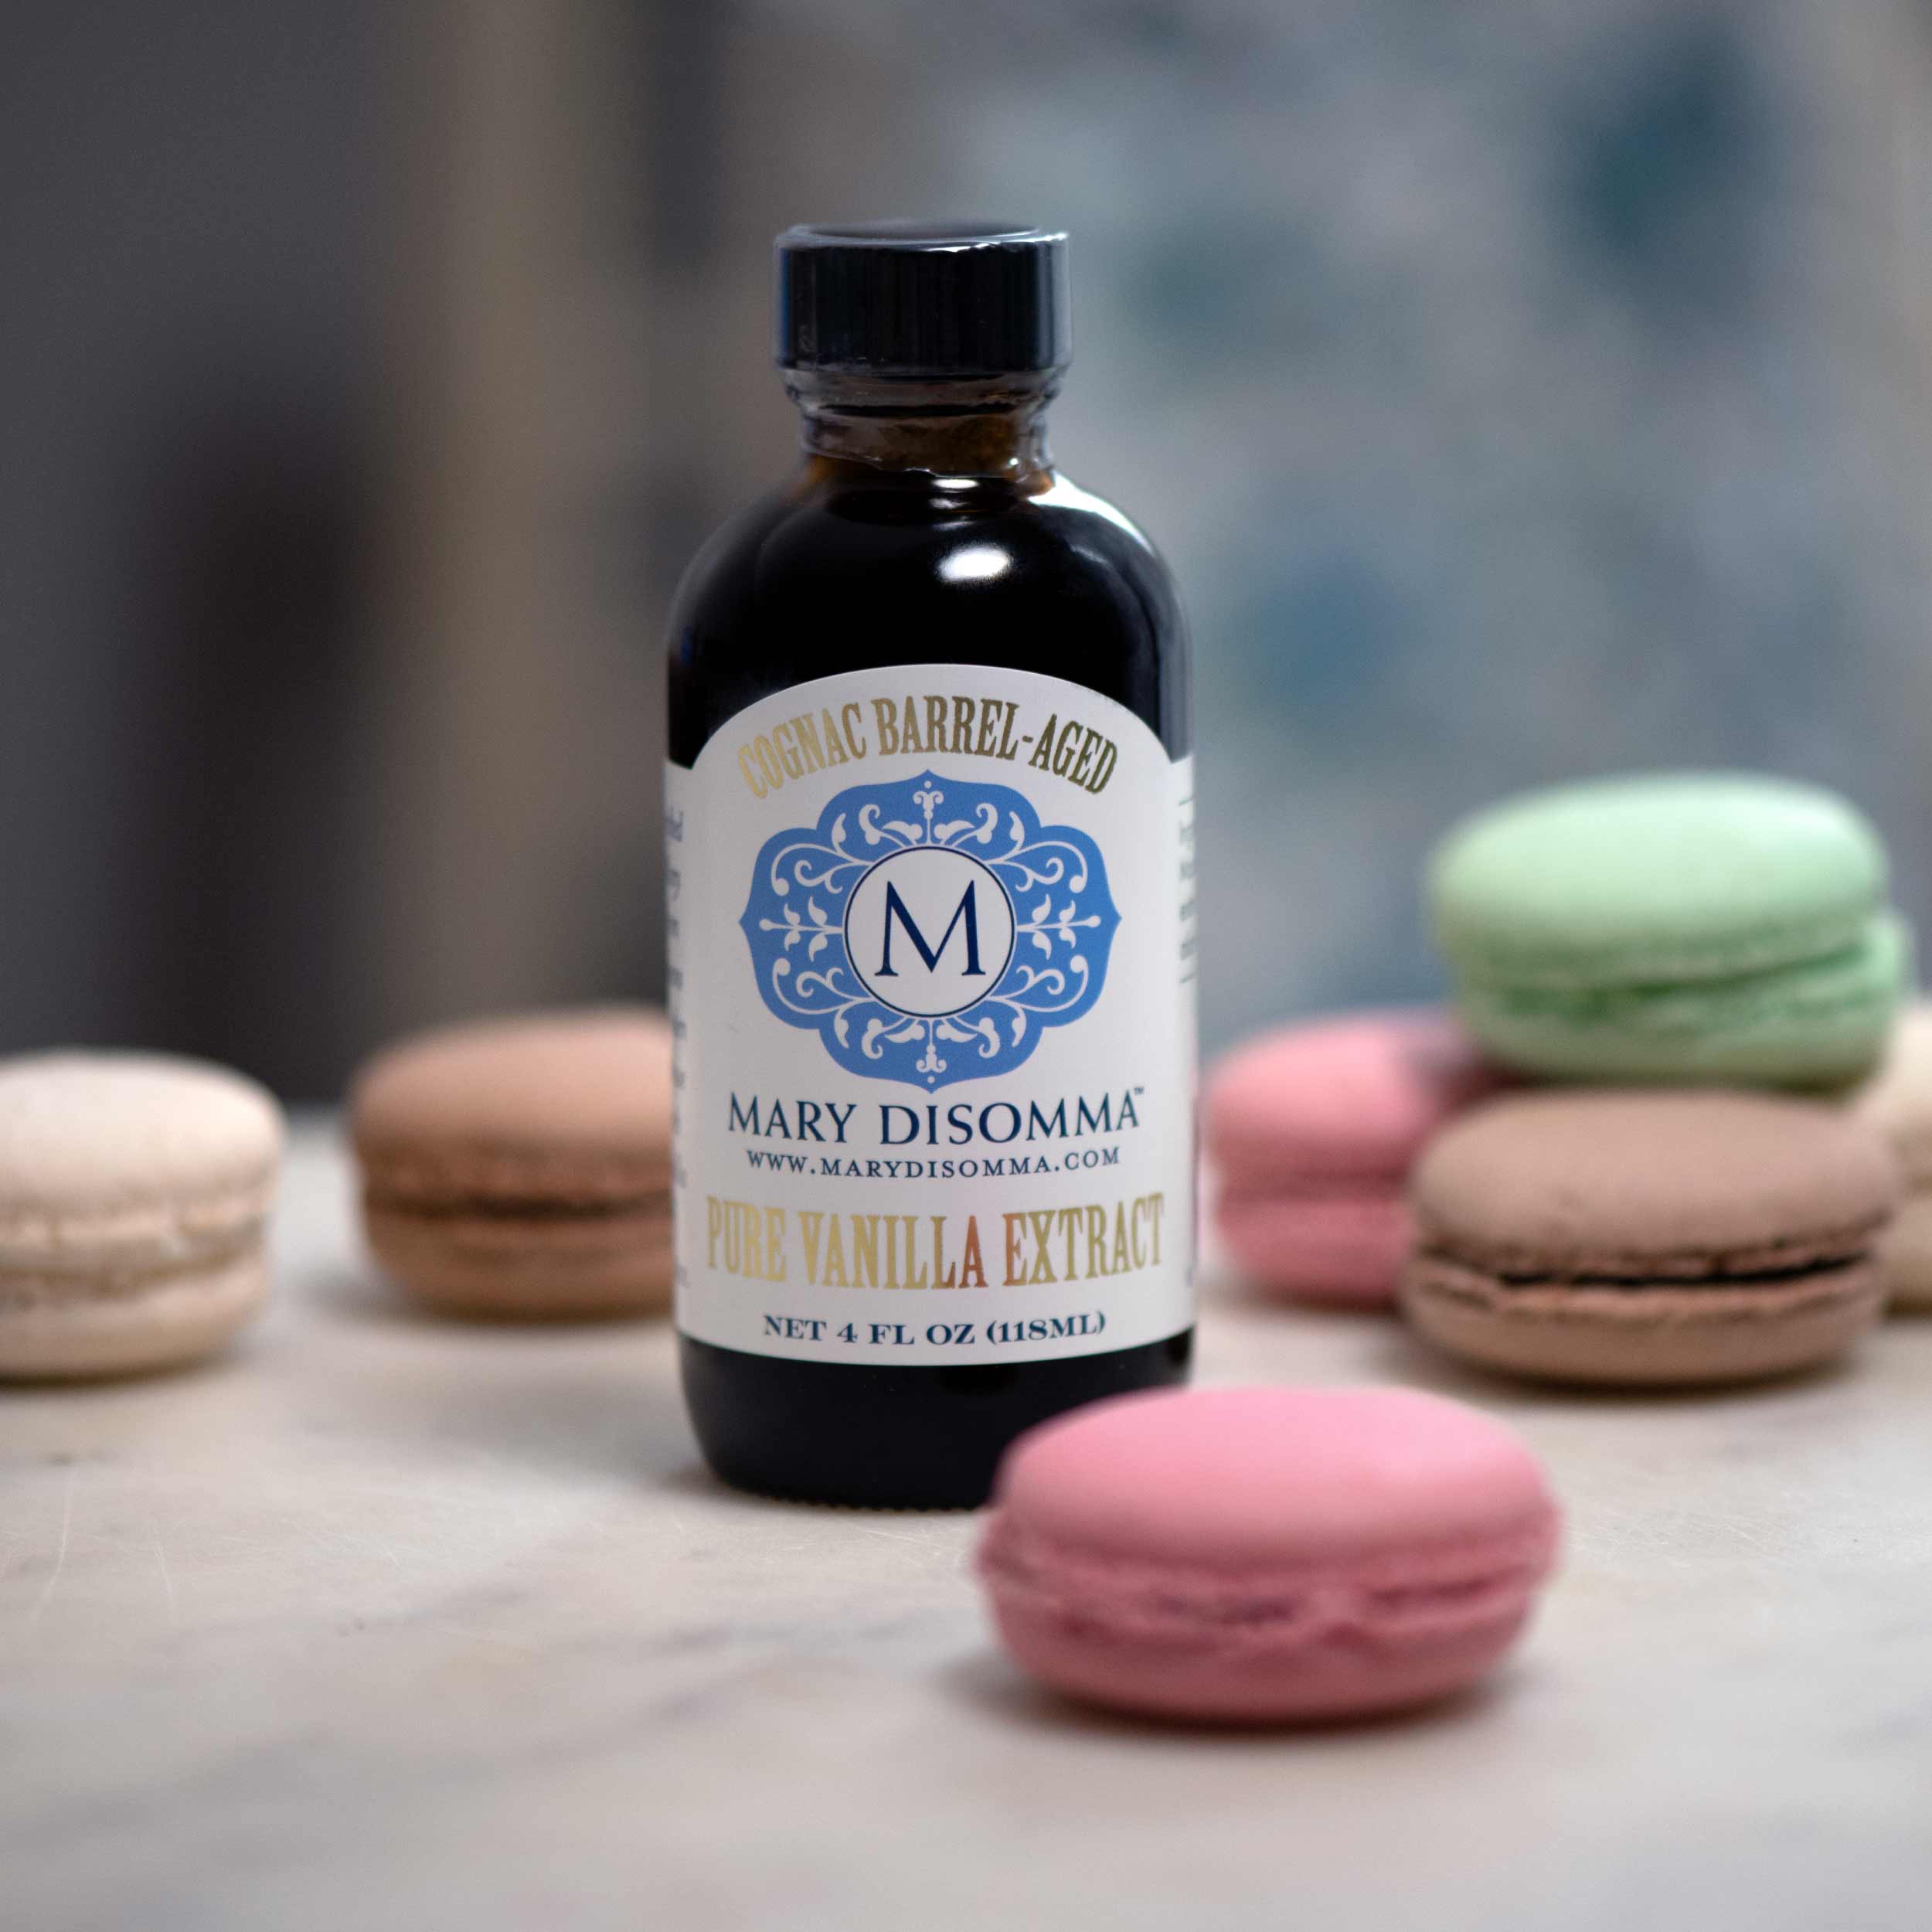
- ½ teaspoon vanilla extract
- 1 cup heavy cream, slightly warmed
- Crushed roasted peanuts
- Crushed roasted pecans (see note)
- Mini M&M'S®
- Reese’s Pieces
- Mini chocolate chips
- Melted white or dark chocolate to drizzle around the caramel
- Coconut flakes
- Popcorn
- Crushed pretzels
- Roughly chopped candy bars
- Sprinkles or nonpareils
Instructions
- In a stainless steel or copper saucepan with a 3-4 quart capacity, combine the water, sugar and salt. Bring to a boil, swirling the pan as needed to moisten all of the sugar. Do not stir. If you stir the mixture, the sugar will form crystals on the edge of the pan.
- Keep a watchful eye on your pot, swirling it now and then, until the mixture begins to darken. This usually takes about 7 to 10 minutes.
- Using a candy thermometer, regularly check the temperature of the mixture. When the mixture is a medium amber in color and the thermometer reads about 350 degrees, remove it from the heat.
- Immediately add the warmed cream to the pot. It will bubble vigorously. You can add the cream at room temperature, but I find that warming it up a bit first makes the bubbling reaction less intense.
- Put the pot back over medium heat. Using a wooden spoon, stir the mixture until it is thoroughly combined. Continue cooking, stirring constantly, until the mixture reaches 240 degrees on your candy thermometer. It is important to reach this temperature to get the perfect apple-coating consistency.
- Remove the pan from the heat and allow the mixture to cool for 3 to 5 minutes, until it reaches 212 degrees. Now, you’re ready to dip!
- Carefully transfer the caramel from the saucepan into a heatproof bowl.
- Dip an apple into the caramel, about ¾ of the way up (I like to leave a little apple exposed so you can see the beautiful color of the fruit.) Swirl the apple once around the bowl and pull it straight up out of the caramel, allowing any excess caramel to drip off.
- Place the apple on a parchment-lined baking sheet. Dip all of your apples before decorating.
- Now it’s time to get creative: Roll the apples in your favorite toppings, then press the toppings into the caramel using your hands.
- Place the decorated apples on another parchment-lined baking sheet. I like to spray this one with non-stick cooking spray—it prevents the caramel from pooling around the fruit and makes the apples easier to pick up.
- Any caramel apples you don’t eat right away should be stored in the refrigerator. If you're storing your caramel apples in the fridge, place them in an airtight container or stand them up in a gallon sized zip-lock bag. They can be stored for up to 3 days in the fridge.
Notes
To toast pecans (or other nuts), spread them out across a parchment-lined baking sheet and place in a 325 degree oven for about 5 minutes, until lightly toasted. Make sure to keep an eye on them so they don’t burn!

