Whipped cream from a can is fine. But homemade whipped cream is on a whole other level! It’s so easy to make, there’s no reason you shouldn’t make it fresh at home (at least once in a while). This simple whipped cream recipe is flavored with chocolate and espresso powder, but you can easily omit those for a more classic result. By the way, this goes great on my Chocolate Brownie Pie recipe. It’s also good if you’re just sneaking a spoonful! I’m not drooling, you’re drooling…
Tips on How to Make the Perfect Whipped Cream
Only one word of caution: to make the perfect whipped cream you have to keep an eye on it. This process is relatively quick, and if you keep whipping after it’s done, your fresh whipped cream can curdle. Chilling the bowl for a while before you start helps to keep the cream nice and cool, and you should always use COLD heavy whipping cream.

What’s the difference between soft peaks and firm peaks for whipped cream?
If you’ve ever made meringue, you’ve probably heard of soft peaks and stiff peaks. Well, when you make whipped cream, you’re going for a level of structure called “firm peaks.” Firm peaks and stiff peaks are similar, but “stiff peaks” is usually used when whipping egg whites. When you start whipping the cream, you’ll notice it thickening. After it begins to thicken, you’ll reach the different peak stages.
Here’s a bit more on the difference between soft, medium and hard peaks.
Soft Peaks
When your whisk or beaters are leaving faint tracks or trace lines in the thickened cream, stop your mixer and lift the beaters up. If the cream holds its shape, but folds back down over itself, you’ve reached soft peaks.
Medium Peaks
When your cream is at the medium peak stage, the cream will hold its shape a bit better. When you pull the beaters or whisk out, it makes a point, but the point doesn’t really stand up straight. You might notice that the tracks or trace lines left by the beater are more prominent at this stage.
Firm Peaks (also known as stiff peaks)
This is what you want. At the firm or stiff peak stage, when you lift up the beaters, your cream will hold its shape without collapsing back over itself. The mixture should be smooth, glossy, thick, and almost spreadable.
Step by Step: Making the Perfect Whipped Cream
As soon as you reach the stiff peak stage, STOP WHIPPING! Even a few extra seconds could result in over-whipped cream, which can be… let’s just say “less than good.”
Timing is key. I recommend making your whipped cream right before serving, because it tends to deflate over time.
Don’t add any sugar or other flavoring until you reach the soft or medium peak stage. Sugar can weigh down the cream before it’s aerated, making it impossible to get good peaks.
Use confectioners' sugar instead of granulated sugar if you can. Confectioners' sugar has some cornstarch in it, which helps keep the whipped cream from separating later.

Simple Chocolate Espresso Whipped Cream Recipe
Ingredients
- 1½ cups heavy cream, chilled
- 3 tablespoons confectioners’ sugar
- 2 tablespoons plus 1 teaspoon cocoa powder
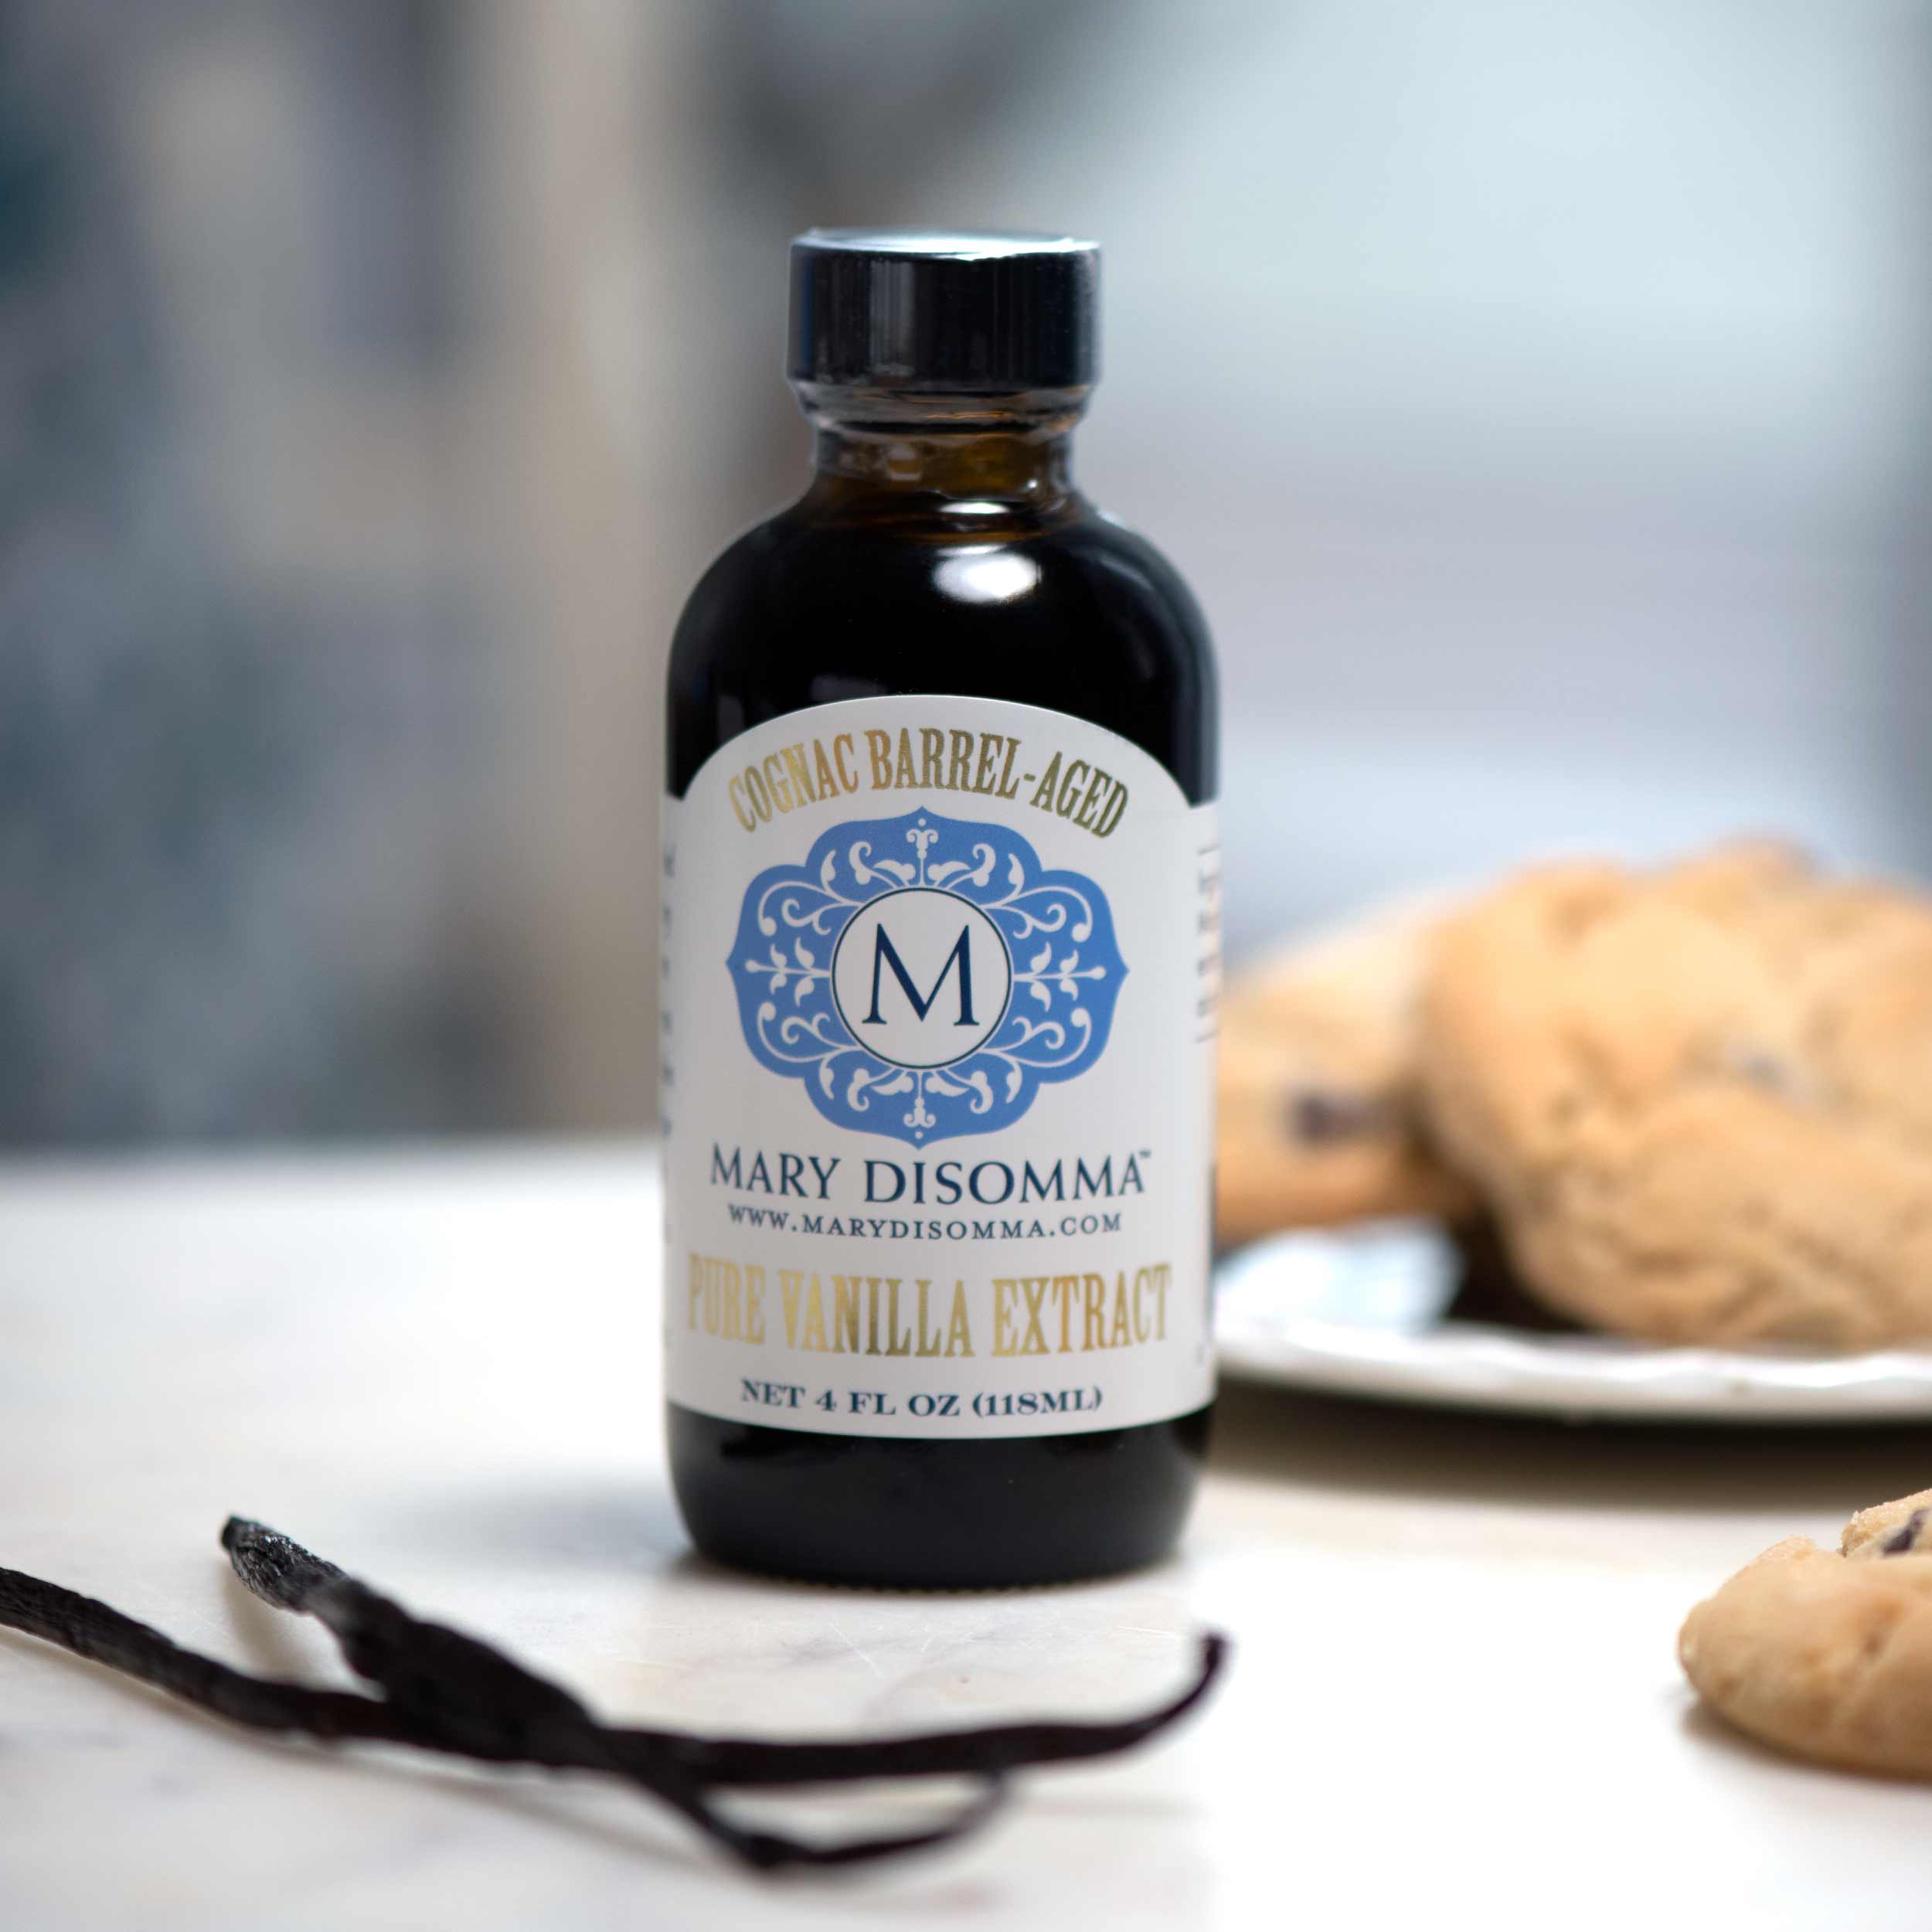
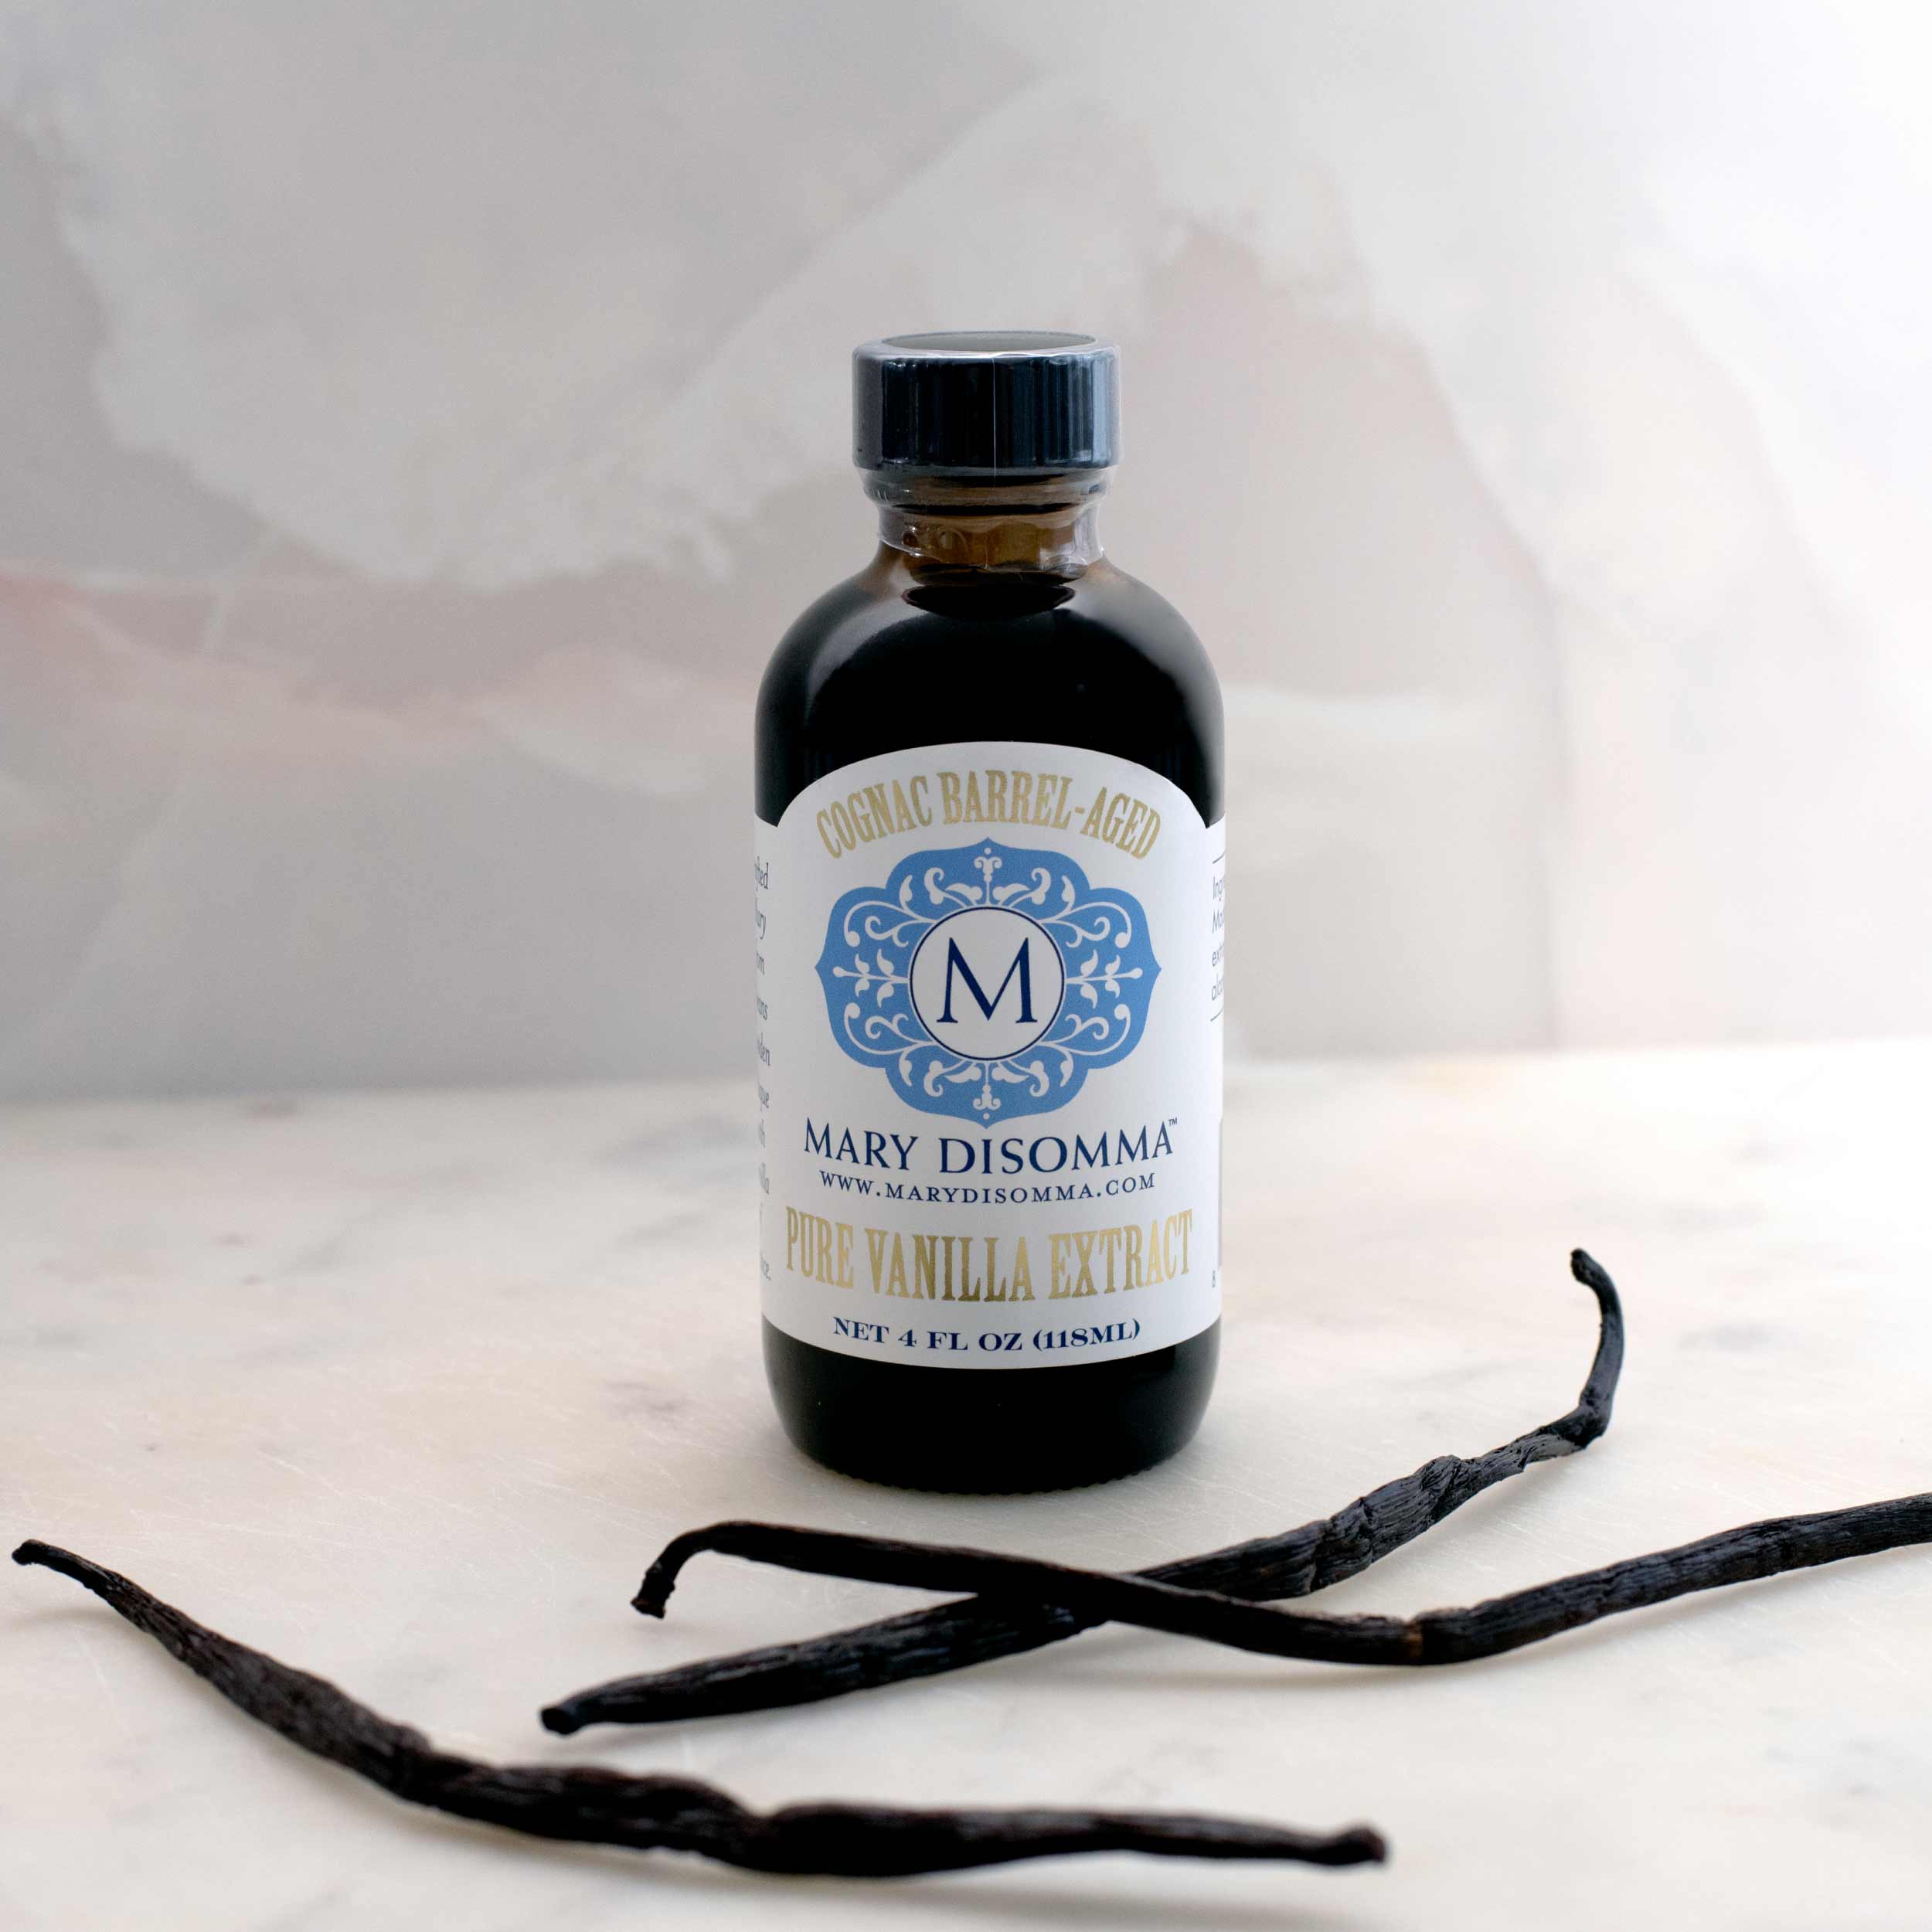
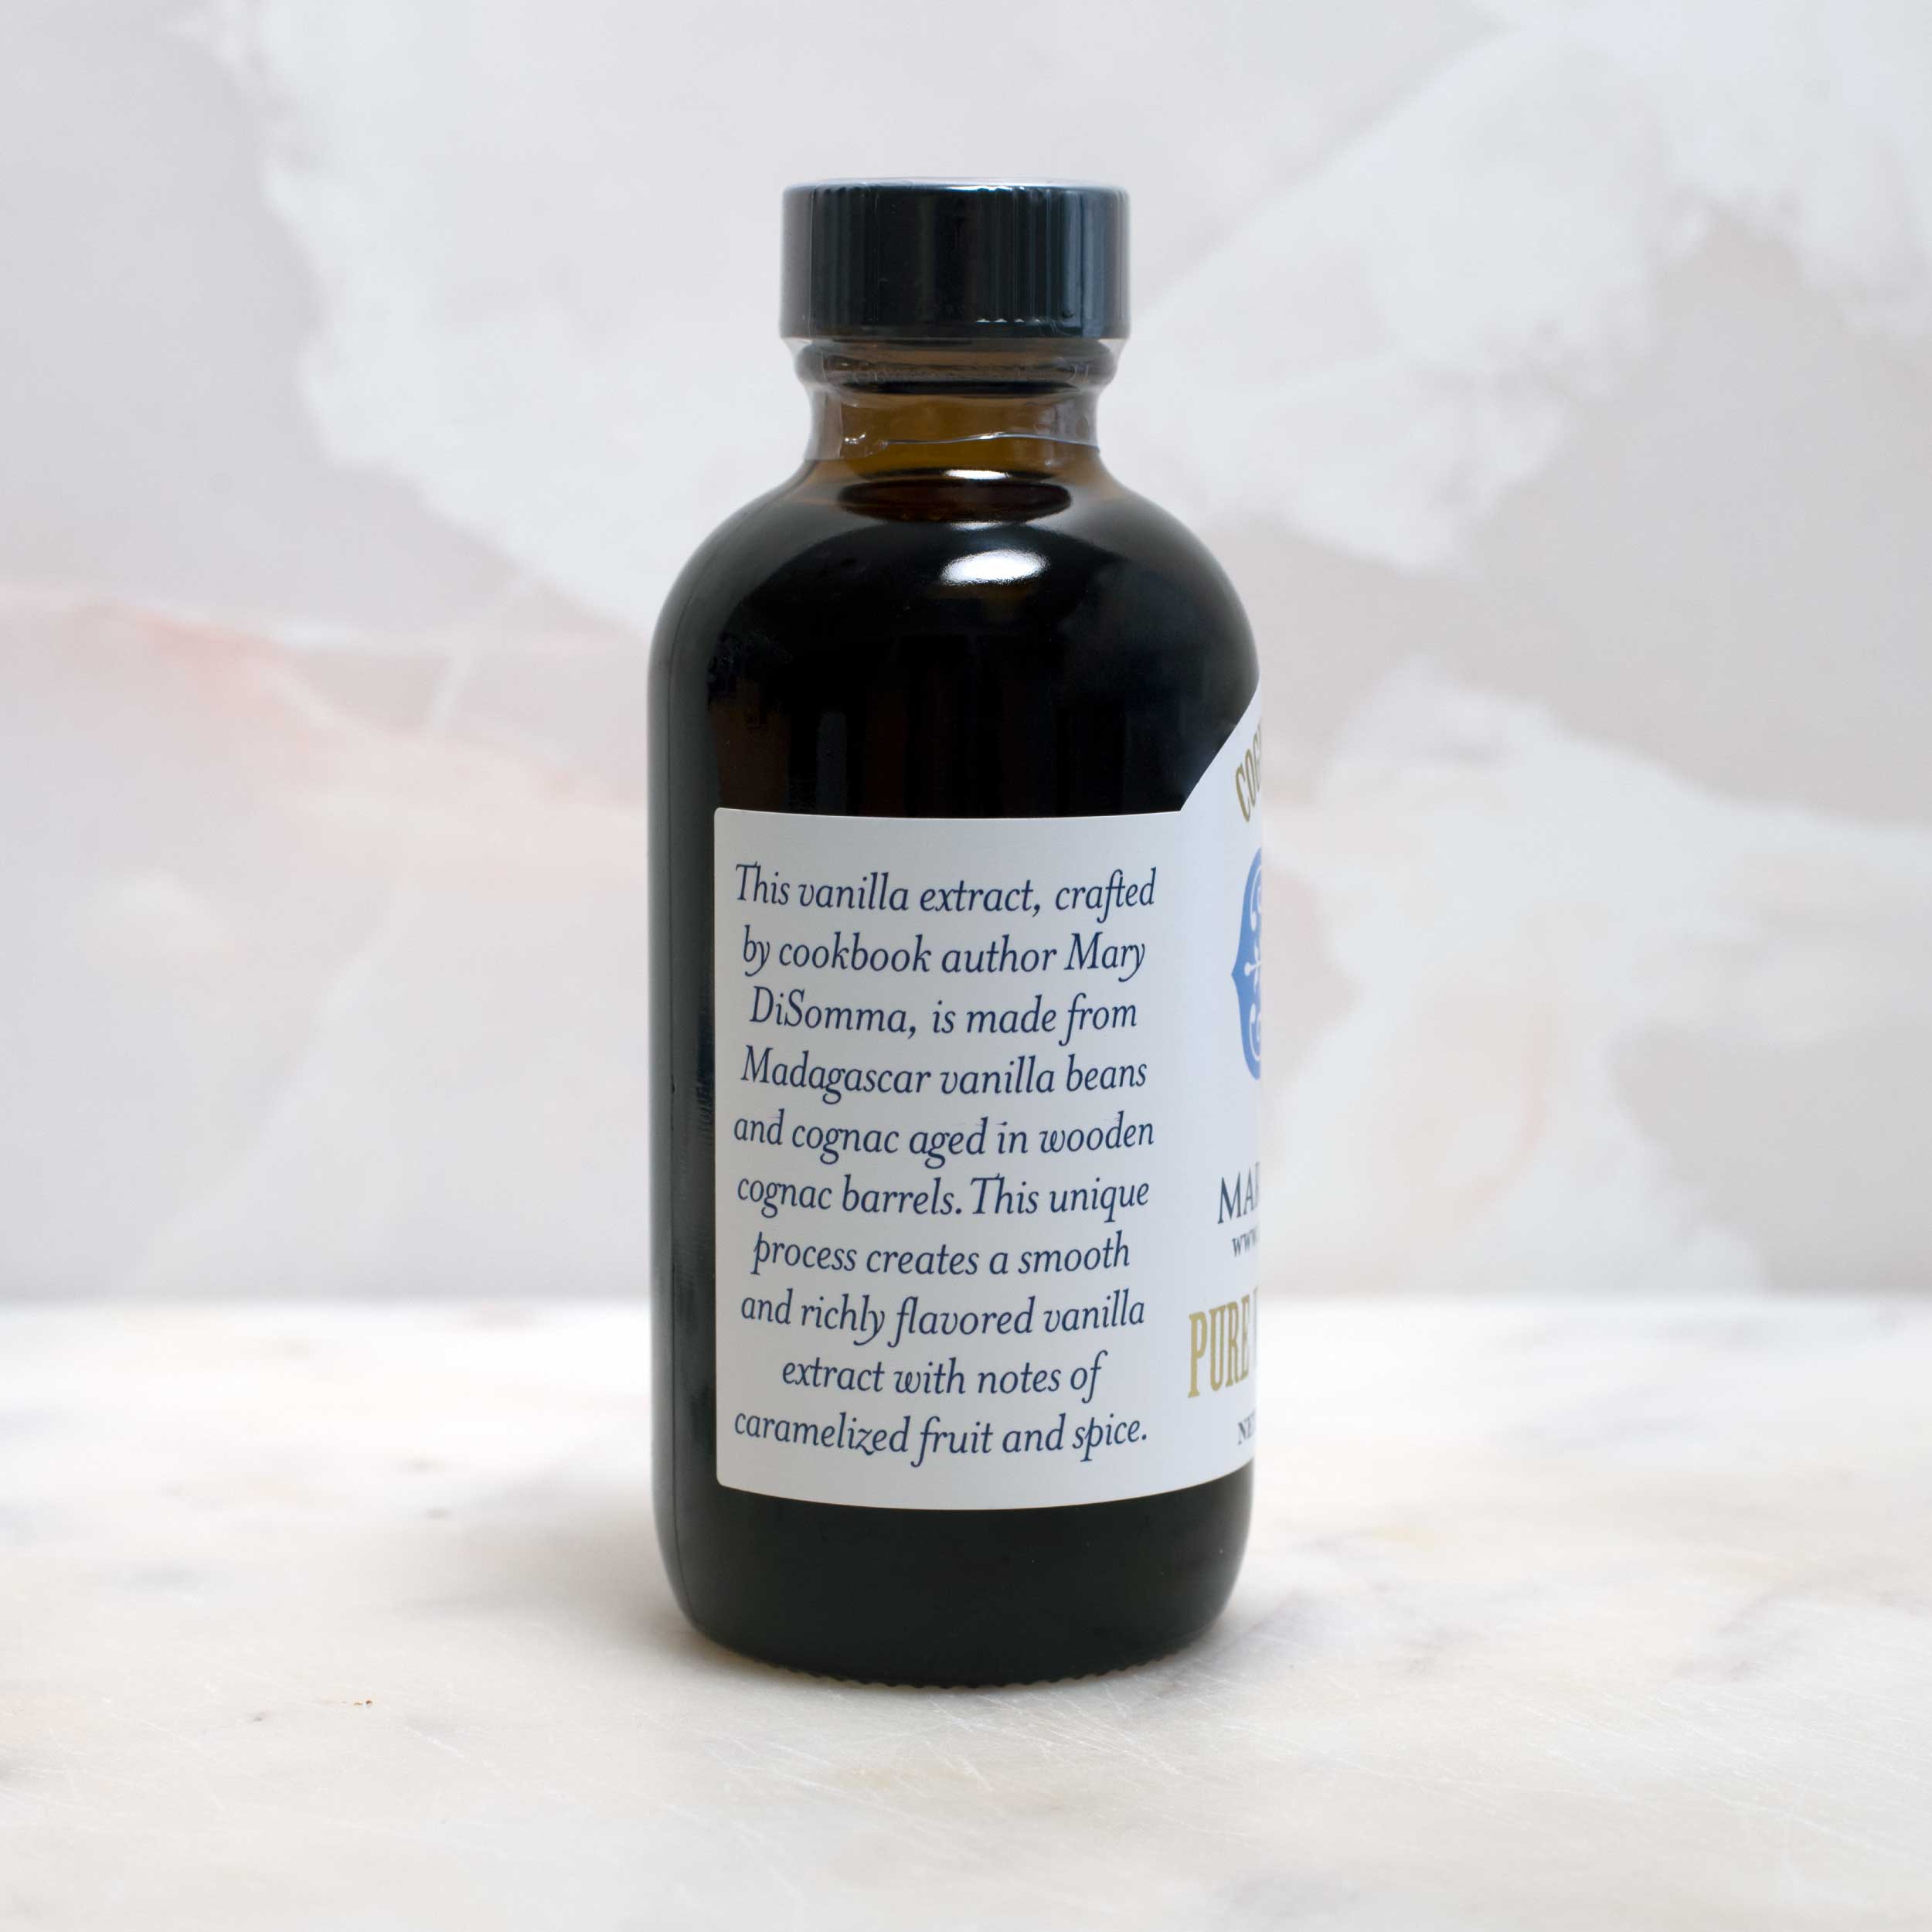
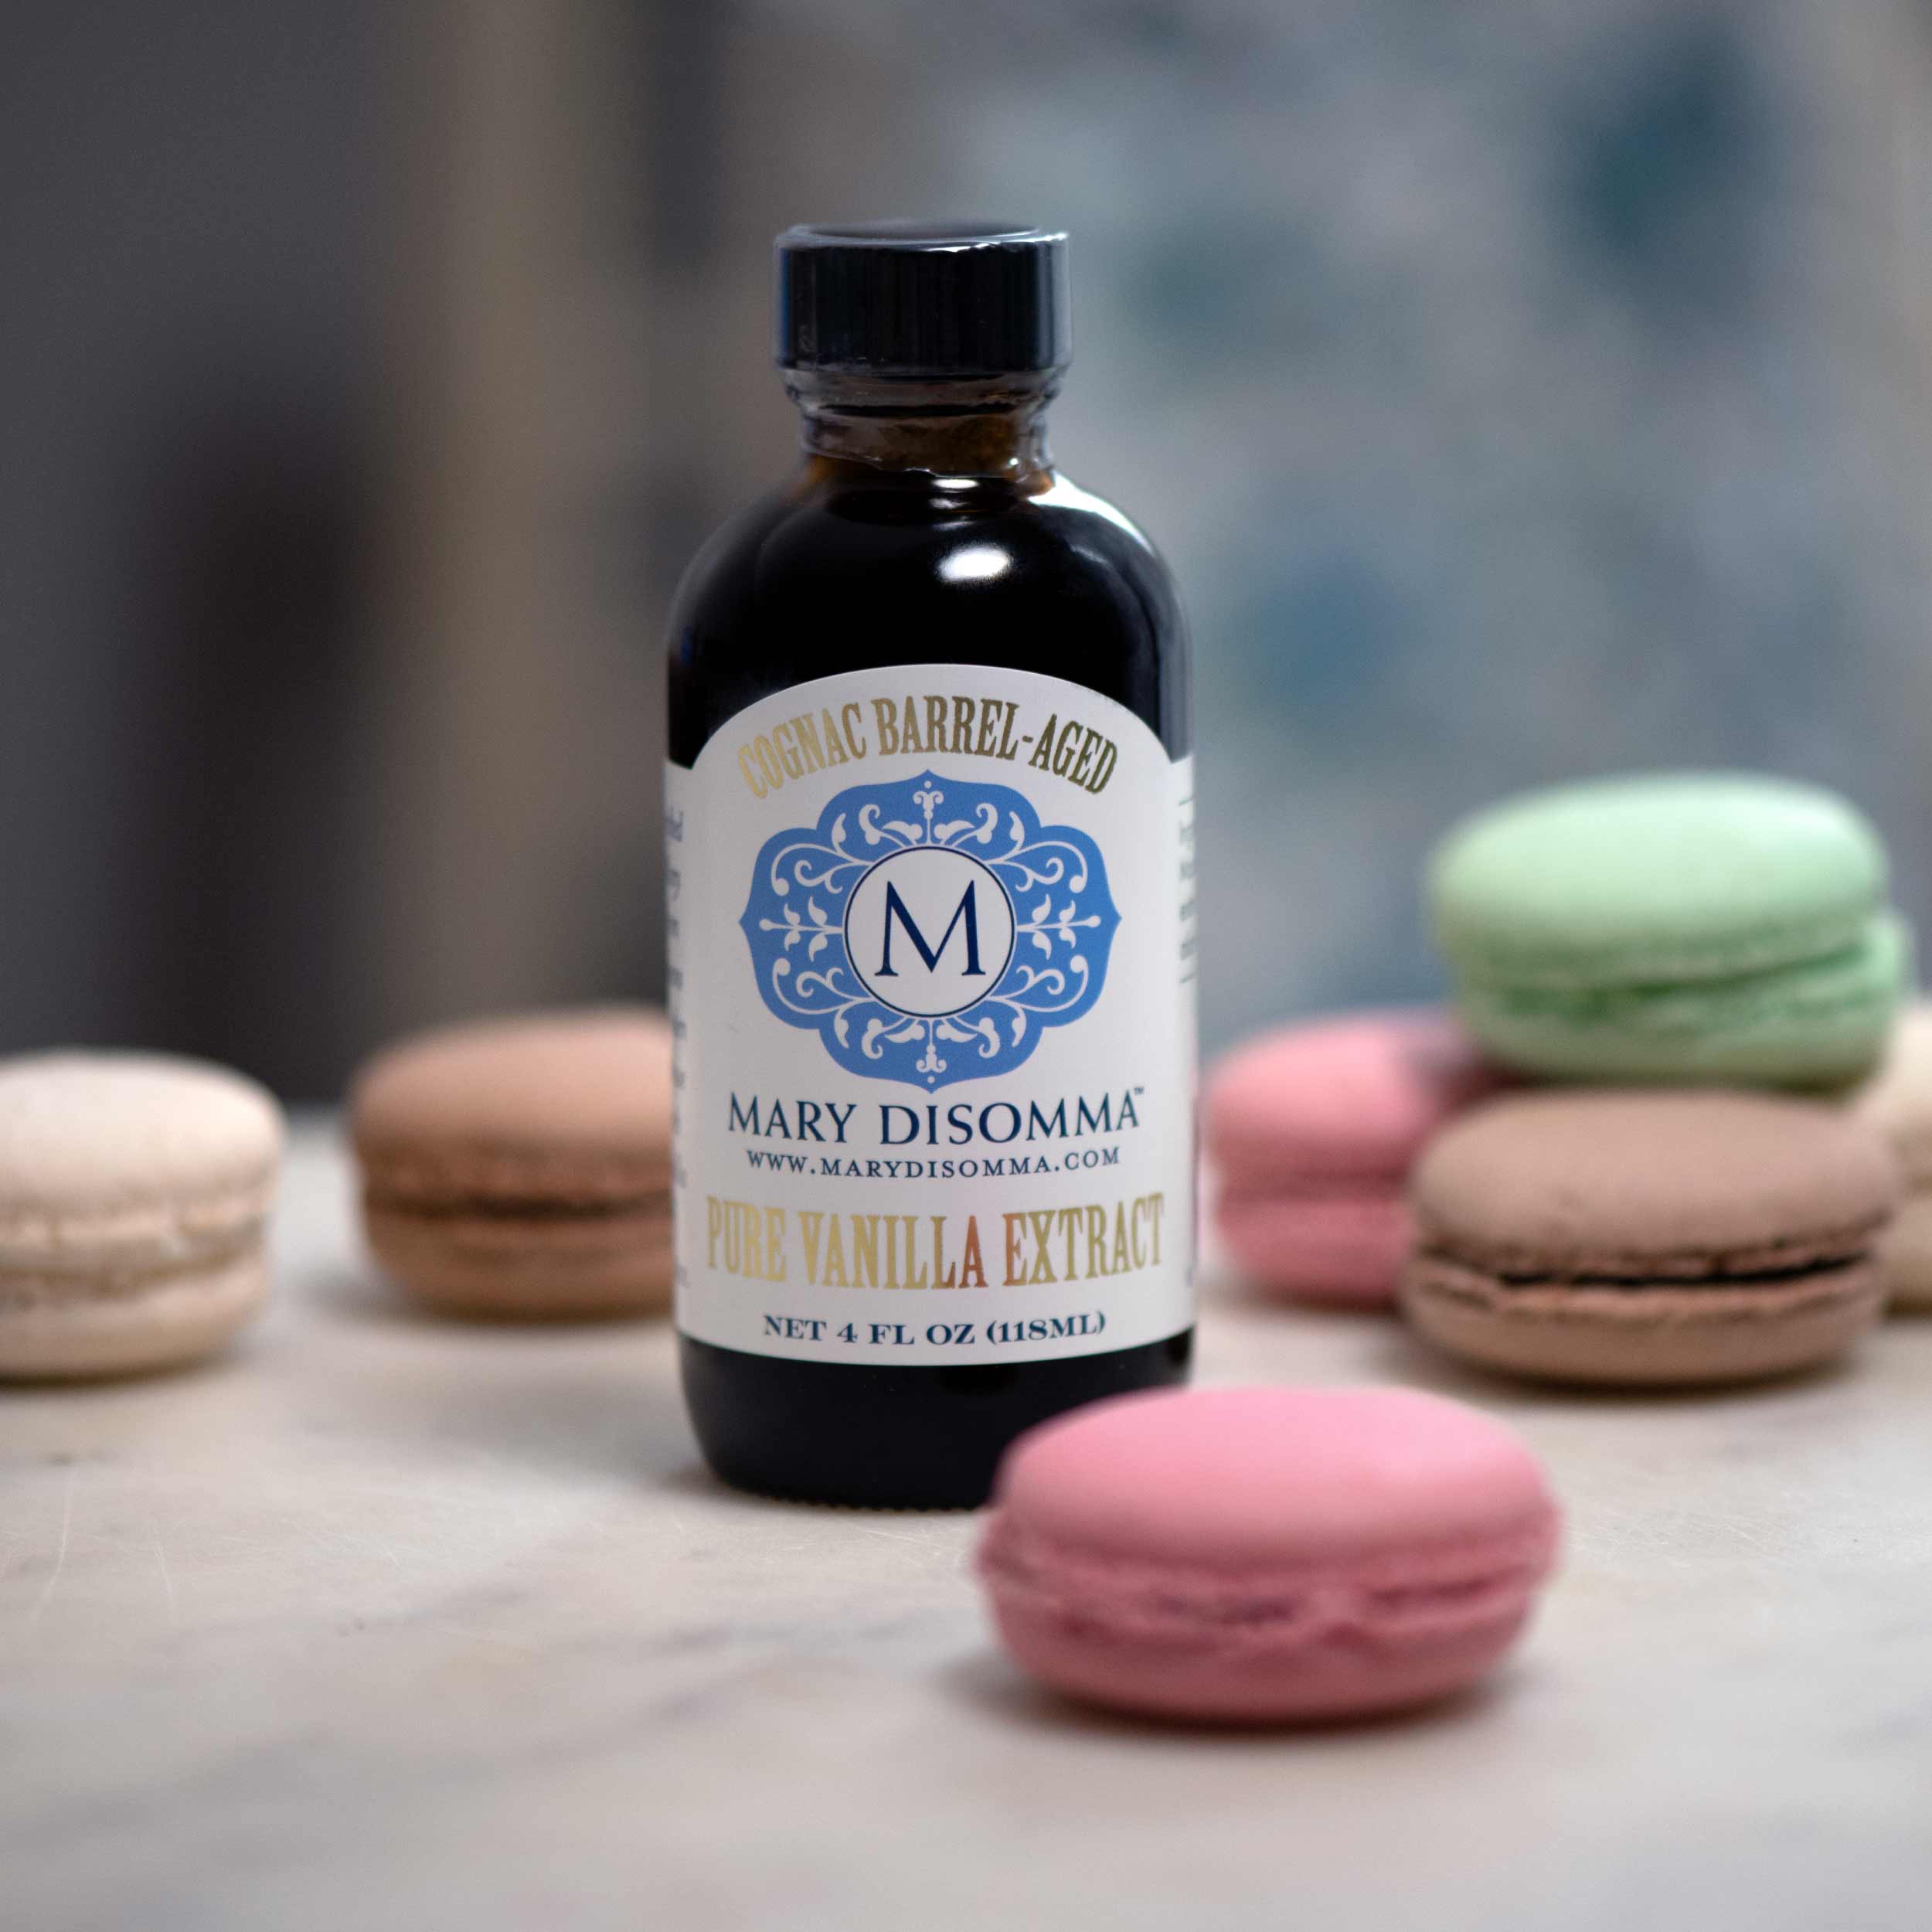
- 1 teaspoon Mary DiSomma’s Cognac Barrel-Aged Madagascar Pure Vanilla Extract
- A pinch of fine sea salt
- ½ teaspoon espresso powder, optional
Instructions
- Pour the cream into a chilled bowl. I like to use my stand mixer for this. Using the wire whip attachment, whip the cream on medium-high speed until soft peaks form.
- Reduce the speed to medium and slowly add the confectioners’ sugar, cocoa powder, vanilla extract, sea salt, and espresso powder (if using). Whip until firm peaks form.