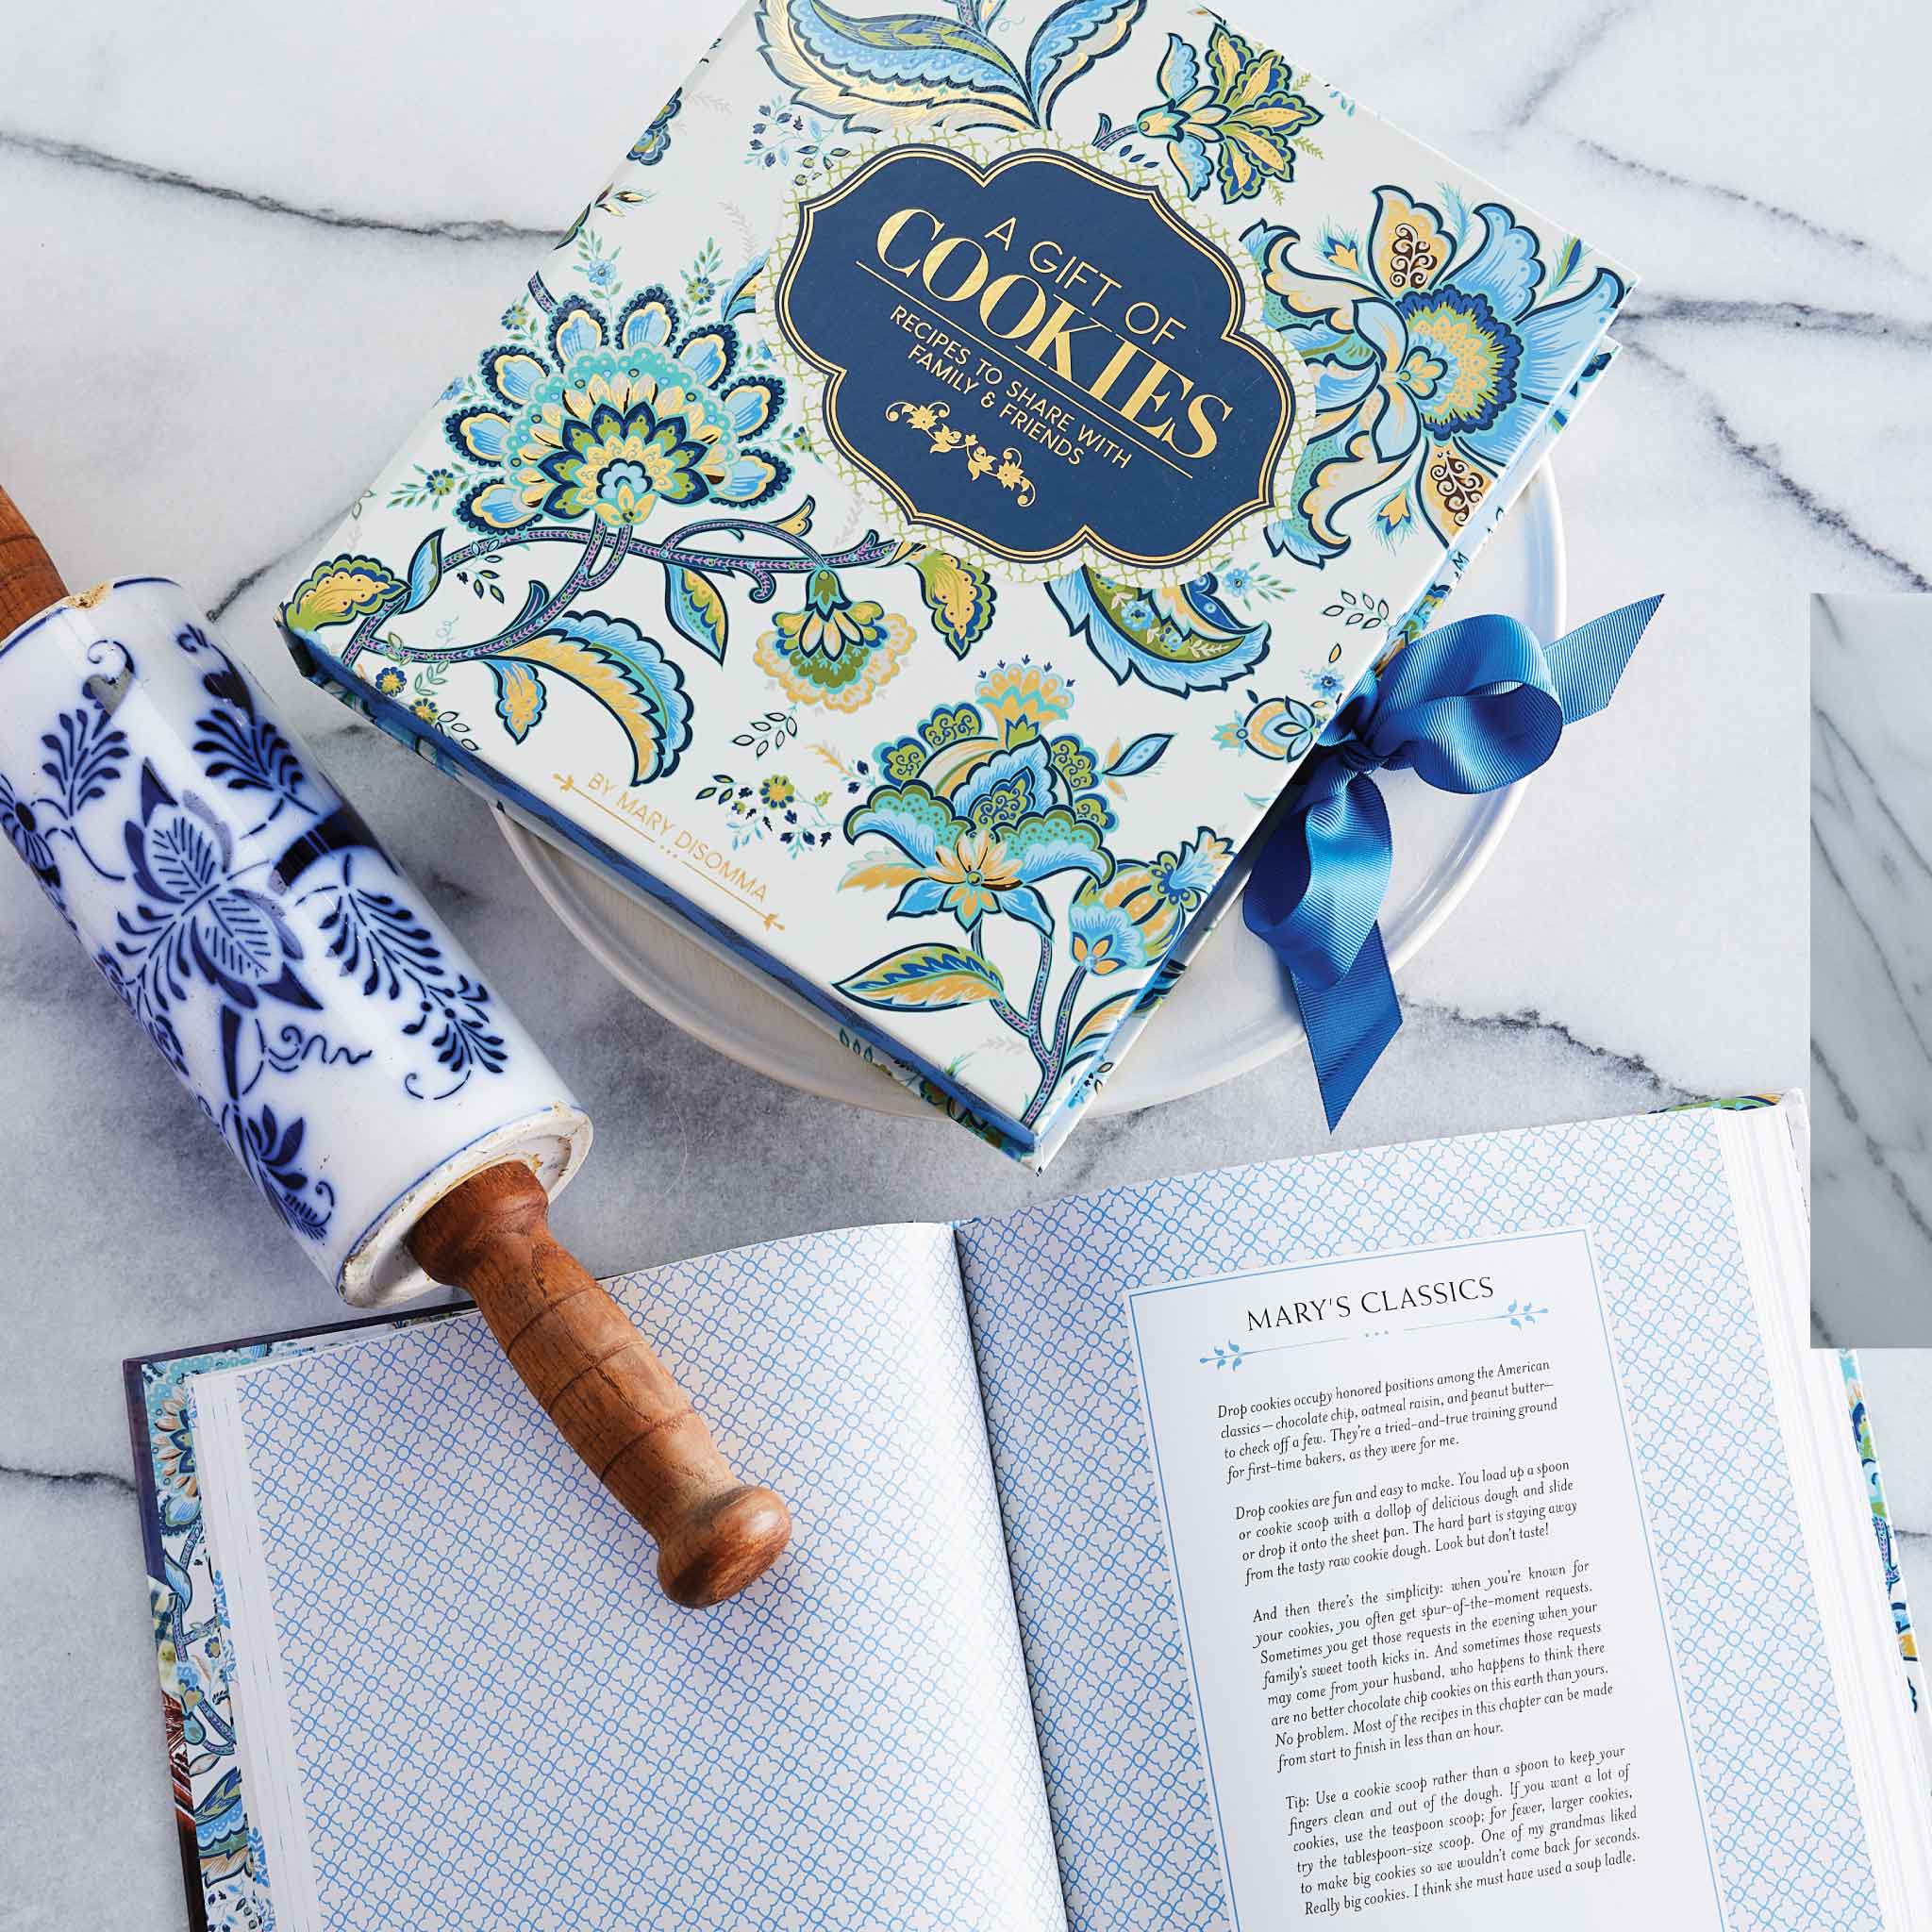
Fall is coming!
There, I said it. And I am really sorry I said it, but one thing about fall that I love (besides fall colors and Halloween–oh, the candy cookies I’ll bake!) is canning.

Easy Green Bean Canning Recipe
My grandmother’s canned throughout my childhood. No fall would feel complete without a couple days of canning, and no pantry feels full without the homemade jars of green beans, pickled onions, peaches, and more. So, to get us all ready for the impending change of seasons, I thought I would post quick and easy canning instructions for green beans.

Dilly Beans Recipe
When preparing these dilly beans, it is important to have everything ready to go, including your canning jars and equipment. The jars and lids should be sterilized and hot and your canning water ready to go so there is no lag time between filling the jars and placing them in the canning water.
For a fun color combination, mix yellow and green beans together. I also like to keep a chopstick in my dilly bean prep arsenal to help pack the beans tightly in the jars.

Dilly Beans Recipe
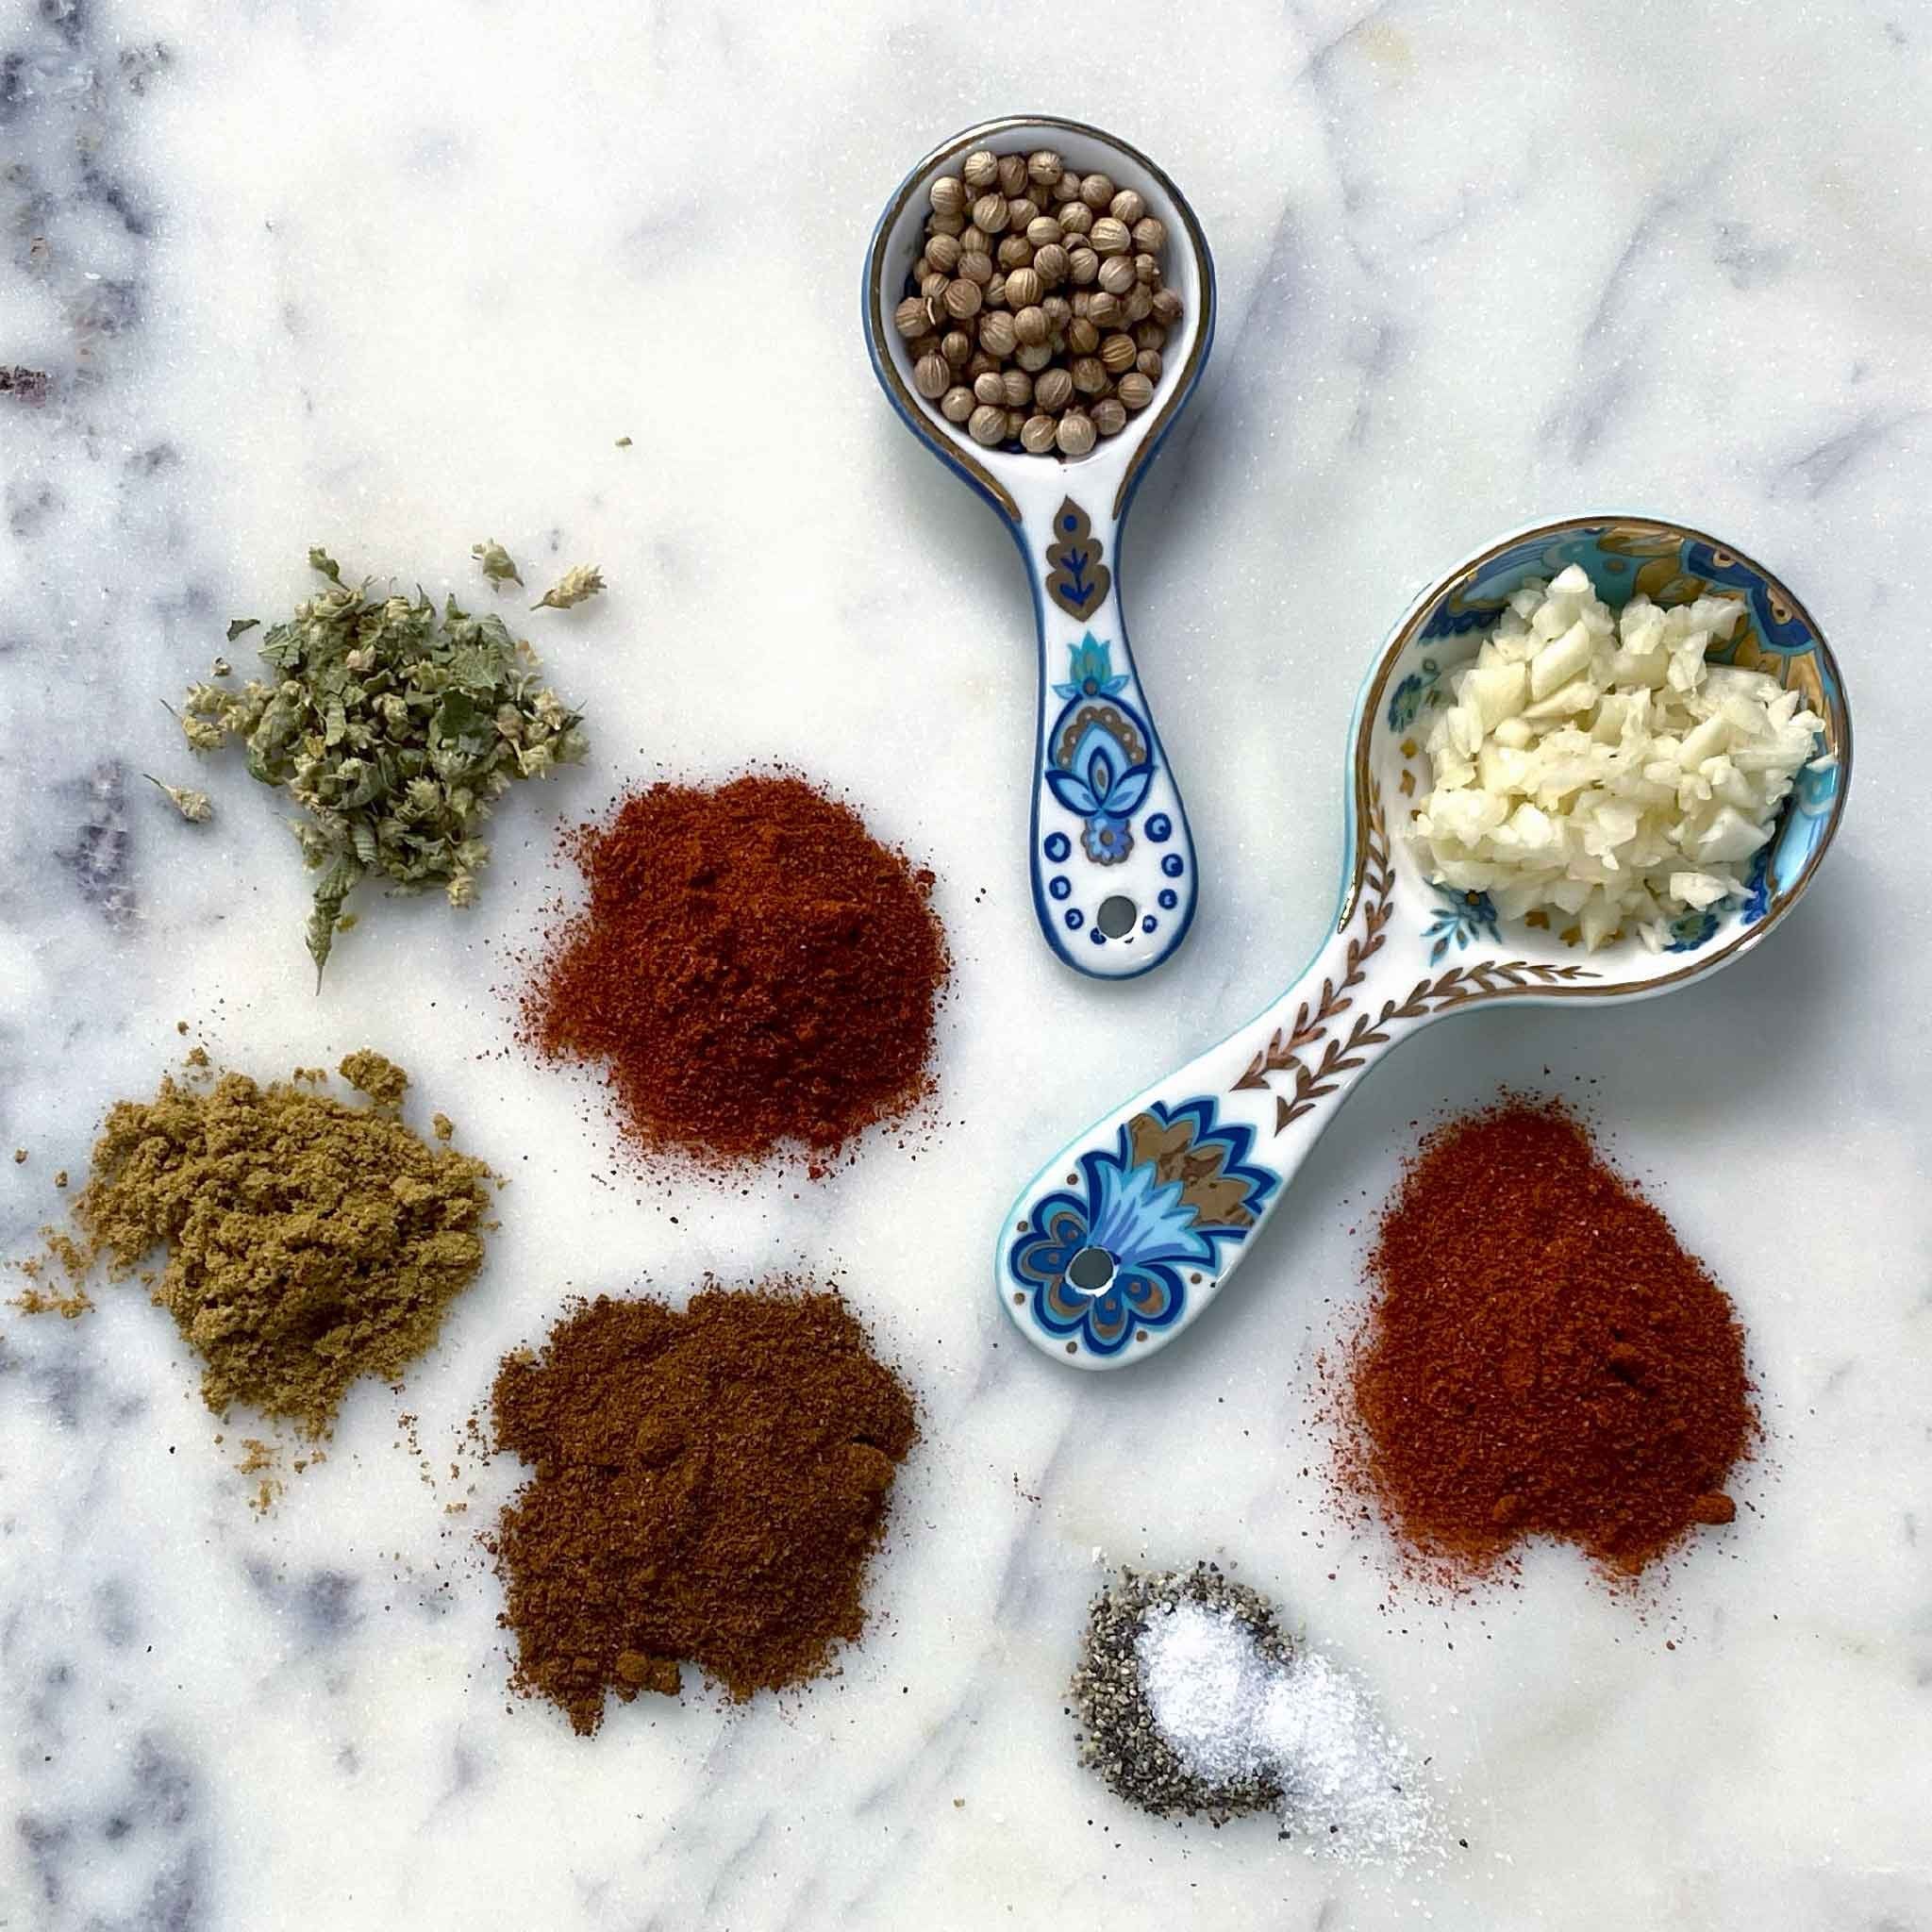
Ingredients
- 6 one-pint canning jars with lids, sterilized
- 3 cups distilled white vinegar (5% acidity)
- 3 cups water
- 6 tablespoons kosher salt
- 6 large, mature dill heads or 6 tablespoons dill seeds
- plus 24 fresh dill sprigs (not dried dill weed)
- 1½ teaspoons crushed red pepper flakes
- 6 whole cloves garlic
- 4 pounds fresh green beans, cleaned
Instructions
- Have your canning jars sterilized and your hot water bath boiling and ready to go. In a separate nonreactive saucepan, combine the vinegar and salt. Add 3 cups water and bring to a boil over medium-high heat to dissolve the salt.
- Meanwhile, place 1 dill head (or 1 tablespoon dill seed and 4 dill sprigs), ¼ teaspoon crushed red pepper flakes, and 1 garlic clove in each jar. Trim the beans so they are ½-inch shorter than the height of the jars. Pack the beans in the jars horizontally, using a chopstick to compact the beans as you add more.
- Carefully ladle the hot pickling brine into each sterilized jar, leaving ½-inch of headspace. Remove any air bubbles and adjust the headspace as needed. Using a clean paper towel, wipe the rims of the jars clean and seal tightly with the sterilized lids.
- Process the jars in the boiling water bath for 10 minutes. Turn off heat and let the jars stand undisturbed for 24 hours then remove from the water. Let the pickled beans rest at room temperature for two weeks to develop the flavor. The sealed jars can be stored in a cool, dark place for up to one year. If a seal has failed, store the jar in the refrigerator for up to one week.