I don’t care whether you like your marshmallow lightly browned or black and on fire—but I bet you like s’mores. They’re one of those quintessential summer foods. Because it’s not summer without a bonfire, and it’s certainly not a bonfire without s’mores! Whenever we get together out at our farm and there are children on board, you can bet we’re having a bonfire. Ah, I can just smell the marshmallows toasting now…
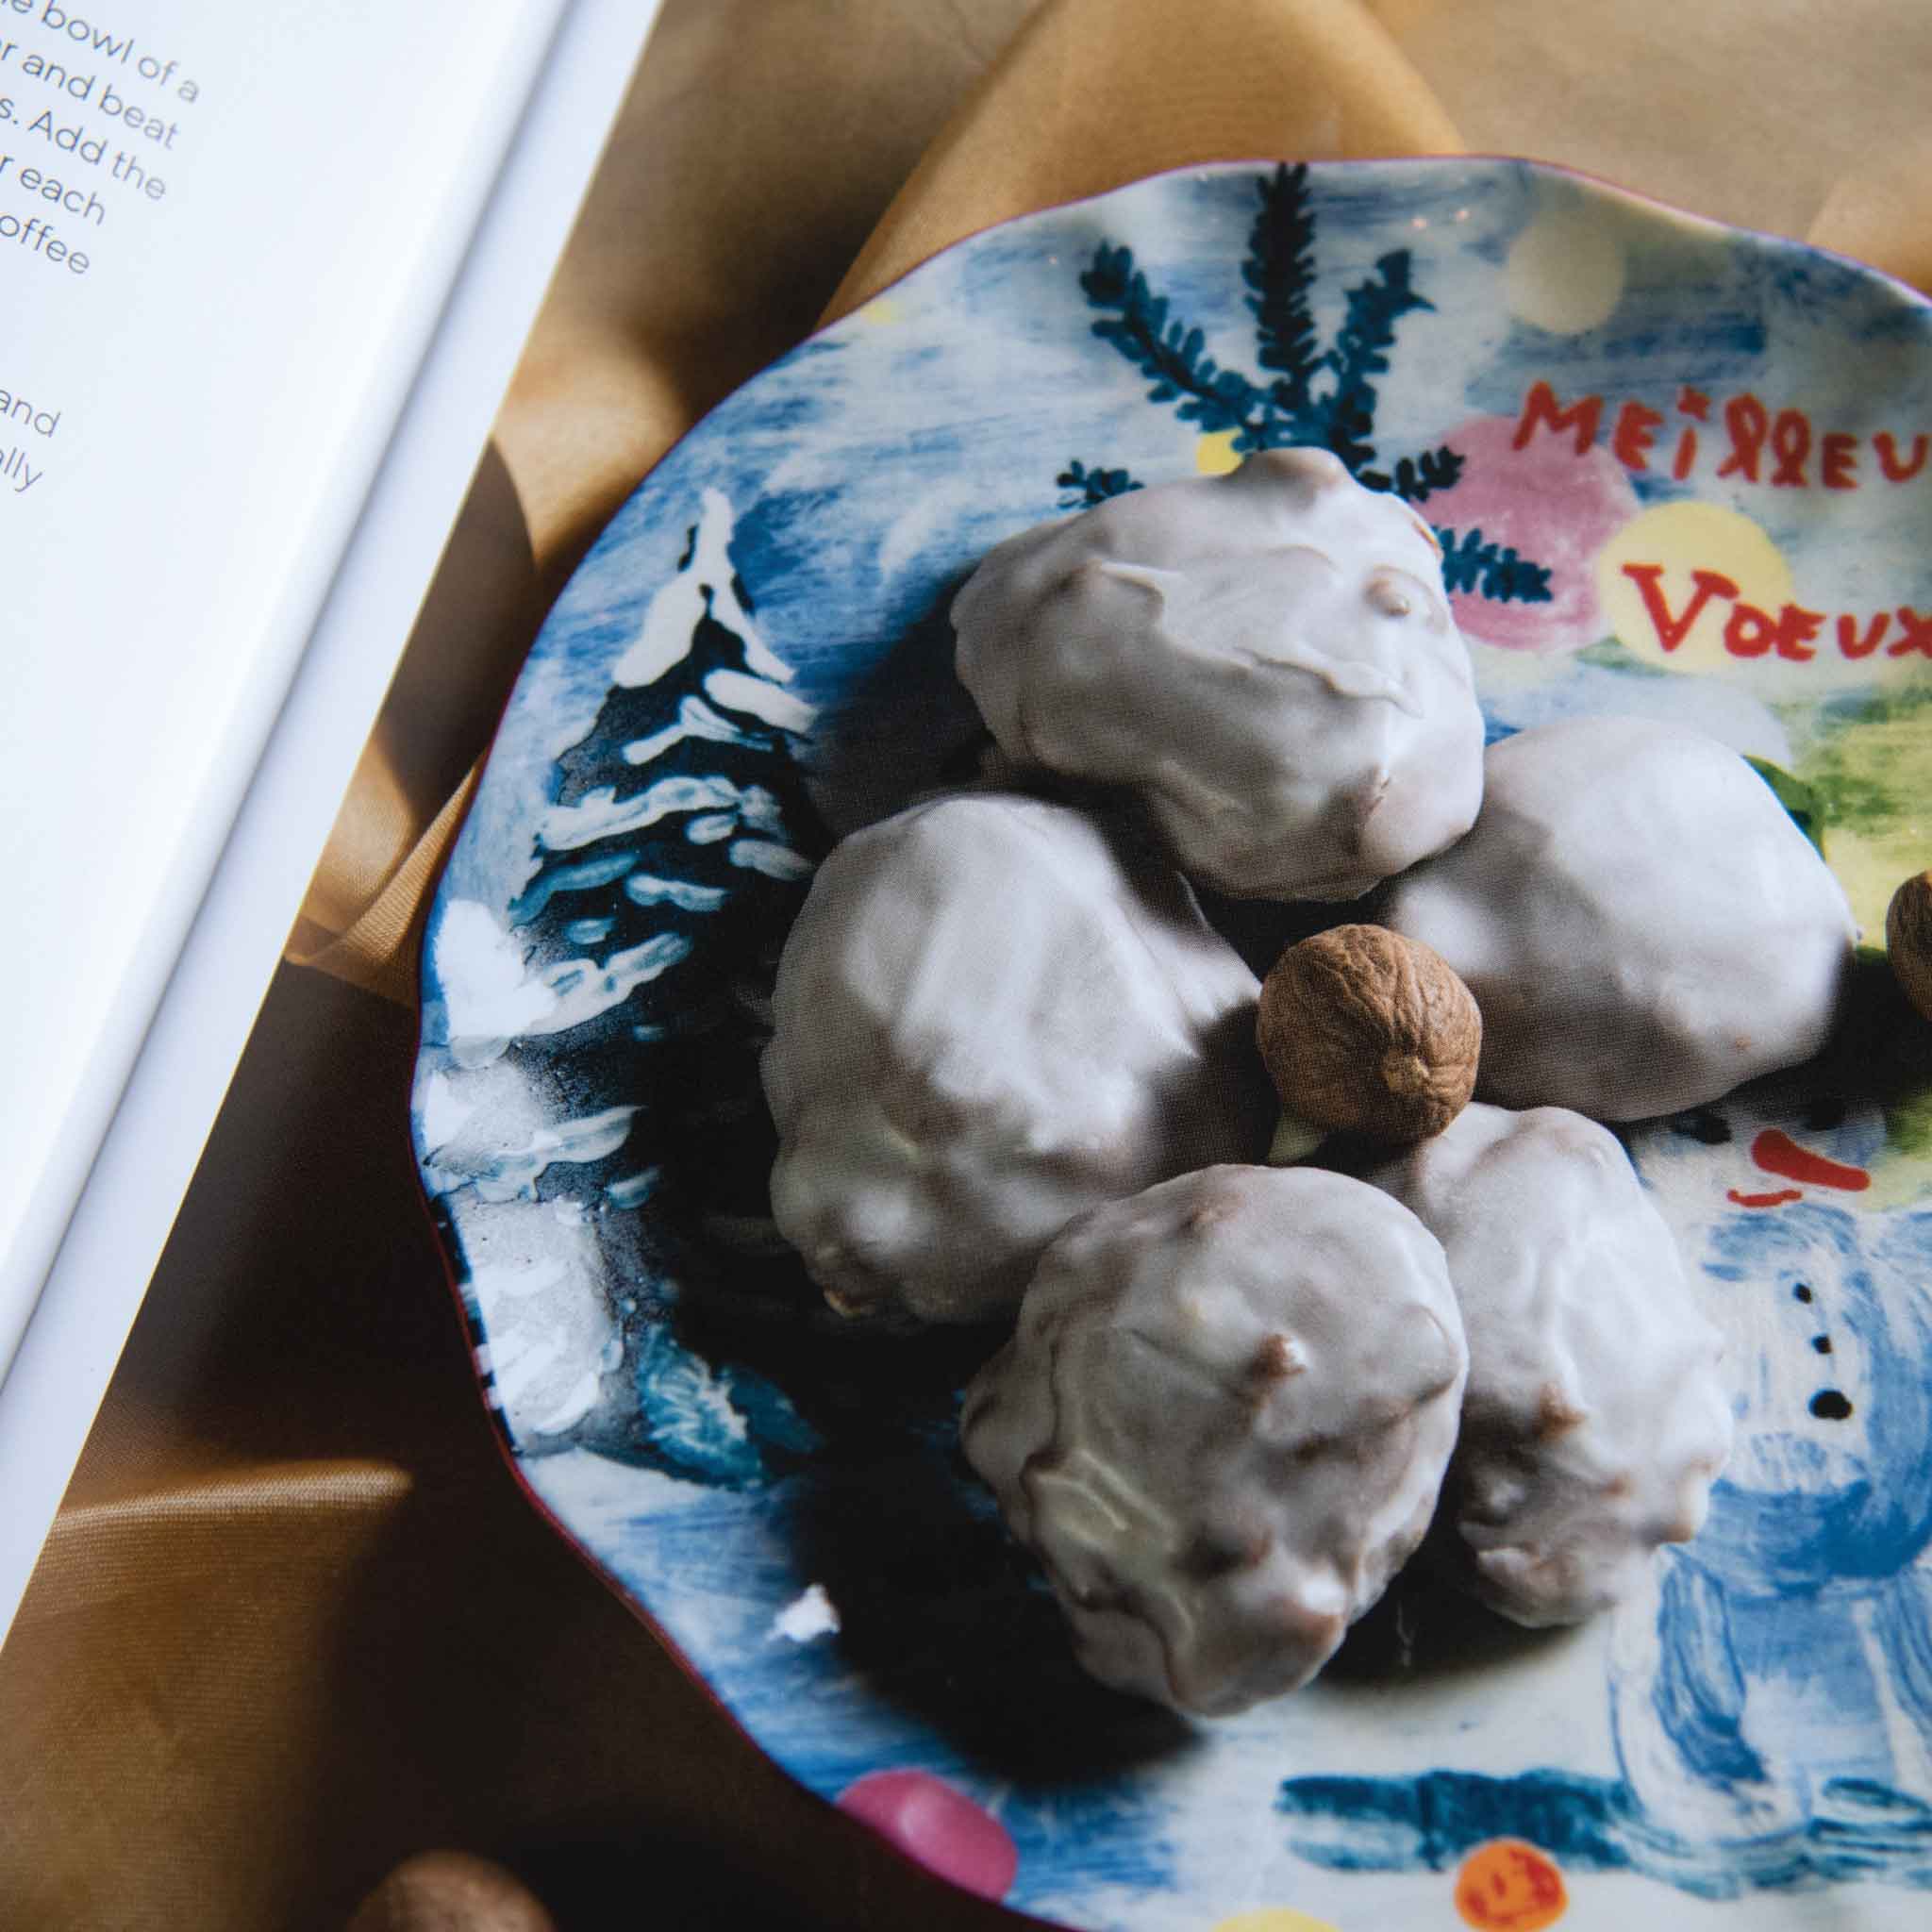
S’mores are all about the kiddos and the homemade marshmallows.
I love hosting any activity that gets the kids involved. It’s so much fun to watch them forage for that perfect stick and then try to toast the perfect marshmallow. The best part? Probably their facial expressions when a marshmallow gets lost in the fire! Ha ha, that’s why we keep plenty on hand. It’s not a problem at all because they’re so dang easy to make, thanks to my dear friend Terri, who has shared her homemade marshmallow recipe with us!

When the kids ask for s’mores and it's not the perfect bonfire weather, don’t fret. I just turn to my handheld kitchen torch to toast them. Browning them up by hand only takes a couple minutes and they are just as good. Bonus: You don’t have to make s’mores. You can also just make marshmallows as their own treat, because marshmallows are delicious no matter what!

Last but certainly not least: what’s the best chocolate to use for s’mores?
If you do make s’mores, there’s nothing wrong with a good old Hershey's chocolate bar. But I must confess—my family LOVES dark chocolate. We add a square of bittersweet chocolate to our ooey gooey s’mores, and it is sooo good. You should try it, too! Trust me. The marshmallow and graham crackers are sweet enough!

Pro tip: store your homemade marshmallows properly or freeze them for up to two months for optimal flavor.
Before you start baking, just keep in mind that you can cut this recipe in half. Your prepared marshmallows can be stored between layers of parchment or wax paper in an airtight container. If you’re storing them at room temperature, you can keep them on your countertop for about two days, otherwise you can freeze them for up to two months. Yum!

Terri Milligan’s Oh-so-gooey Homemade Marshmallows
Ingredients
- 4 envelopes unflavored gelatin (3 tablespoons plus 1 ½ teaspoons)
- 1½ cups water, divided
- 3 cups granulated sugar
- 1¼ cups light corn syrup
- 1½ cups confectioners' sugar (for dusting the final marshmallows)
- 24 squares of graham crackers
- 12 squares of bittersweet chocolate (about 4 chocolate bars)
- 12 large homemade marshmallows
Instructions
- To make the marshmallows: Place the gelatin and ¾ cup water in the bowl of a stand mixer fitted with the whip attachment. Let sit while you are preparing the sugar/corn syrup mixture.
- Prepare the pans: You will need two 8x8 inch pans. Spray the bottom and sides of both pans with nonstick cooking spray. Cut two pieces of parchment paper into 8-inch by 12-inch rectangles. Place the cut parchment paper into each pan so the ends drape over two sides of the pan. Spray the parchment paper generously with nonstick cooking spray.
- Place the sugar, corn syrup, and remaining ¾ cup of water in a small, heavy saucepan. Avoid using an aluminum pan as the sugar may crystallize on the side of the pan.
- Heat on medium until the mixture reaches a temperature of 238 degrees. You will need a candy thermometer to check this.
- Once the temperature is reached, turn the mixer on at medium speed. Slowly and carefully pour the hot sugar syrup into the mixer. Once all the sugar water is added, increase the speed to medium high. Beat the mixture until it becomes white and fluffy; about 12 to 14 minutes.
- Spray a spatula with nonstick cooking spray and divide the marshmallow mixture between the two prepared pans. Because the marshmallow mixture is sticky, spraying the spatula with nonstick cooking spray makes it easy to transfer the mixture to the prepared pans. Using the spatula, lightly smooth out the top. Let the marshmallow mixture cool in the pans at room temperature for 3 hours.
- Place a large piece of parchment paper on your work surface and dust it liberally with confectioners’ sugar. Using the parchment overhang, lift the marshmallow mixture out of the pan. Flip the marshmallow square over onto the dusted parchment—move slowly and carefully to avoid creating a sugar cloud! Sprinkle the top of the marshmallow square liberally with confectioners’ sugar.
- Spray a sharp chef’s knife with nonstick cooking spray. Cut the marshmallows into 12 large squares. Roll the cut sides of each marshmallow into additional confectioners’ sugar. Continue this process with the remaining pan of marshmallow.
- Store the marshmallows between layers of parchment paper in an airtight container. The marshmallows can be stored at room temperature for two days or in the freezer for up to two months.
- Place 12 squares of graham crackers across your work surface. Top each cracker with a square of bittersweet chocolate. You can toast the marshmallows outside over a fire or simply use a handheld kitchen torch to toast them. I just plop my marshmallow on the s’more and use the torch to toast it right there.
- Top each marshmallow with another cracker and give each s’more a gentle push on the top to smush down that delicious, toasty homemade marshmallow!

