Baking can be a daunting proposition. Whether you’re a beginner cook or already a whiz in the kitchen, the world of cookies, brownies, and bars can seem intimidating. But don’t worry! There are some concrete steps and general principles you can follow to keep disasters to a minimum and steer you onto the right path to better baking. Here are a few of my favorite tips and techniques that will help you achieve a picture-perfect batch of cookies every time!
For even more tips, keep checking back with the blog for Parts 2 and 3!

#1 Know your recipe! Familiarize yourself with all the instructions and the ingredient list before getting started.
This might seem like a no-brainer, but be honest: How many times have you jumped in and started making something without fully reading the recipe all the way through? This simple tip will help you plan out all the ingredients, tools, and resources you’ll need before you get in too deep. Take time to measure out all of your ingredients accurately and have them handy. You don’t want to get halfway through the process only to find that the next step requires an ingredient or tool you don’t have. Oh, and don’t forget to preheat your oven (see tip #5)!

#2 Don’t go out of order
Some say baking is an art. And it can be. But it’s also definitely a science. And like any science, it requires that tasks are completed and components are added in the right order to ensure the best possible outcome. For example, eggs should be added one at a time. Eggs added all at once won’t emulsify (meaning to mix together two or more liquids that normally wouldn’t mix) properly with the fat in the butter. If the egg isn’t well mixed in before the next one is added, the emulsion can break.
If you’re making a particular cookie for the first time, it’s especially important that you follow all the steps in the right order; you can always experiment with alterations in later batches.

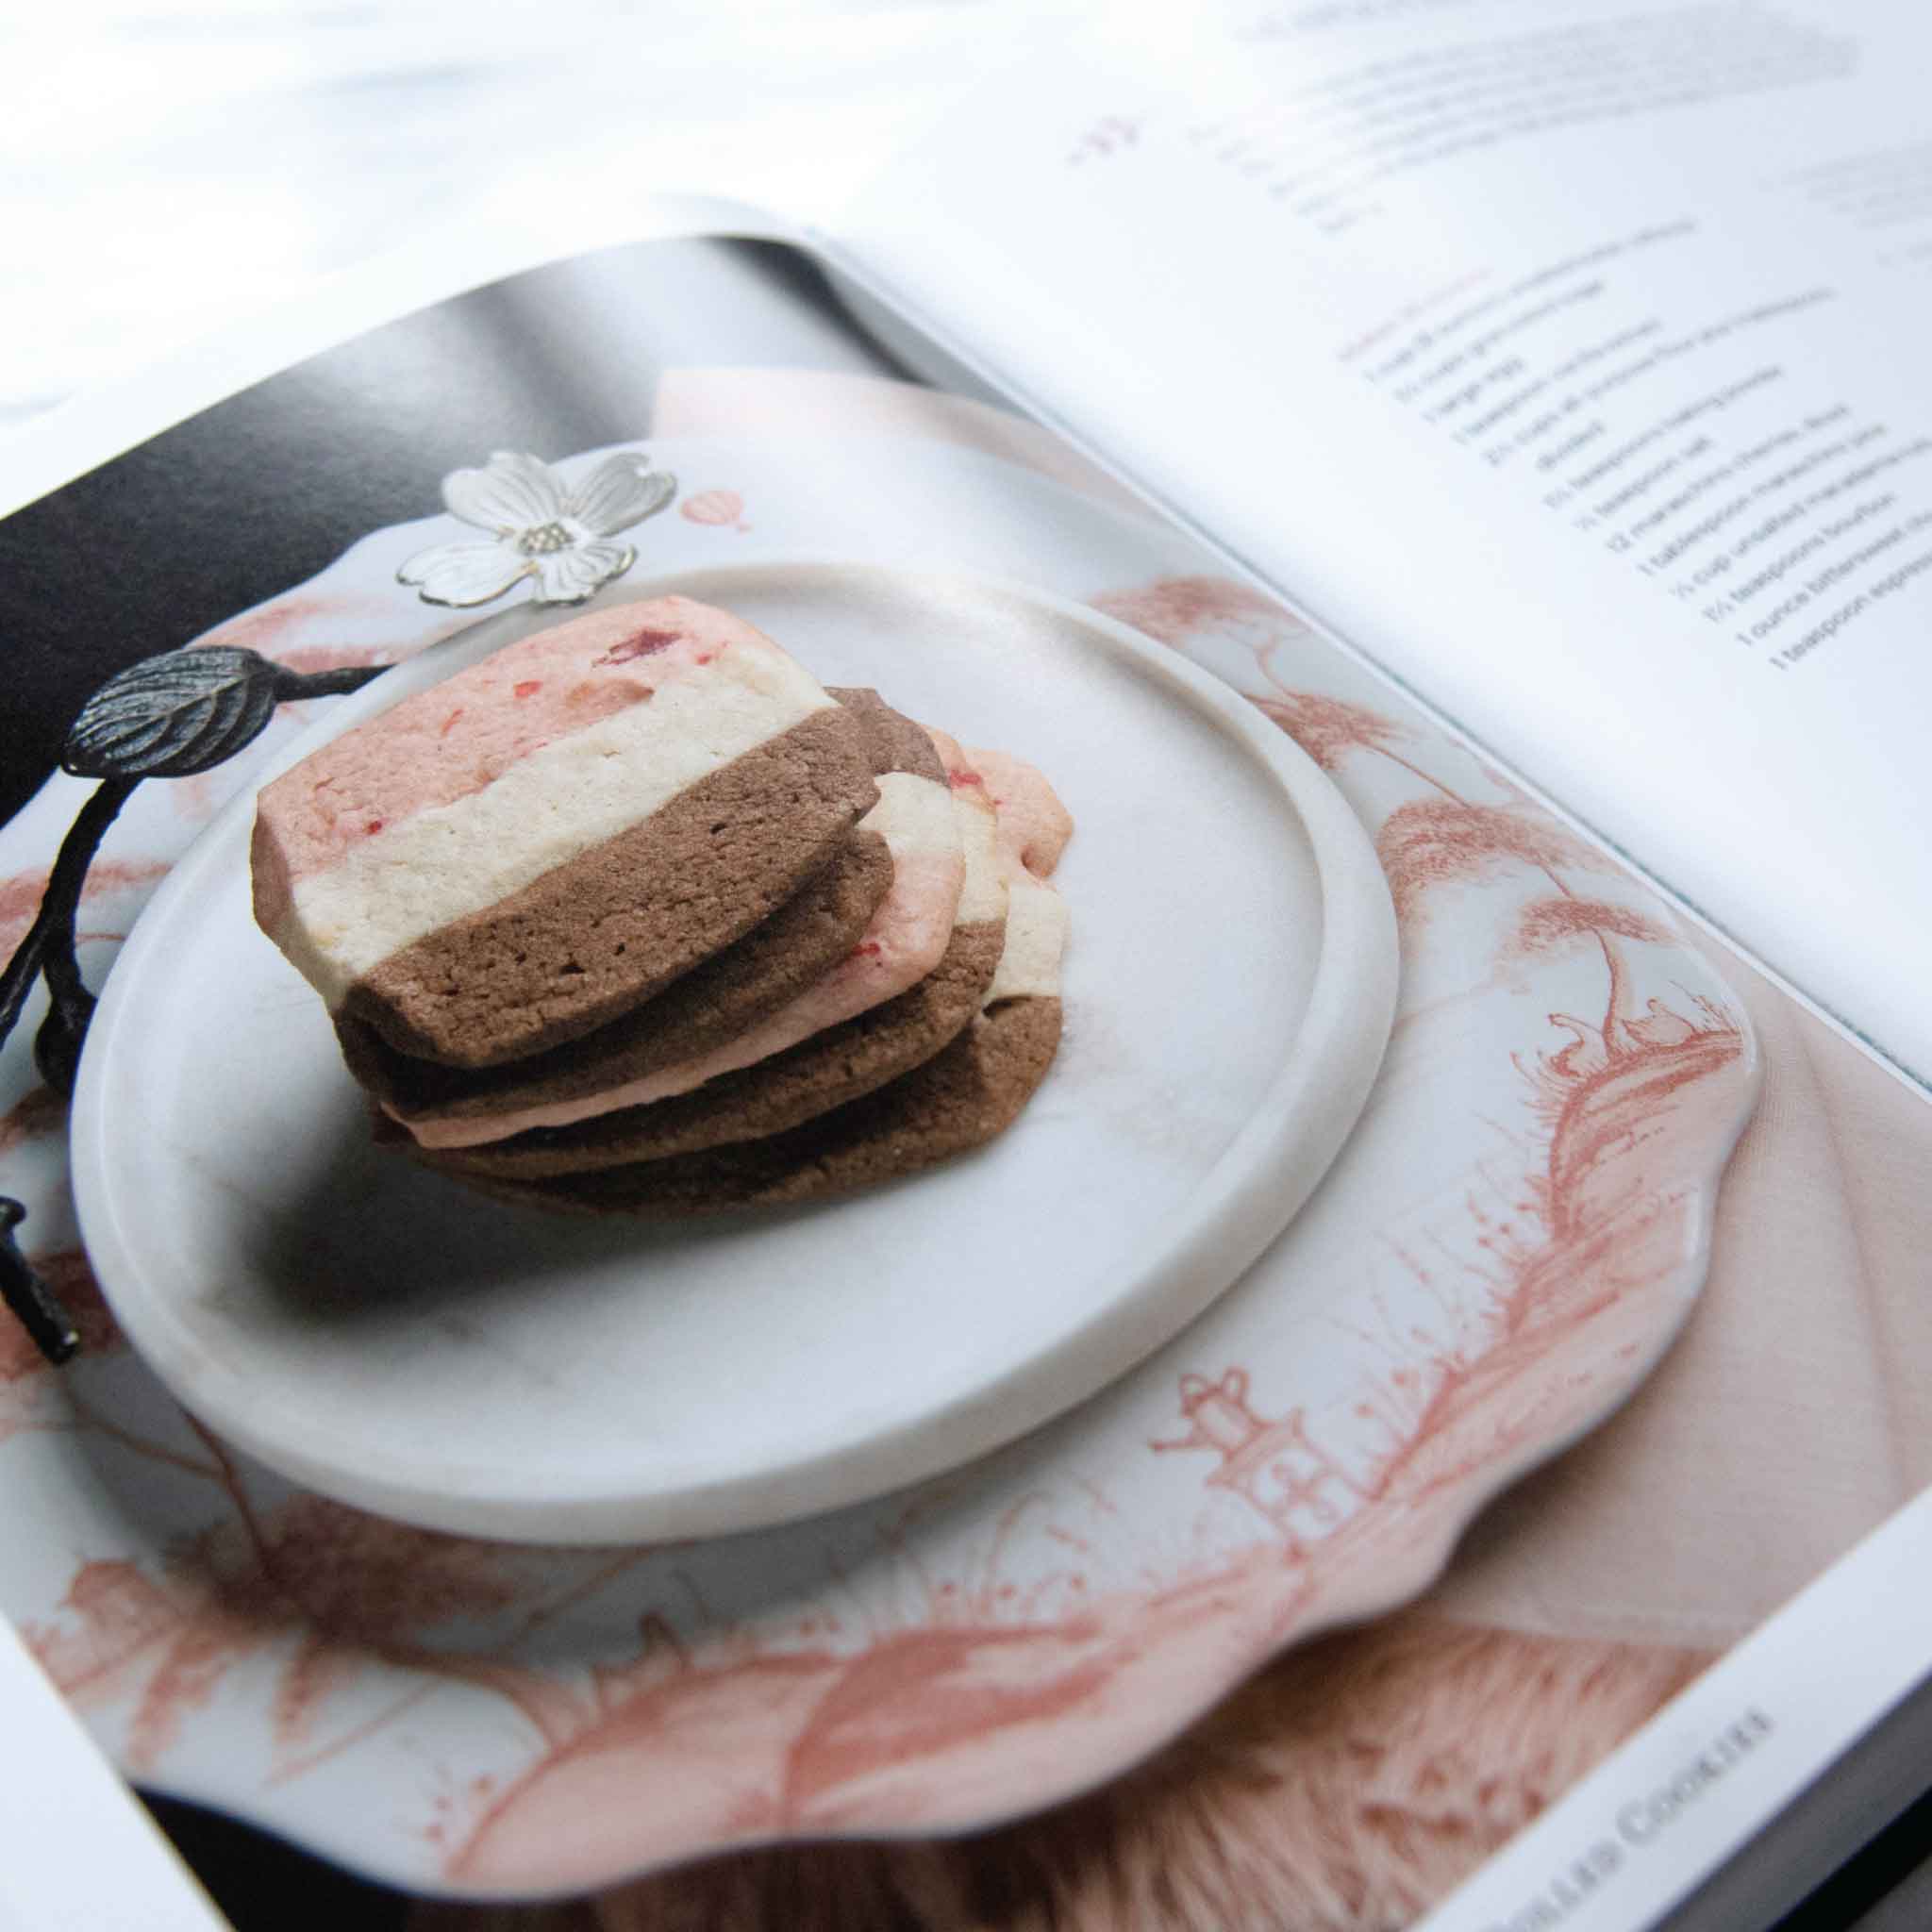
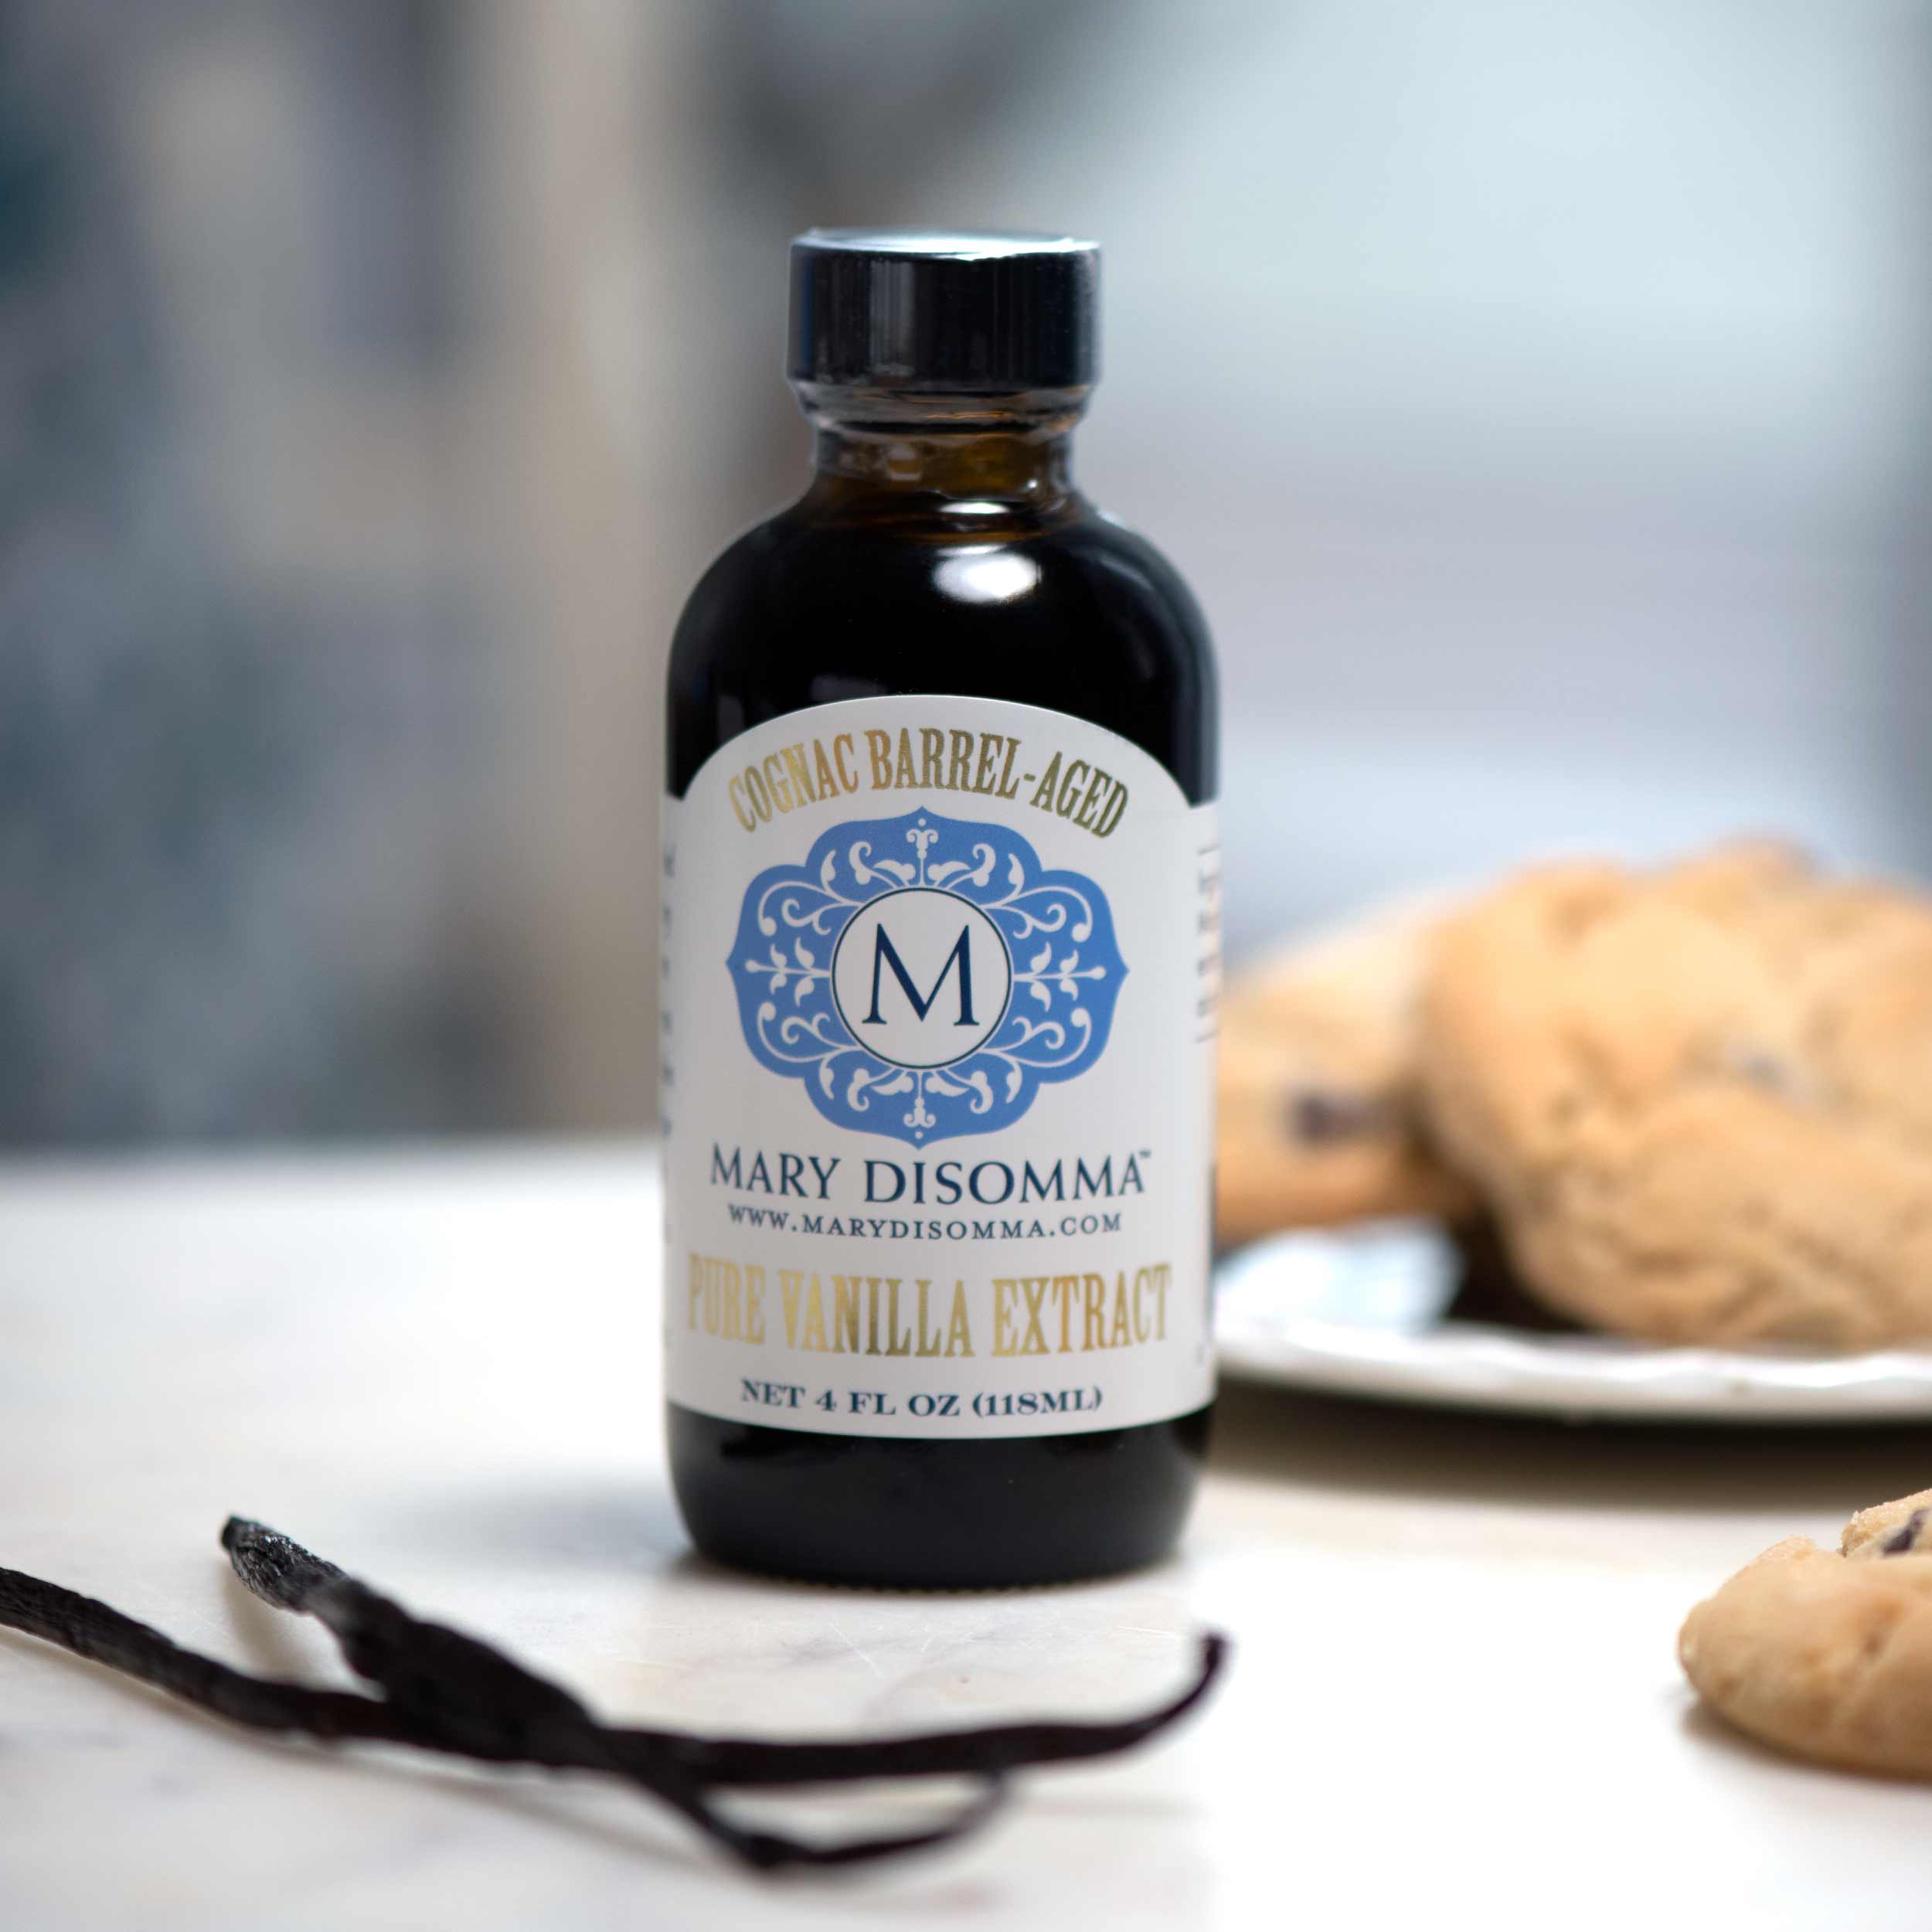
#3 Get the best ingredients you can!
Again, this might seem obvious, but the better the ingredients you put in your cookies, the better they will be. Freshness matters, so make sure to smell and taste nuts (for example) before you add them. When purchasing chocolate, look for the best you can afford; you’ll taste the difference. The type of butter you use can also have a significant impact on the quality and texture of your cookies. If you can get your hands on it and it won’t break the bank, high-quality European butter has a lower water content and higher fat content than domestic U.S. butter, which helps eggs and butter emulsify.

#4 Remember the salt!
This might seem counterintuitive, given that our goal is to make sweet snacks and treats. I know that when I first started baking, I didn’t understand the value of adding salt to a cookie recipe. I’ve since learned: Don’t skip the salt! Adding salt actually helps bring out the sweetness and flavor of the cookies. Without this flavor enhancer, the secondary flavors in a cookie fall flat and the sweetness can take over. Salt also strengthens the protein in the dough, making for chewier cookies. Like I said: it’s definitely a science.
#5 Calibrate, calibrate, calibrate.
You think your oven is set at 350 degrees, but your cookies keep burning. What's happening?
Most likely, your oven isn’t properly calibrated, and unless you have it calibrated regularly, your oven’s temperature is probably inaccurate. It’s this inaccuracy that can cause your cookies to have under-baked centers, be over-browned, or bake unevenly. Don’t panic! An oven thermometer will hold your oven accountable, especially a dial display thermometer.
So before you buy expensive ingredients and spend hours preparing dough only to have an entire batch ruined, take steps to ensure your oven is “oven ready.”