Baking can be a daunting proposition. Whether you’re a beginner cook or already a whiz in the kitchen, the world of cookies, brownies, and bars can seem intimidating. But don’t worry! There are some concrete steps and general principles you can follow to keep disasters to a minimum and steer you onto the right path to better baking. Here are a more few of my favorite tips and techniques that will help you achieve a picture-perfect batch of cookies every time!
For even more tips, check out Part 1 of my Keys to Better Baking, and keep coming back to the blog for Part 3!

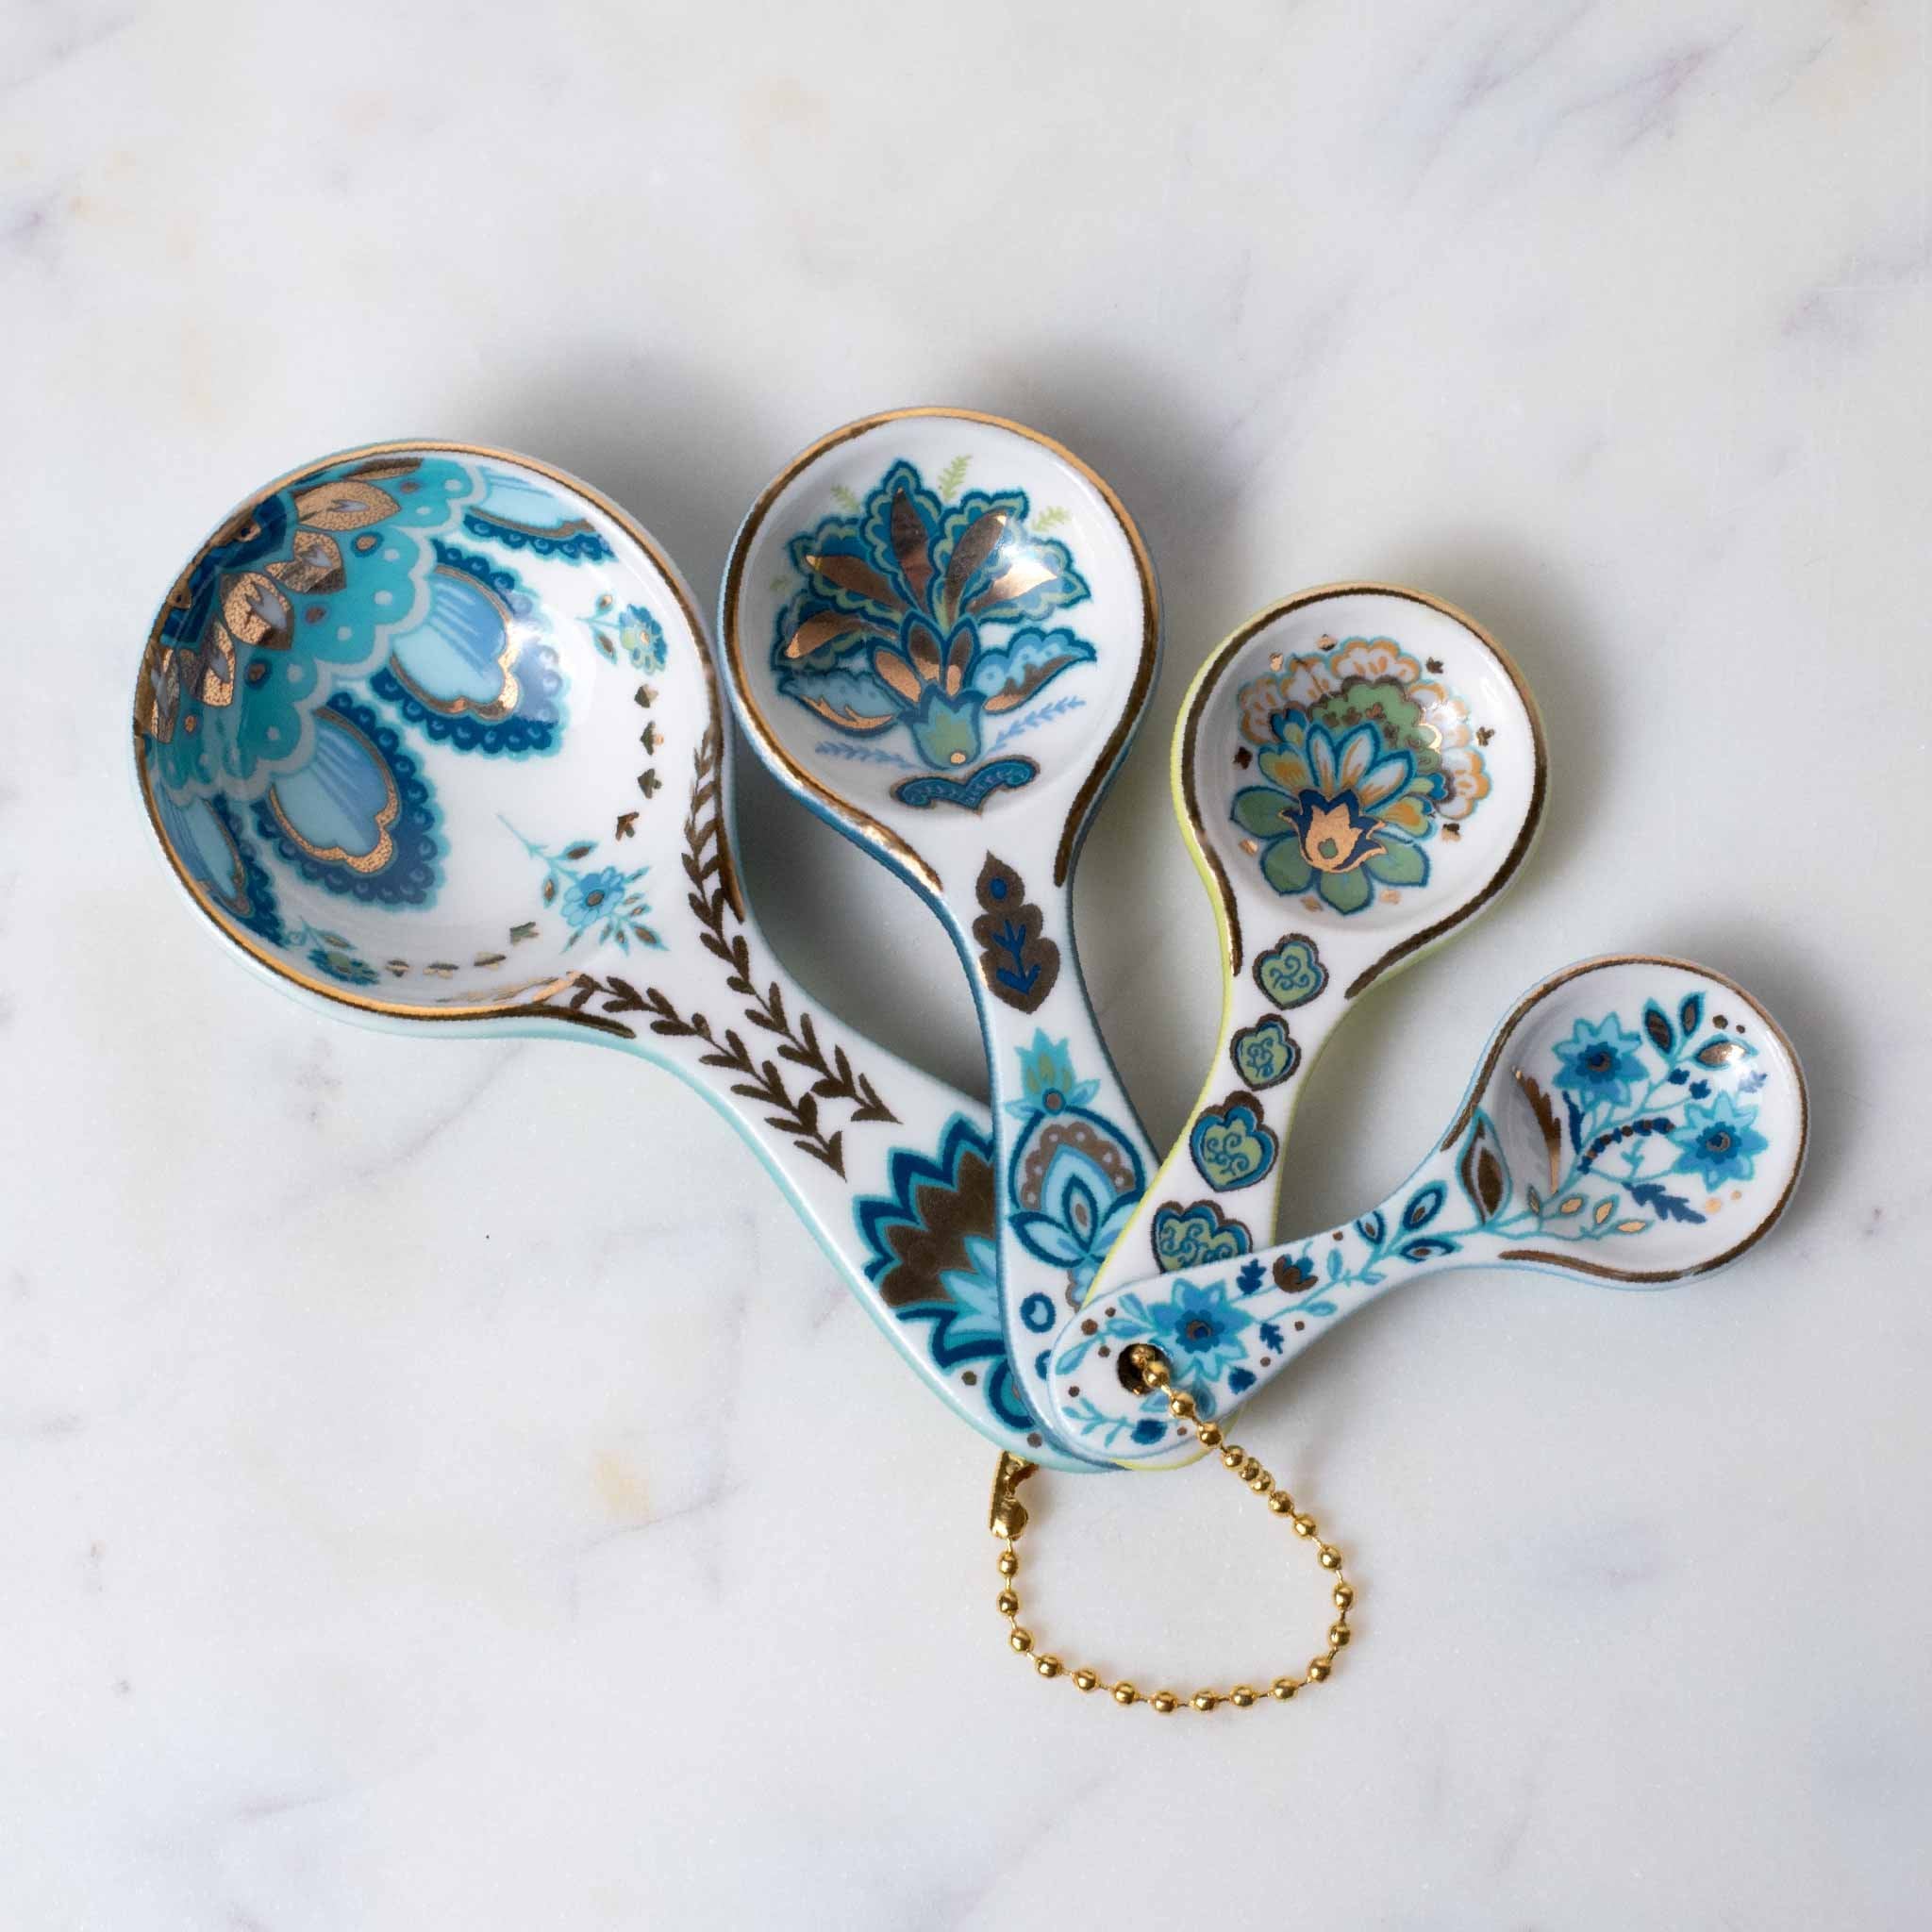
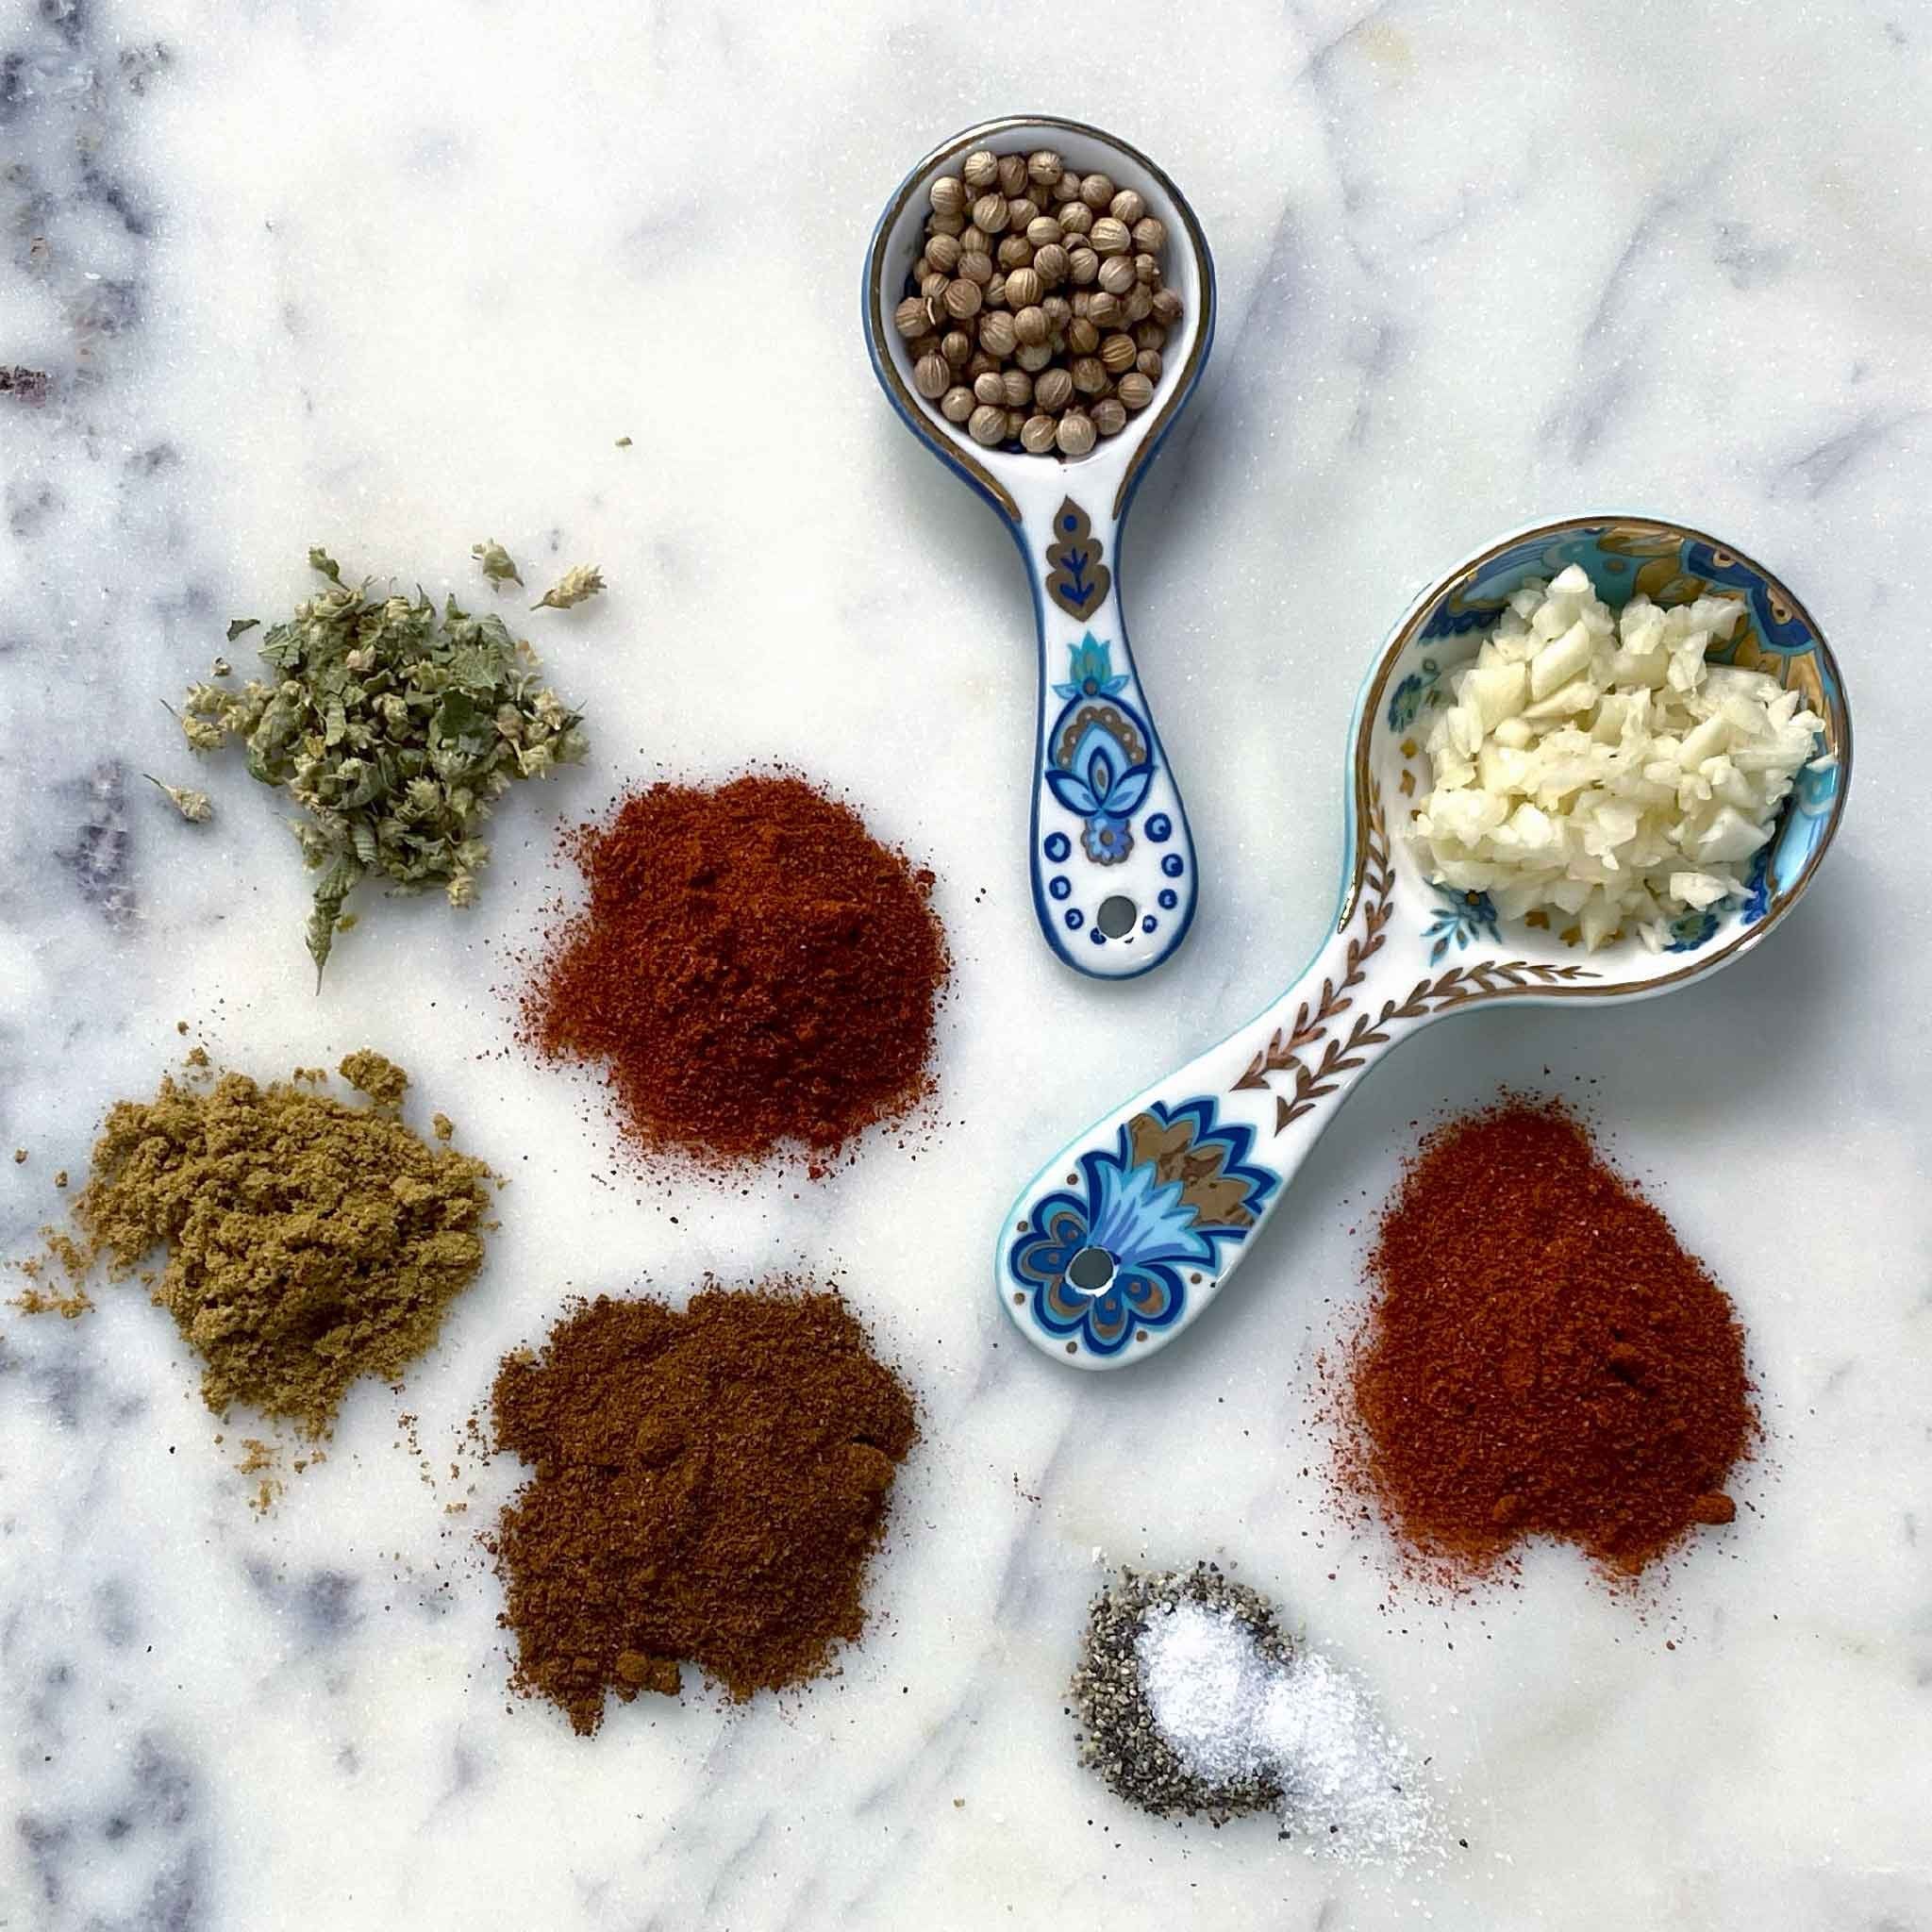
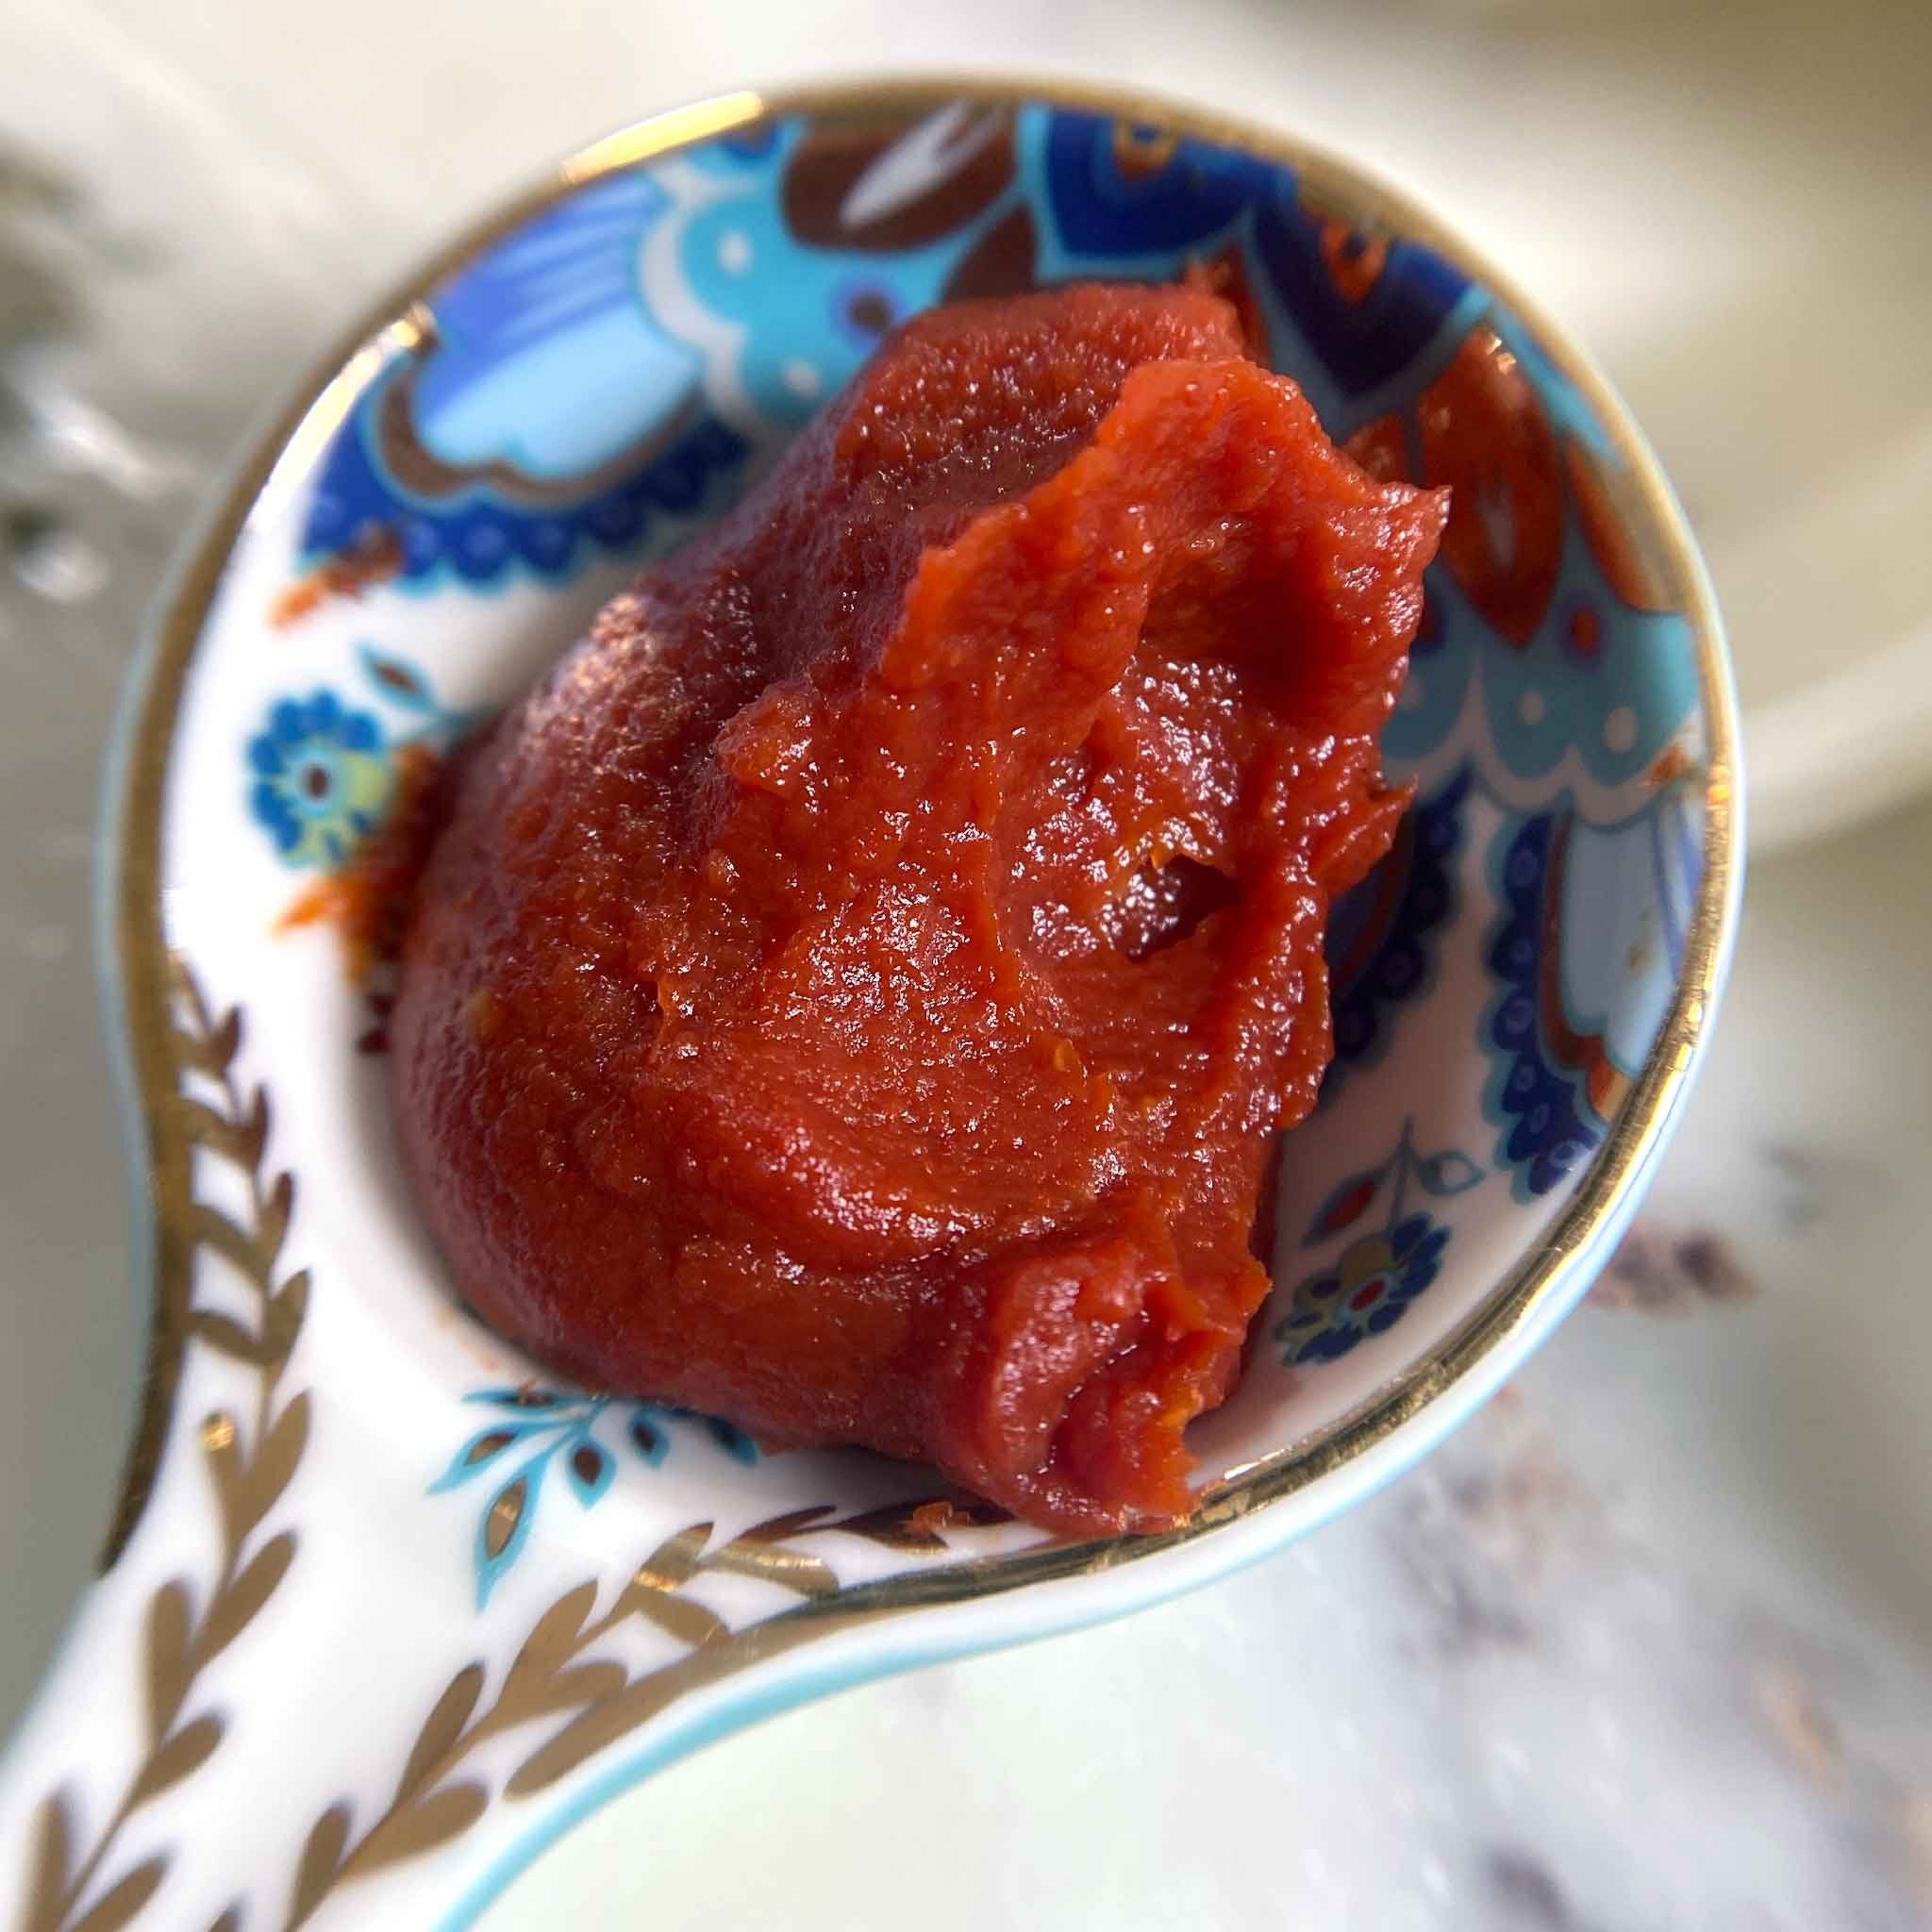
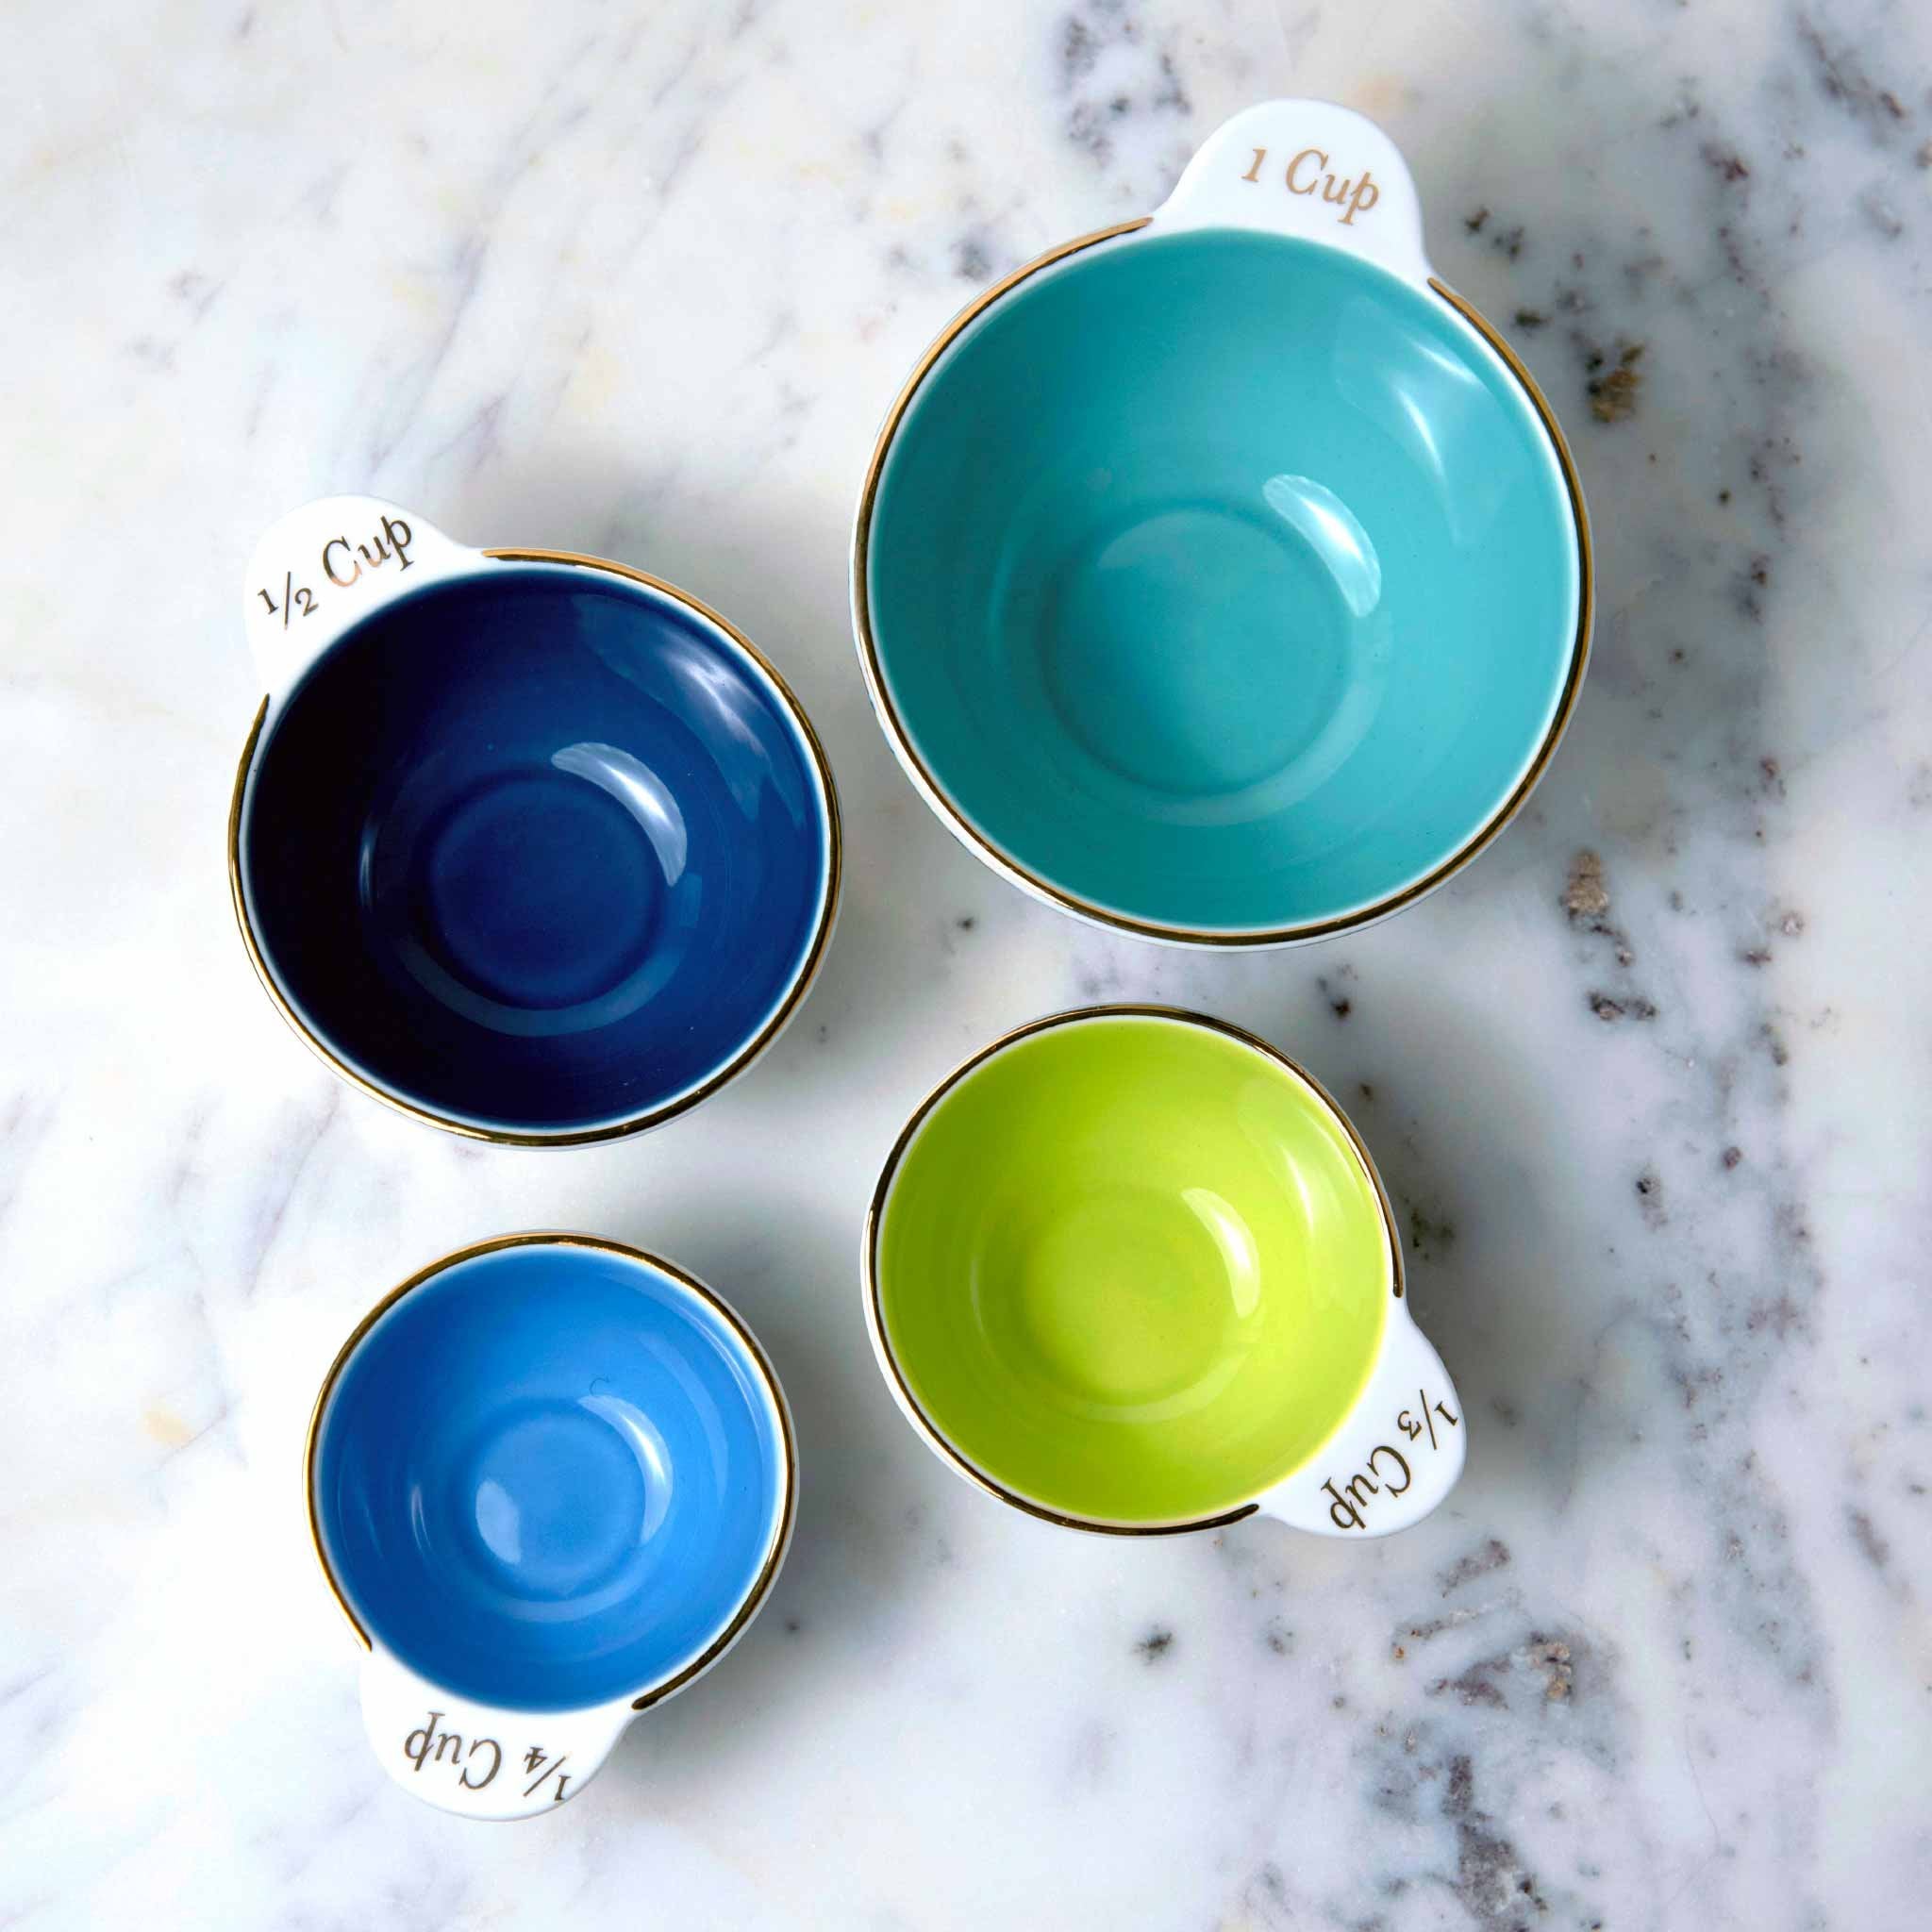
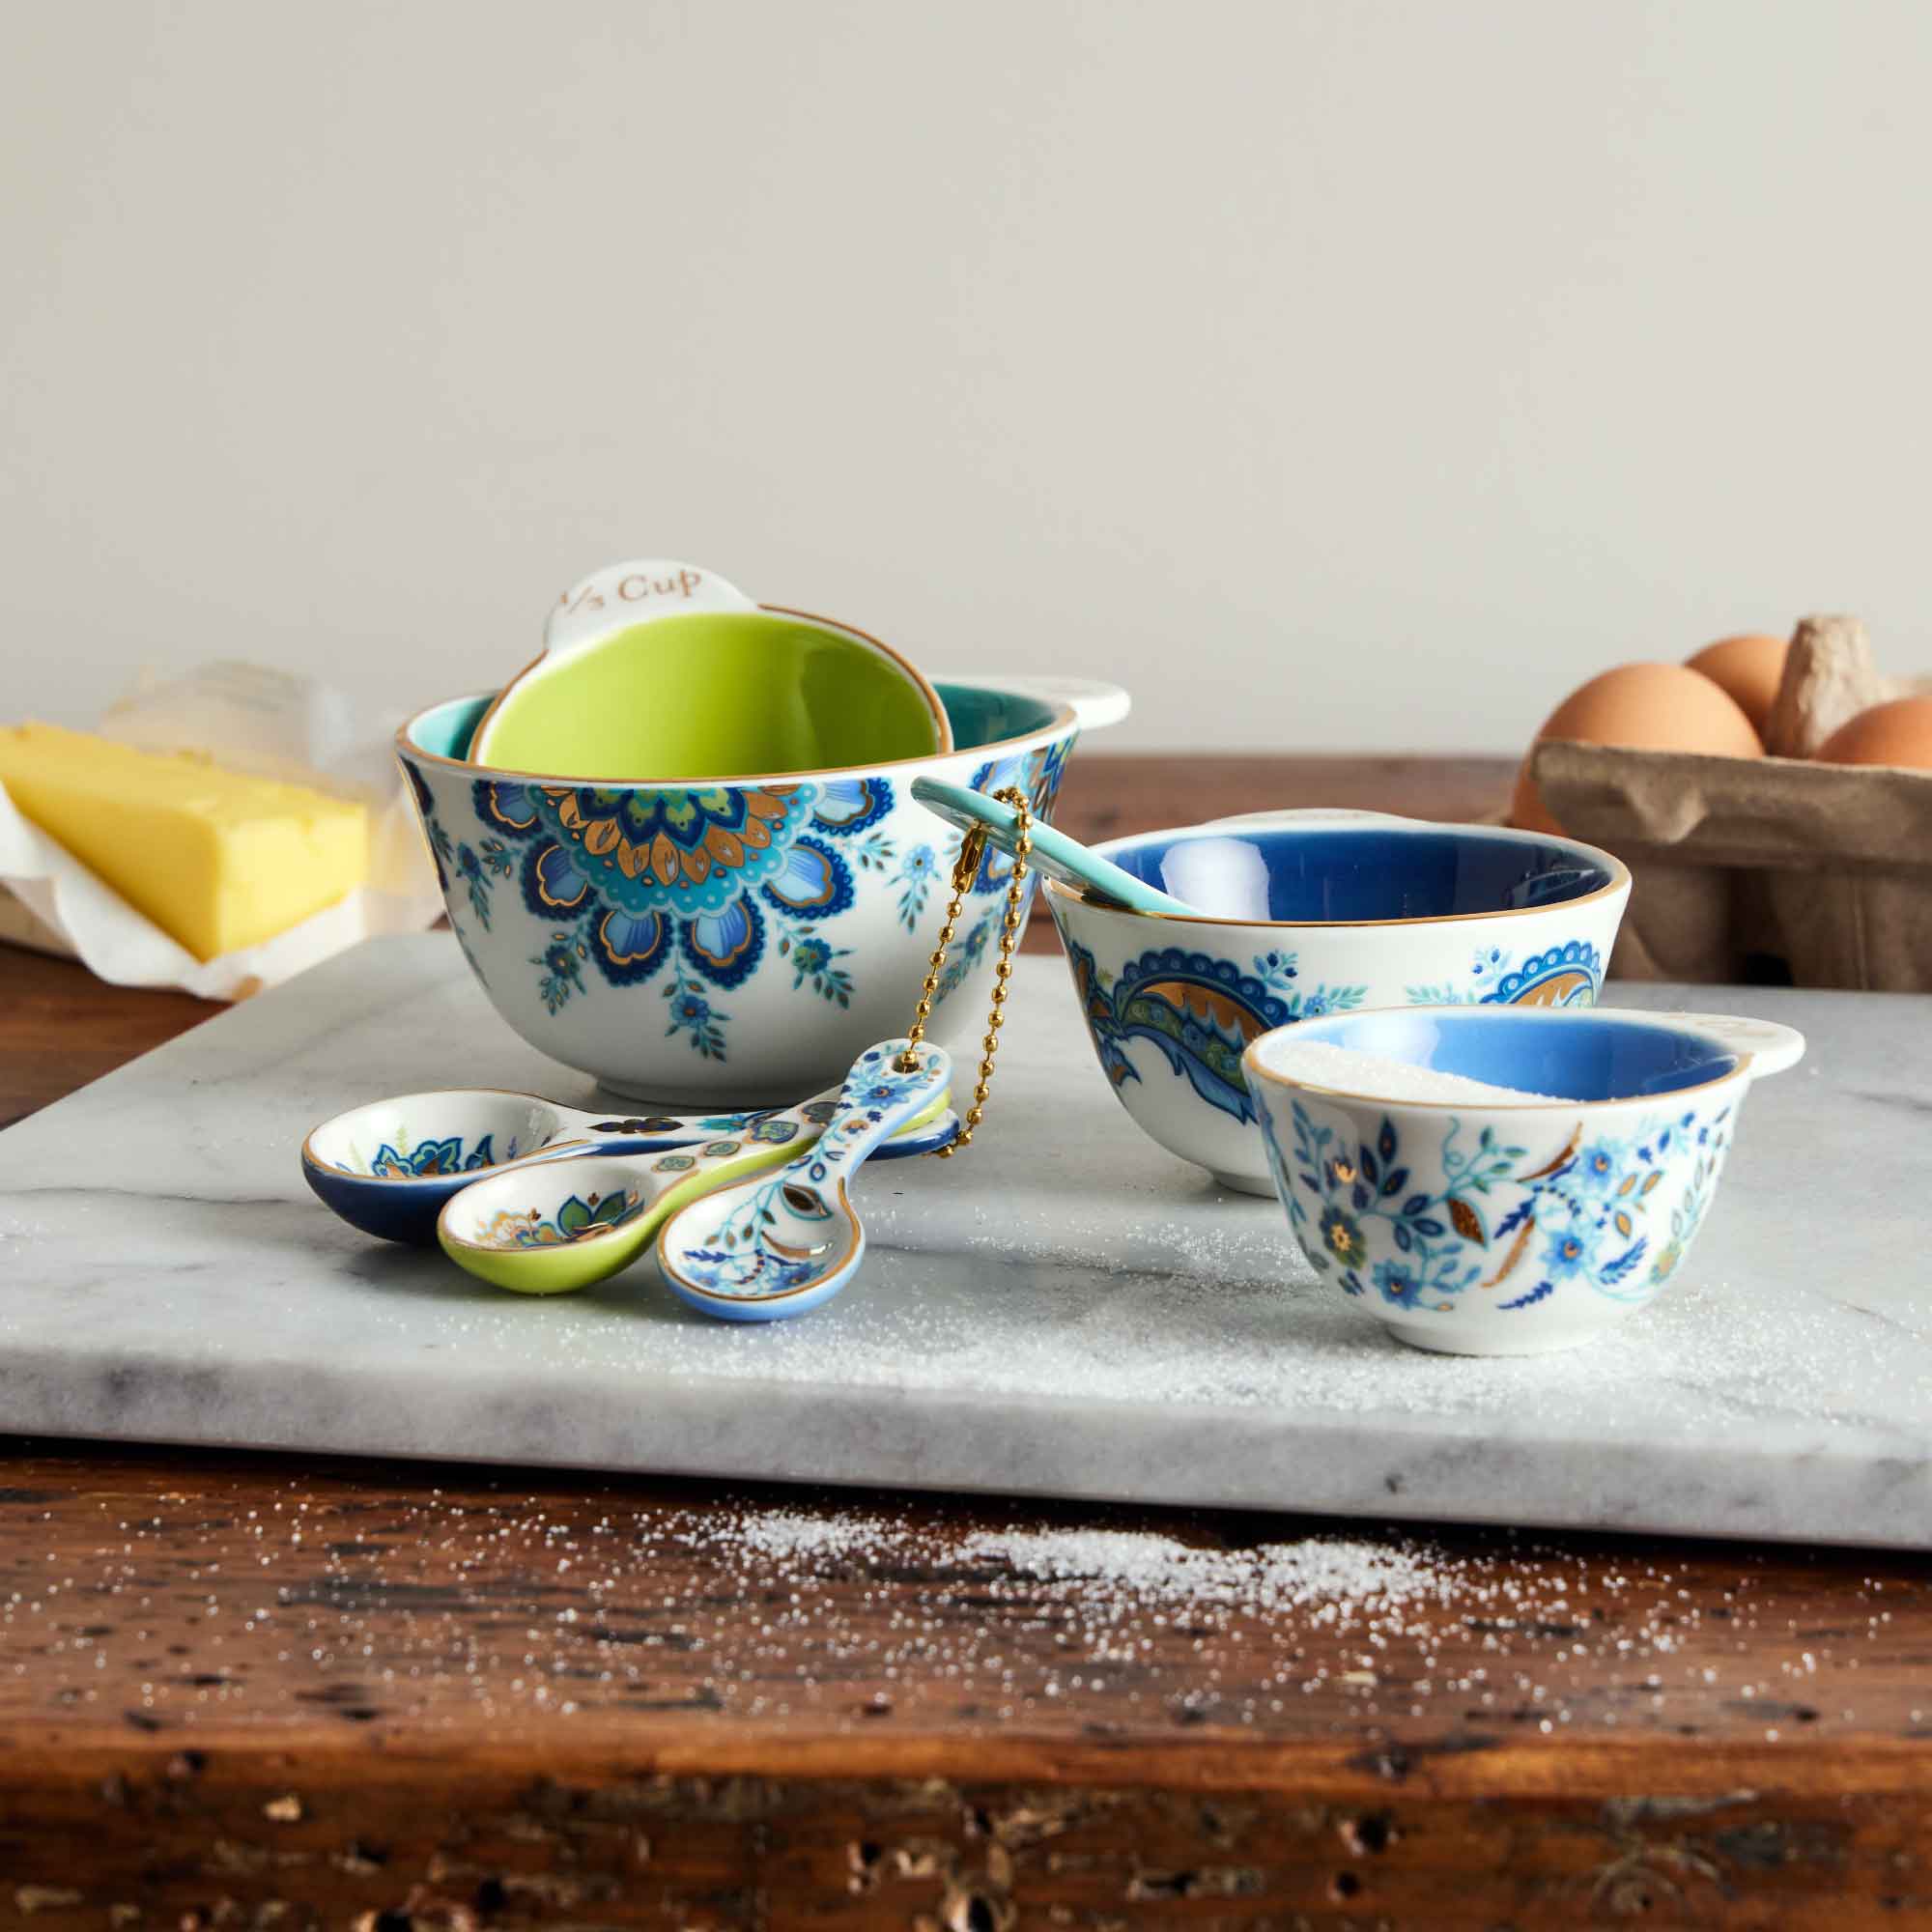
#6 Measuring matters!
Make sure to use the proper measuring cups for liquid and dry ingredients. Inaccurate measurements will affect your results. Weighing dry ingredients, like flour, will give you the greatest accuracy. For example, 1 cup all-purpose flour equals 4¼ ounces or 125 grams. The second-best way to measure flour is the spooning method: Use a large spoon to fill the measuring cup, then level off the top with a knife. If you have to use the dipping method, make sure to stir the flour first, then dip your measuring cup until it’s overfilled. Then, simply sweep off the excess with a knife or spatula (resist the temptation to tap the knife against the cup).
It can be difficult to measure and pour sticky ingredients, like honey and molasses; a little trick that I use is to coat the liquid measuring cup with cooking spray first. Your ingredients will slide right out!

#7 Too hot to handle? The importance of ingredient temperature.
Ingredients work differently depending on their temperatures. For example, eggs, especially egg whites, work best at room temperature. You will get much more volume if they are whipped at room temperature. Butter is usually used at room temperature in a slightly softened form. Room temperature butter should be pliable enough that your finger can leave a mark in it without it being soft and greasy. It can take anywhere from 30 minutes to an hour for refrigerated butter to soften to room temperature. If your butter is too cold, your dough will be too dense. If your butter is too warm, your dough will be greasy. You can help butter get to room temperature faster by cutting it into small pieces. Also, liquid measuring cups come in handy for melting butter in the microwave.
Note: The exception to room temperature butter is when it’s being incorporated in a pastry crust. Then, the colder, the better!

#8 Dough Do’s and Dough Don’ts
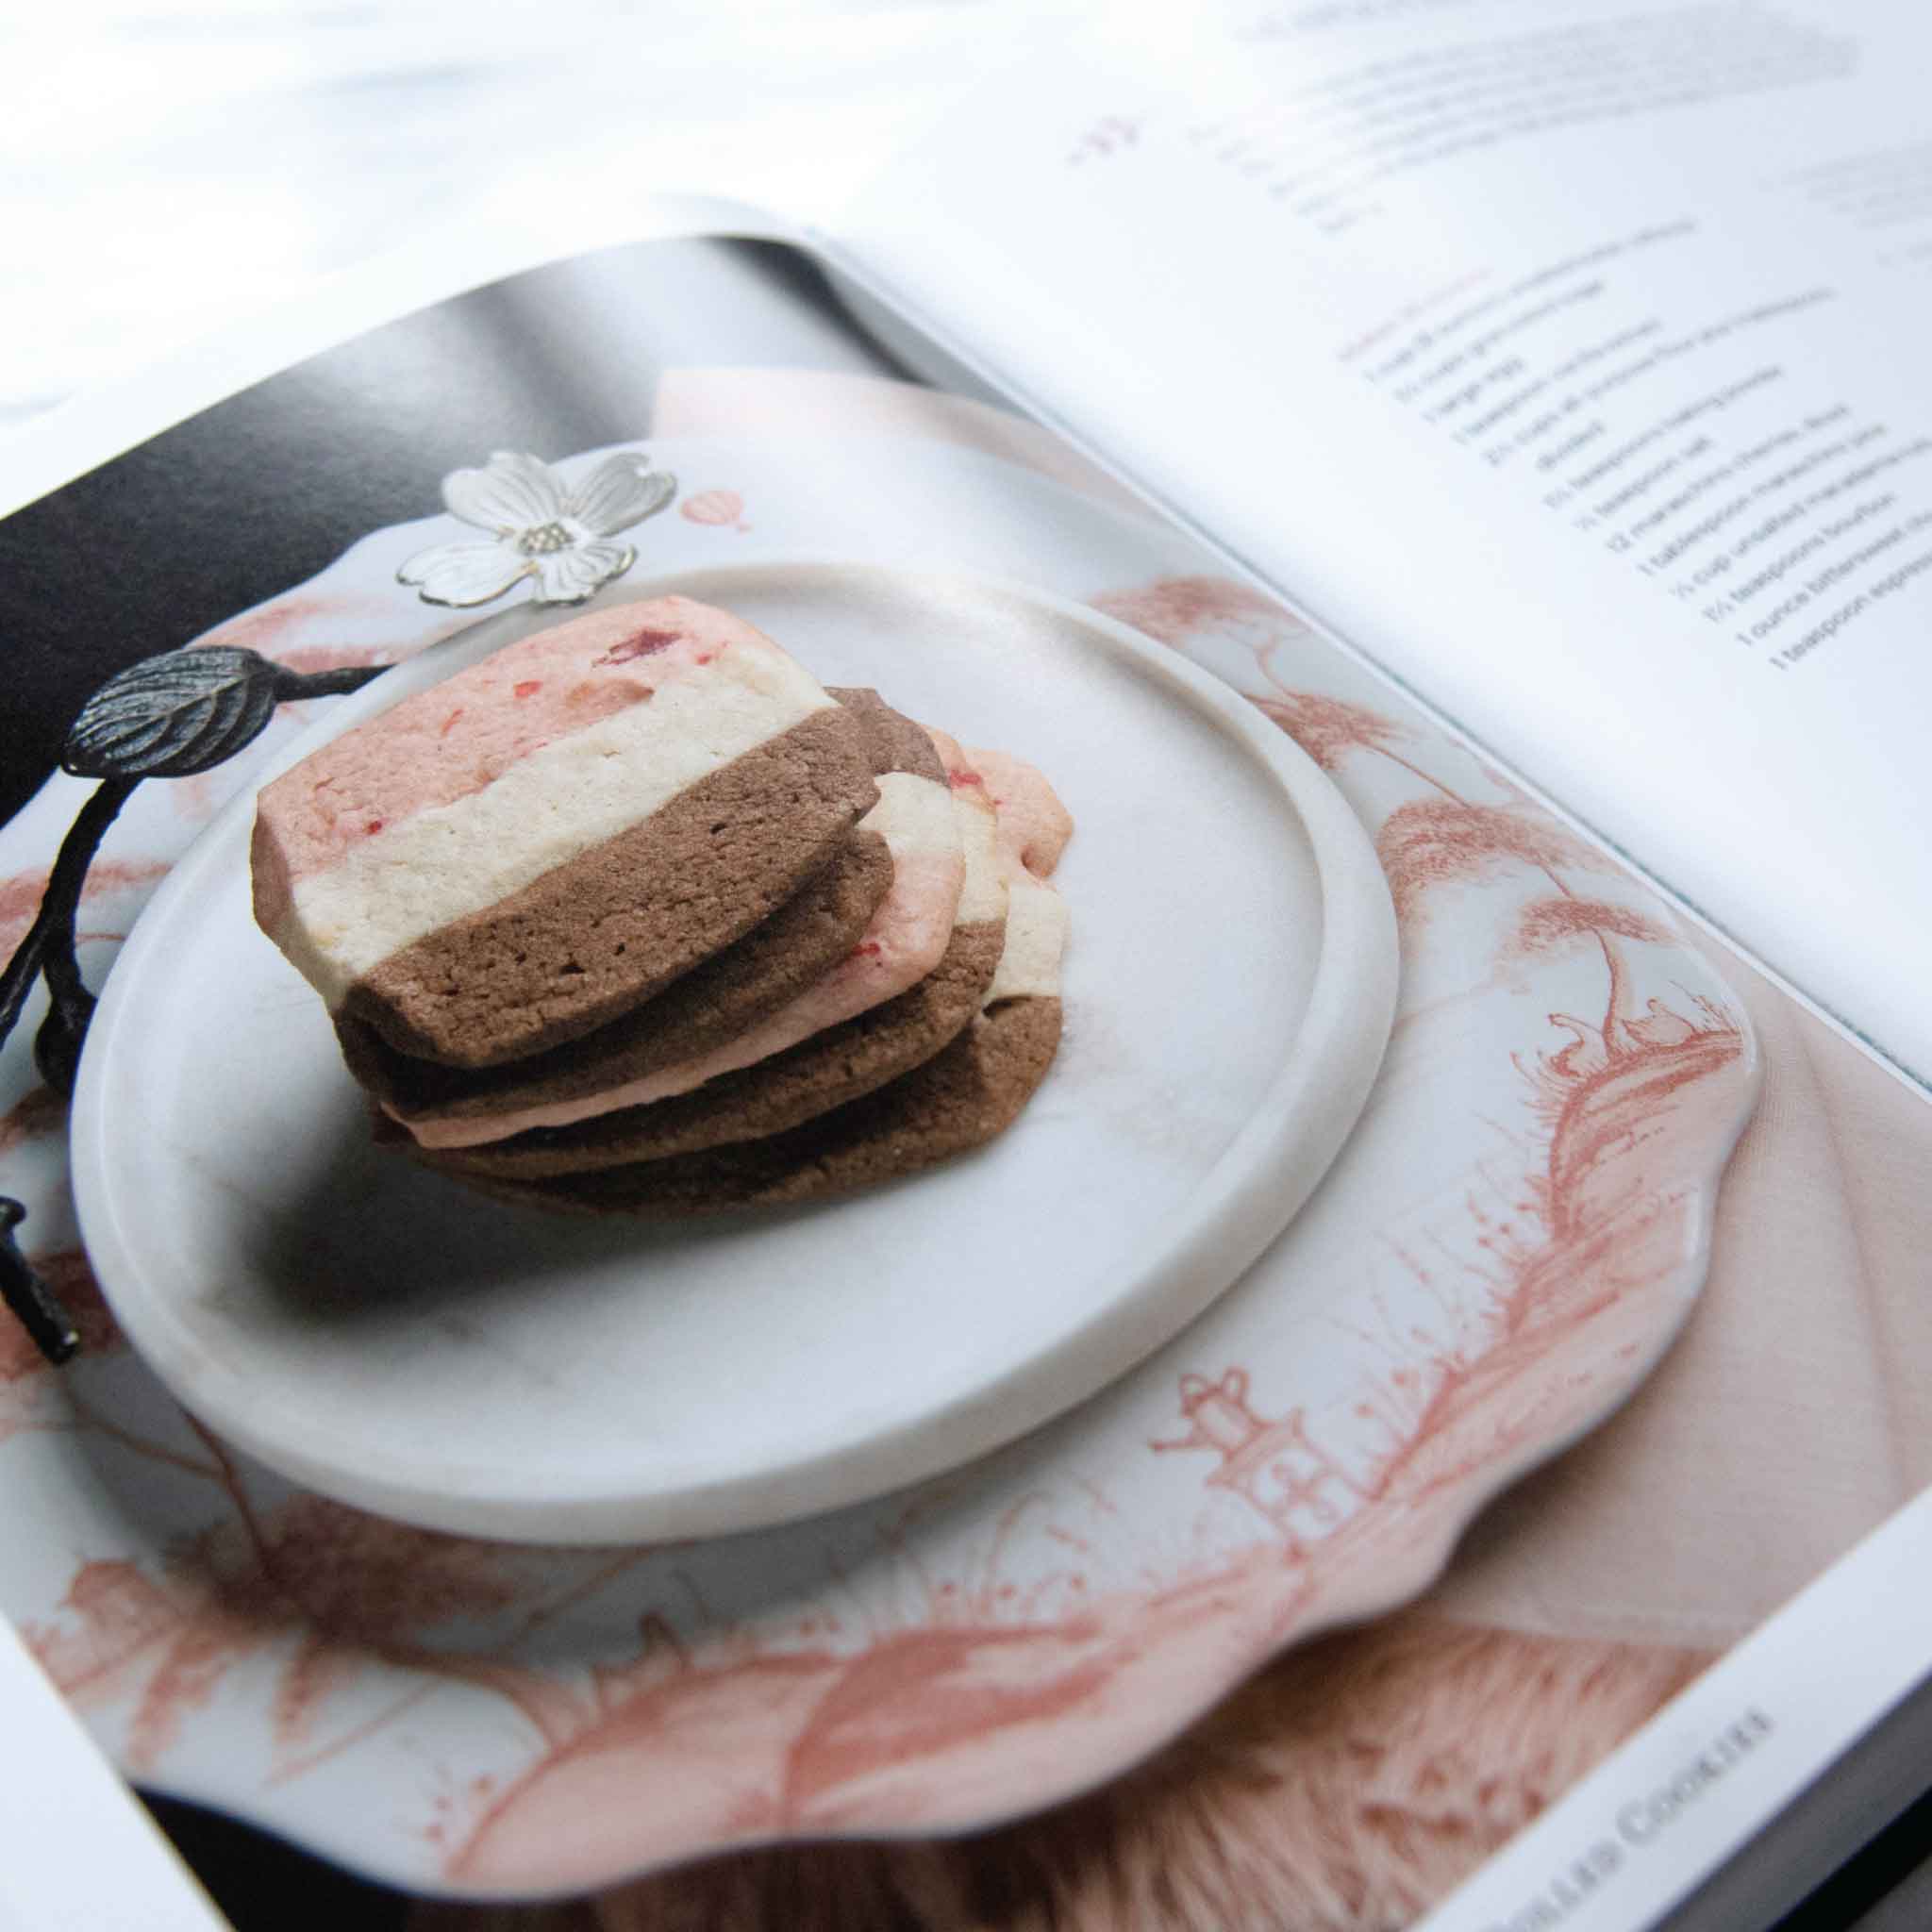
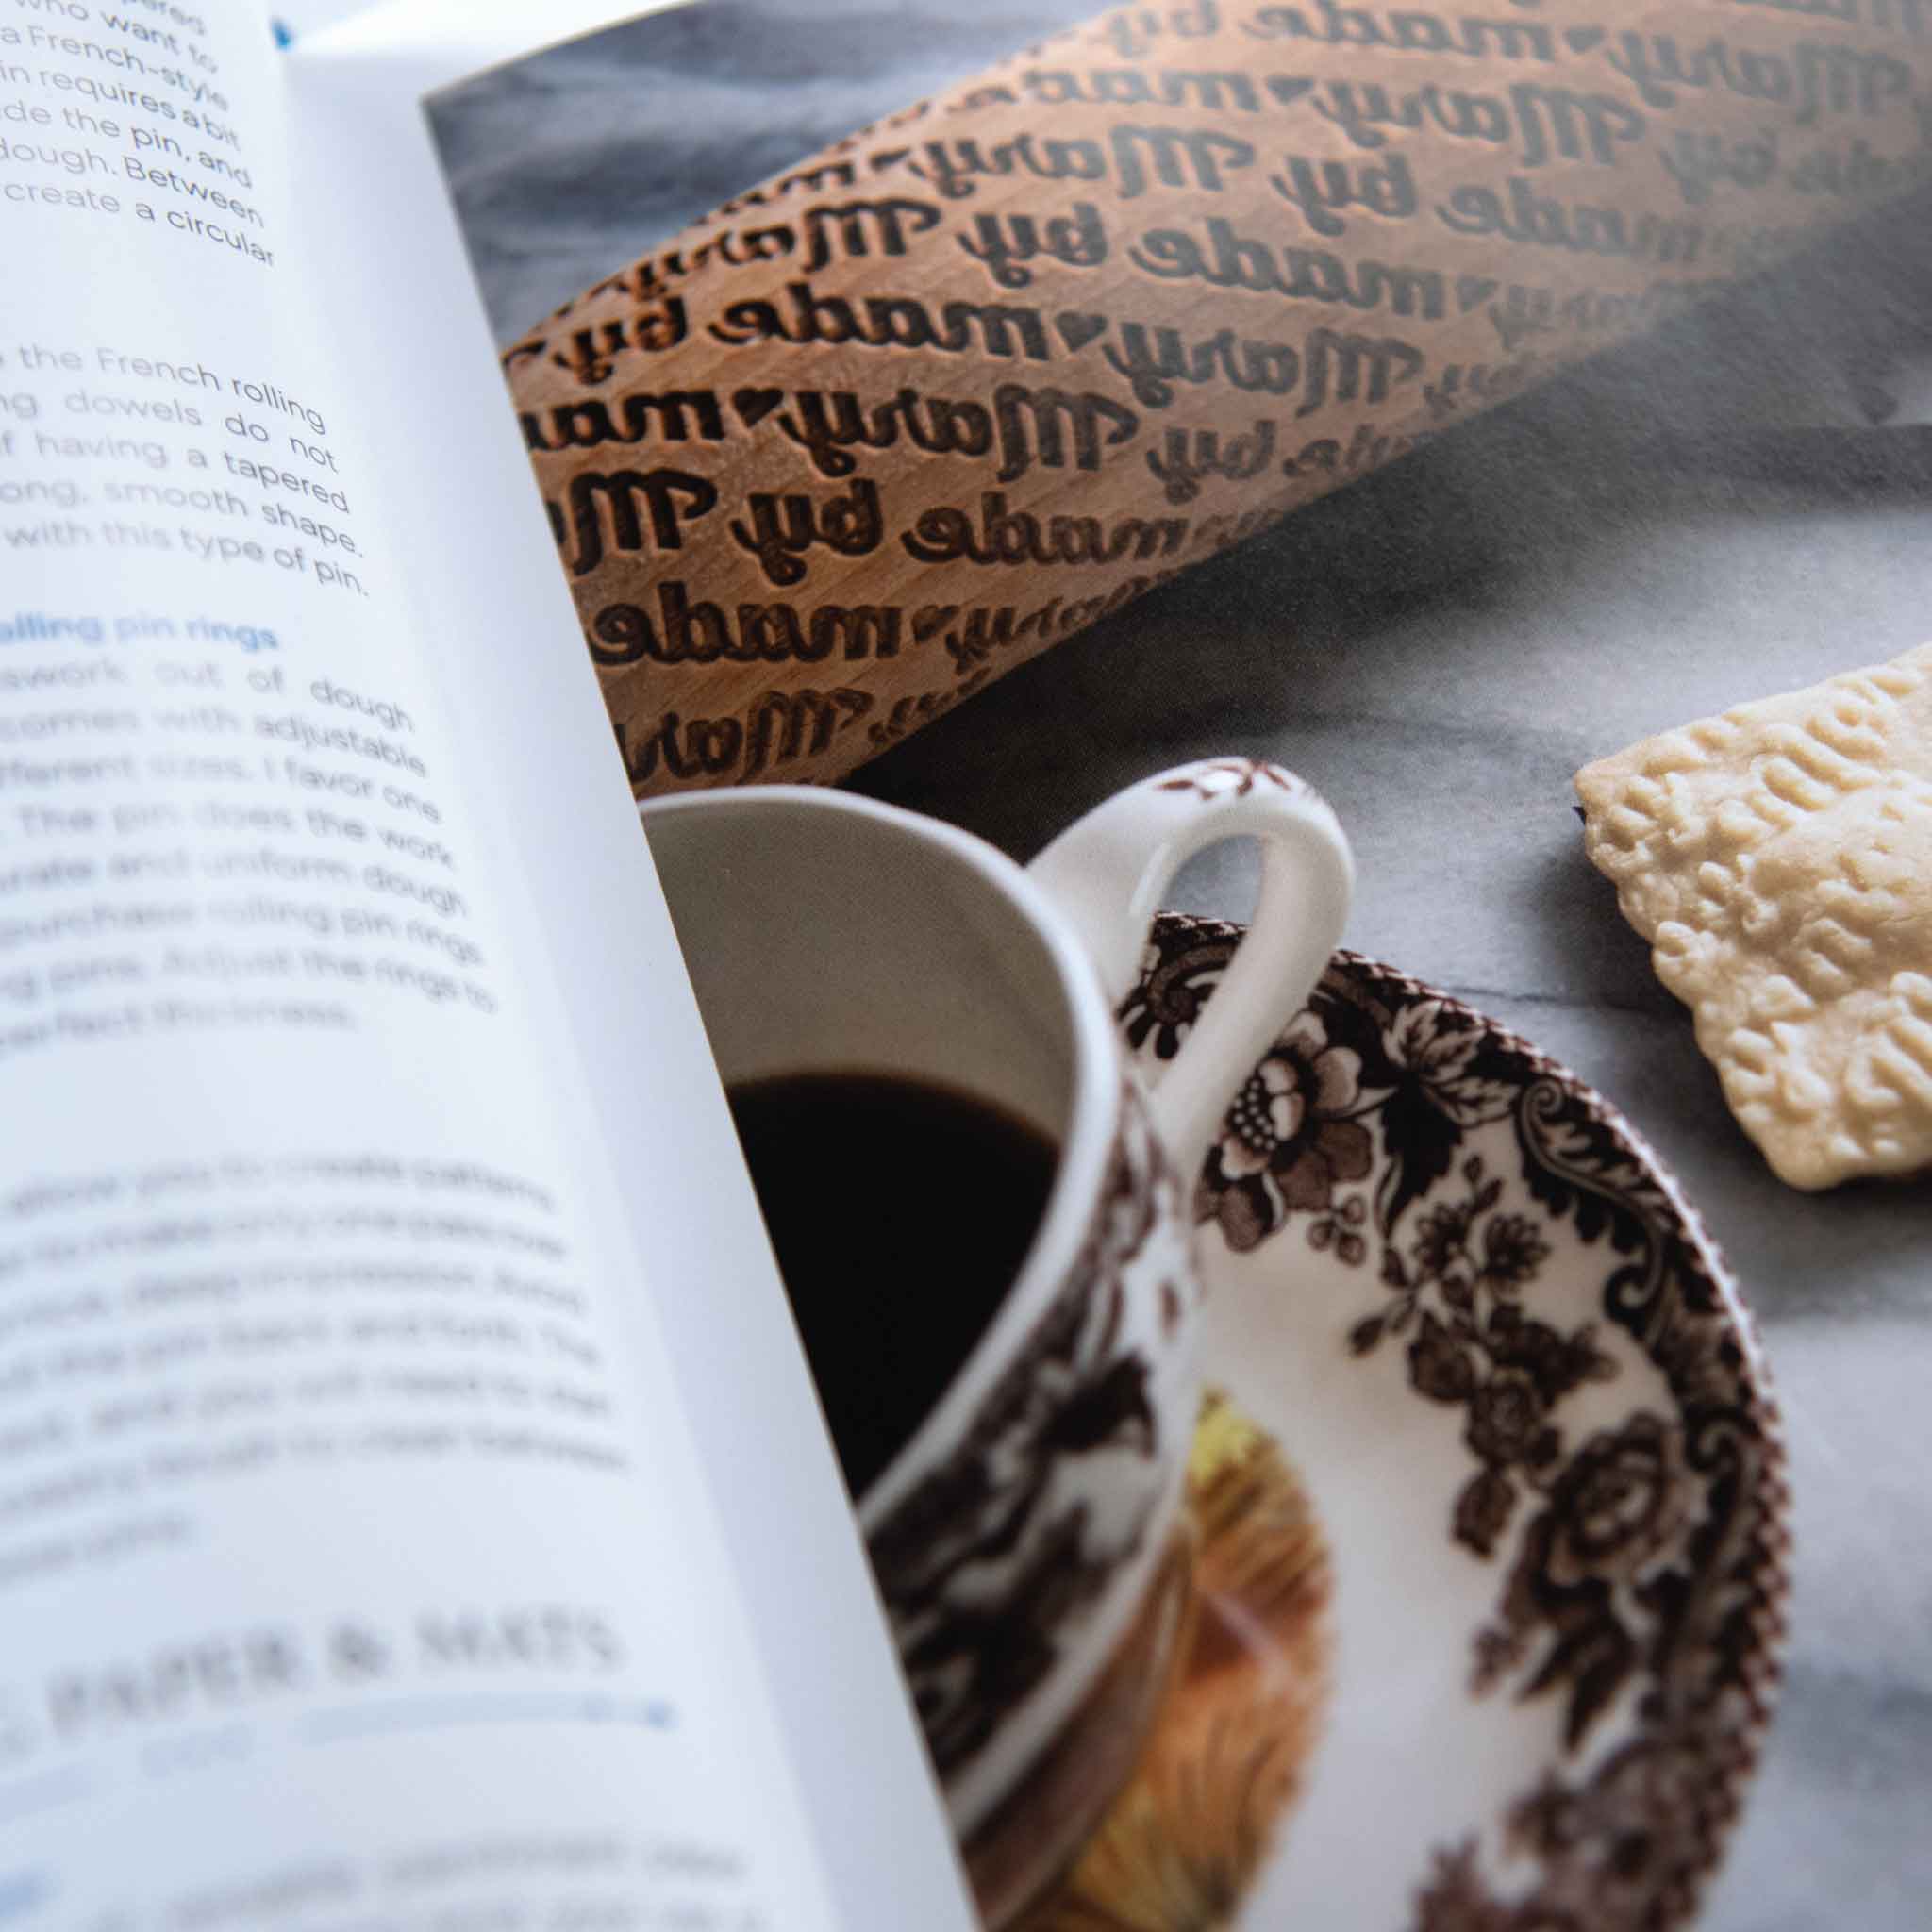
While rolling dough, try sandwiching it between two pieces of parchment paper; this helps prevent the dough from sticking to a work surface and rolling pin. It also makes transferring dough to the fridge or freezer to chill a snap.
When rolling out cookies, avoid overworking the dough. Try dusting your work surface with powdered sugar instead of flour. Excess flour has a tendency to make your cookies too hard. When using cookie cutters, try to reduce the amount of scraps by cutting shapes as close to one another as possible.
Believe it or not, the temperature of your hands can have an impact when working with dough. Warm hands can cause a bowl of dough to become greasy. If this happens, a bowl of ice water can work wonders. Dip your hands in the cold water, dry them, and continue. Disaster averted!
The temperature of your sheet pan also matters. Make sure your sheet pans are at room temperature before placing cookie dough on them. A hot pan will cause the cookies to spread into one another. To quickly cool down your pan, run cool water over the bottom then towel dry.

#9 Chill out!
Chill in the fridge is my motto. Not all cookies require a chilling step, but if your dough is sticky, it may require a brief visit to the fridge. The colder the dough, the less likely it is to spread across the baking sheet. Before baking, I often place cookie sheets full of rolled or drop cookies in the fridge for 10 minutes to firm. The result of a quick chill? A thicker, sturdier cookie that holds its shape better while baking. Conversely, if you happen to leave the dough in the fridge too long, don’t panic! Simply set the dough out at room temperature for a few minutes until it loosens up. And don't forget the freezer: a 15-minute chill will firm up cutout cookies so they keep their shape during baking.
And, yes, most cookie doughs can freeze for up to 3 months when properly wrapped and sealed. Label and date the container. When ready to use, place the frozen dough in the refrigerator overnight to defrost.

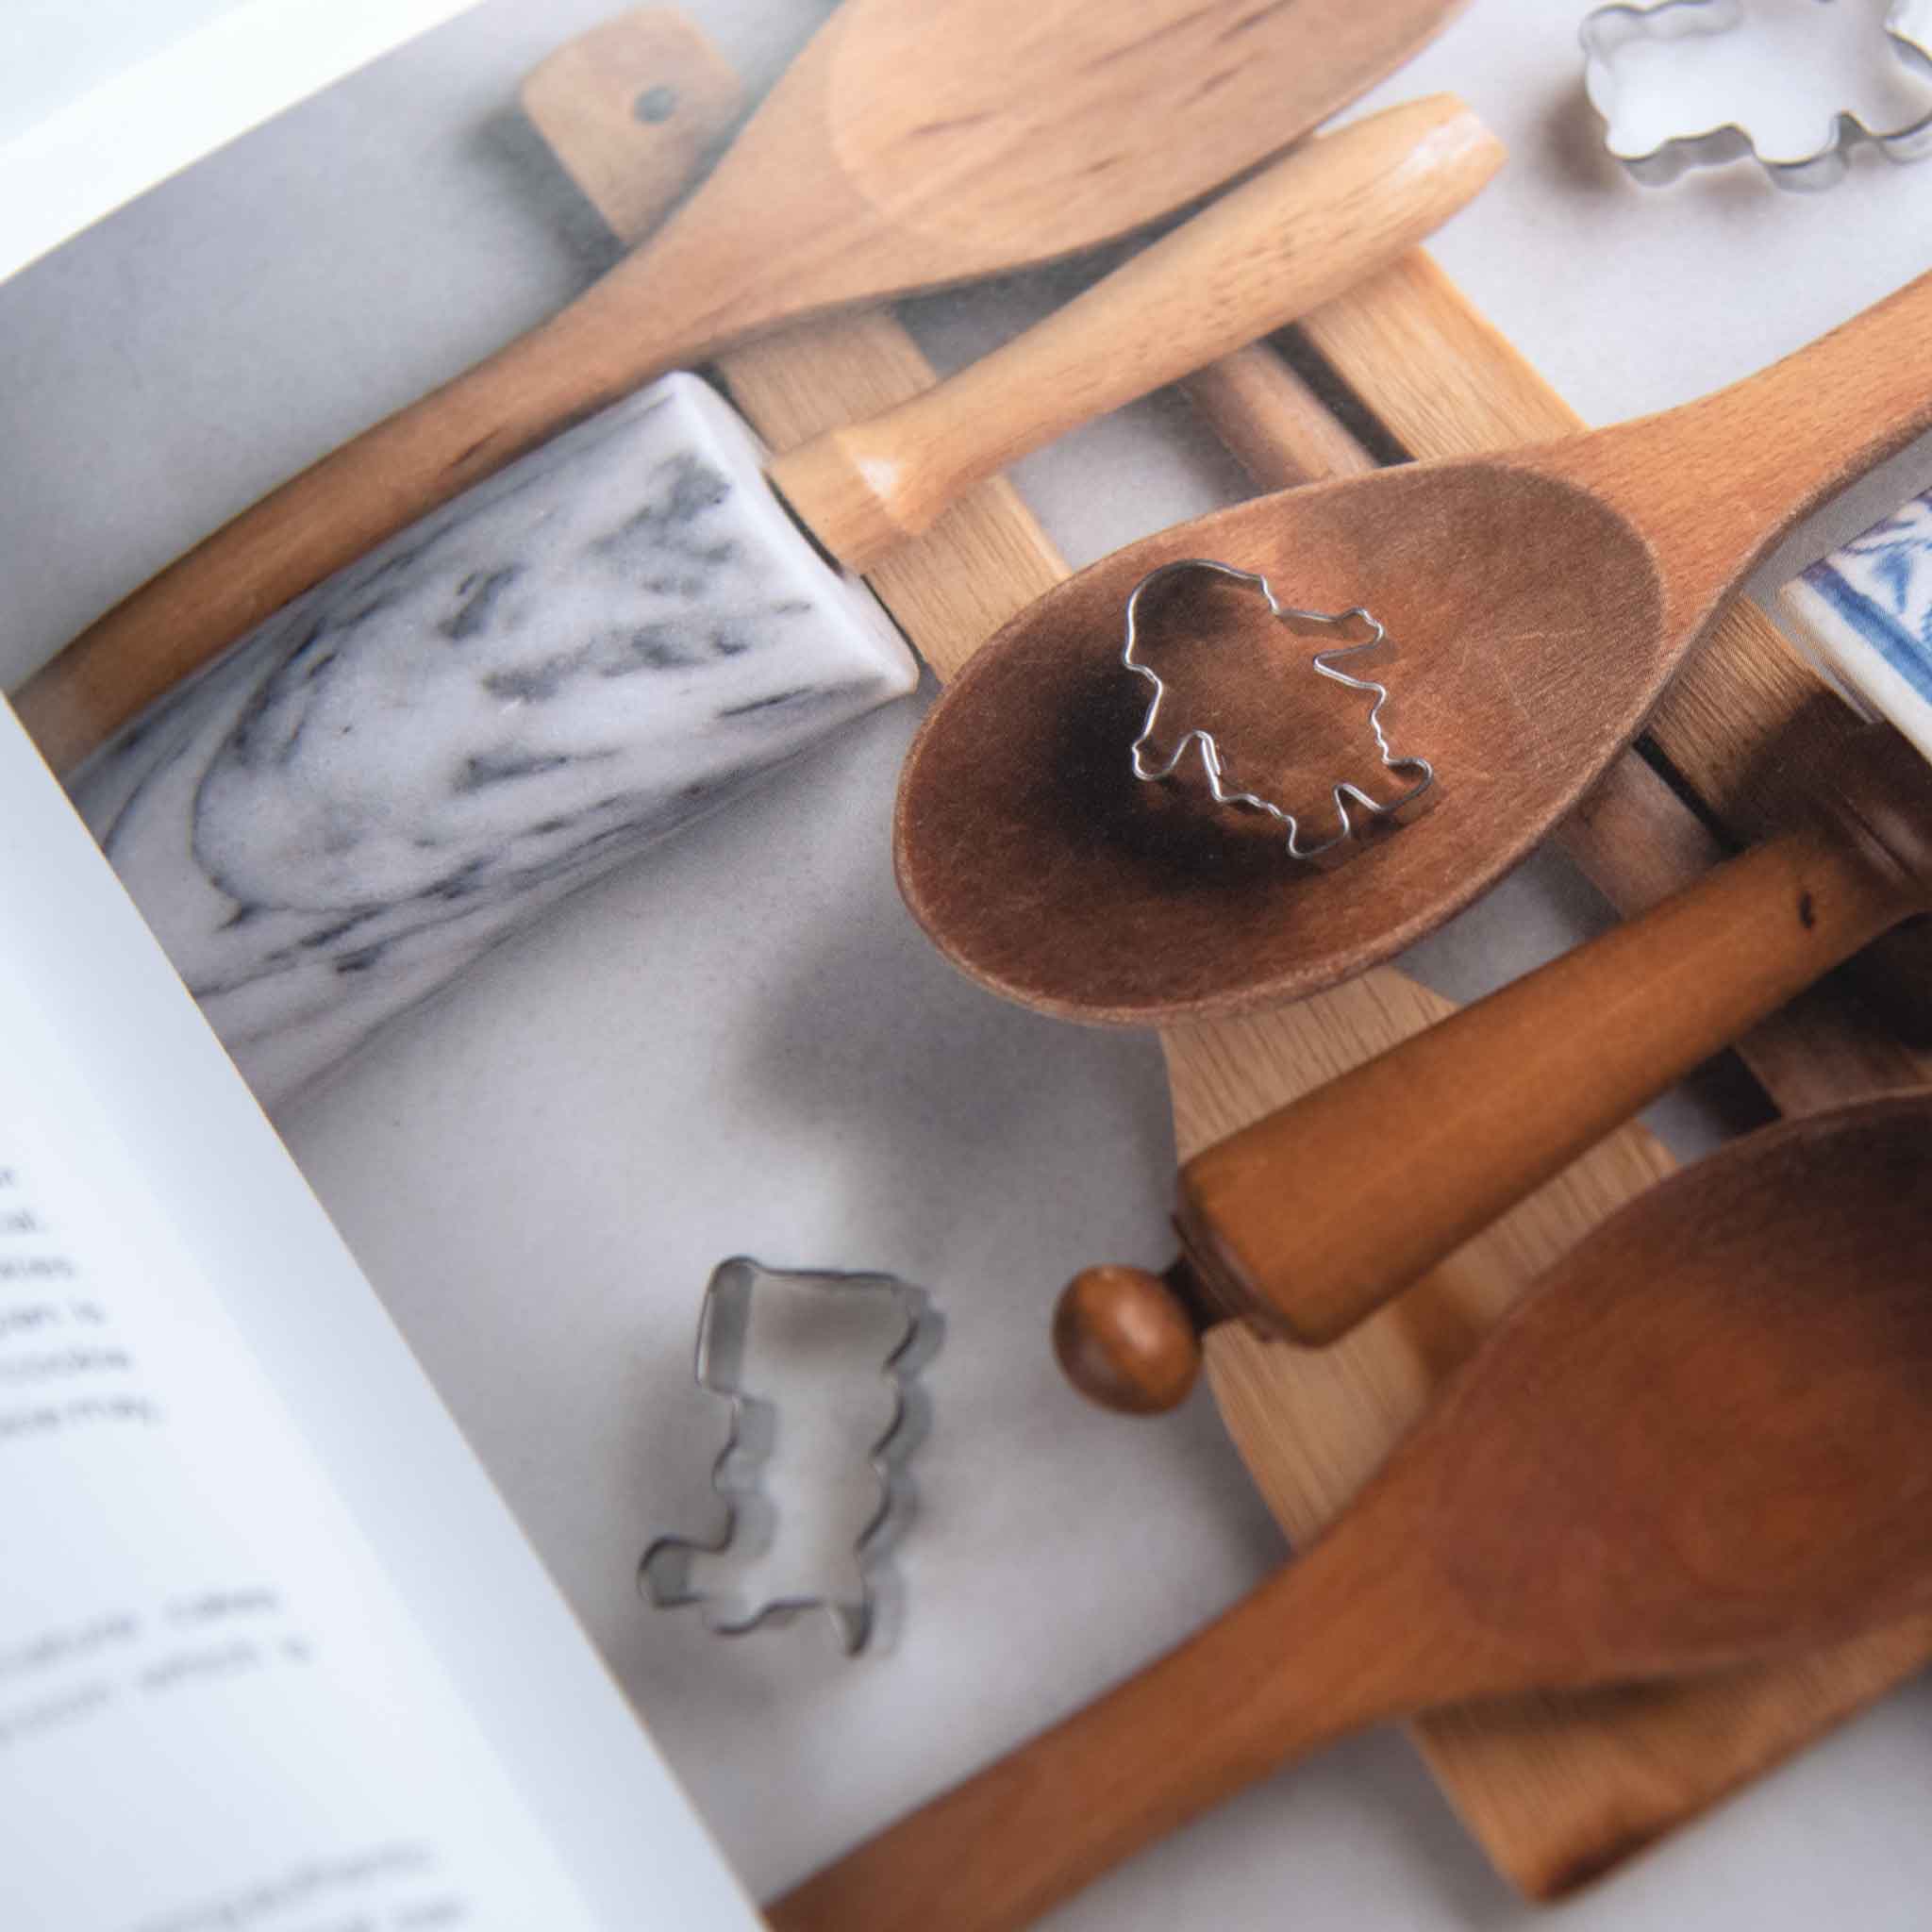
#10 A cut above: prepare your sheet pans and cutters.
You may be tempted to pre-grease your cookie sheet, but make sure to keep your sheet pans free of grease. The extra fat can cause cookies to bake unevenly or merge into one giant cookie! (Which, granted, might delight any nearby children, but can be difficult to store.) Parchment paper or silicone baking mats are well worth the investment, and they also make cookie transfer a breeze. Remember to use light-colored sheet pans; darker versions will result in burning the bottoms of your cookies. If you’re planning to bake in a glass baking pan, reduce your oven temperature by 25 degrees.
Dip your cookie cutters into flour before cutting. This helps prevent damage to the cookie edges. When making bar cookies, always use the pan size indicated in the recipe. Changing the pan size will alter the baking temperature and time. Place the filled pans as close to the center of the oven as possible. Ideally, bake one batch at a time, one tray at a time, placing the tray in the middle of the oven. I understand that time doesn’t always allow for this, but when it does, take advantage of it. If you do have to use multiple pans at the same time, make sure to rotate them. Switch the position of the pans from top to bottom and front to back.