Satiate your sweet tooth with my chaja cake recipe! If you know me, you know two of the things I love the most are sweets and tradition. This traditional Uruguayan cake combines two of my favorite ingredients: peaches and dulce de leche. The peaches add such a wonderful flavor to this chiffon-style cake recipe. They are so good! If you want to learn how to make your own homemade dulce de leche, make sure to check out my dulce de leche recipe, too.

How Chaja got its Name
Chaja, pronounced cha-ha, is a decadent South American dessert recipe that originated in 1920s Uruguay. This cake is so rich and creamy. The best part of this recipe is how delectable it is… but a close second is the origin of its name. The chaja cake is named after a large, vibrant bird called el chajá, also known as a crested screamer. You have to look this one up! The light and airy meringue in the cake reminded Chef Orlando Castellano of this bird’s fluffy plumage.
Mary’s Tips and Tricks: Making the Perfect Chaja
How to Assemble a Layer Cake
After baking, your cakes need to be inverted IN THEIR PANS on cooling racks for ten minutes. After this step, you can use a paring knife to go around the pan edge and remove the cake layers from the baking pans. Let the cake cool completely before peeling off the parchment paper. This helps set the cake for your layered dessert… more details in the recipe below!


Can you make chaja cake ahead of time?
Although you can make the cake layers one day ahead, it’s best to assemble this cake the day you are serving it. You can assemble and frost your cake about a few hours ahead of time. You will need to refrigerate it, but be careful not to refrigerate for more than 3 hours or the meringue will become sticky.
How to Make Your Chaja Cake Gluten-Free
If you’re cooking for a gluten-free crowd, good news! This recipe works great by swapping out the all-purpose flour for gluten-free flour. Just make sure you use gluten-free flour with a 1 to 1 ratio. I like King Arthur's gluten-free flour for this one!


Mary’s Chiffon Chaja Cake Recipe with Homemade Dulce de Leche
Ingredients
- 7 large eggs, room temperature, separated
- ½ teaspoon cream of tartar
- 1½ cups granulated sugar, divided
- 2 cups all-purpose flour
- 2½ teaspoons baking powder
- ½ teaspoon salt
- ½ cup vegetable oil
- ¾ cup whole milk, room temperature
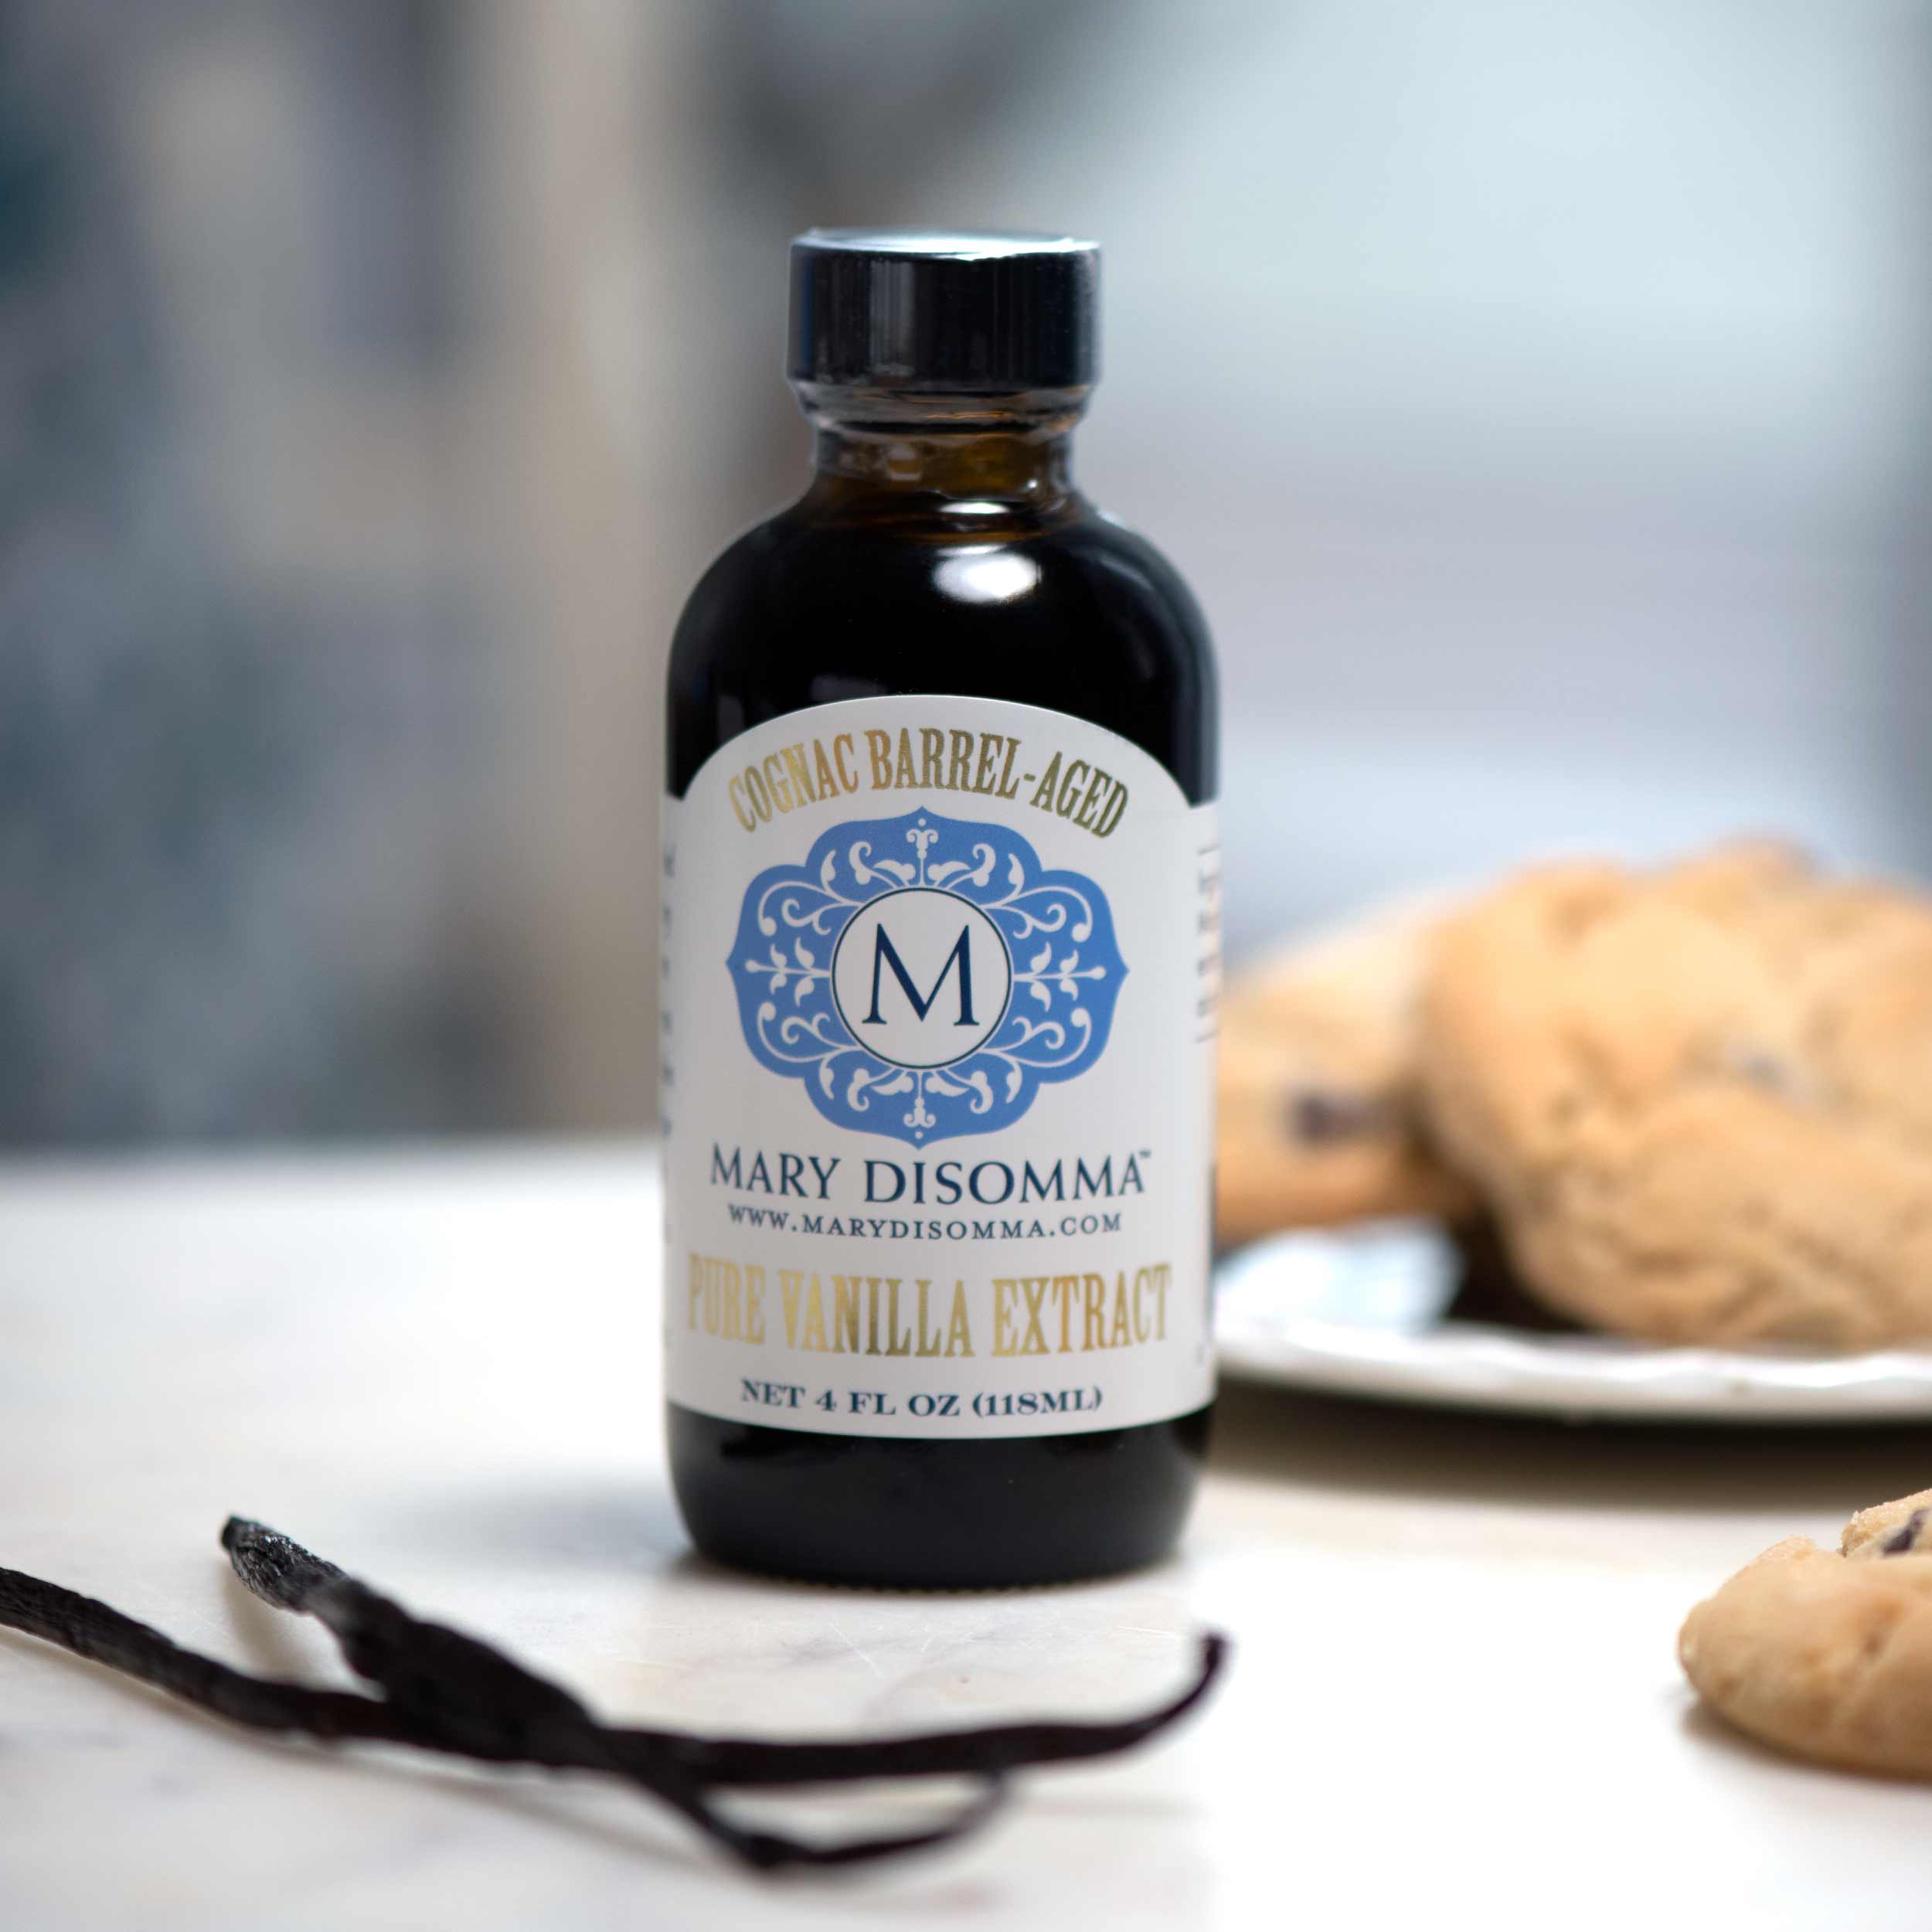
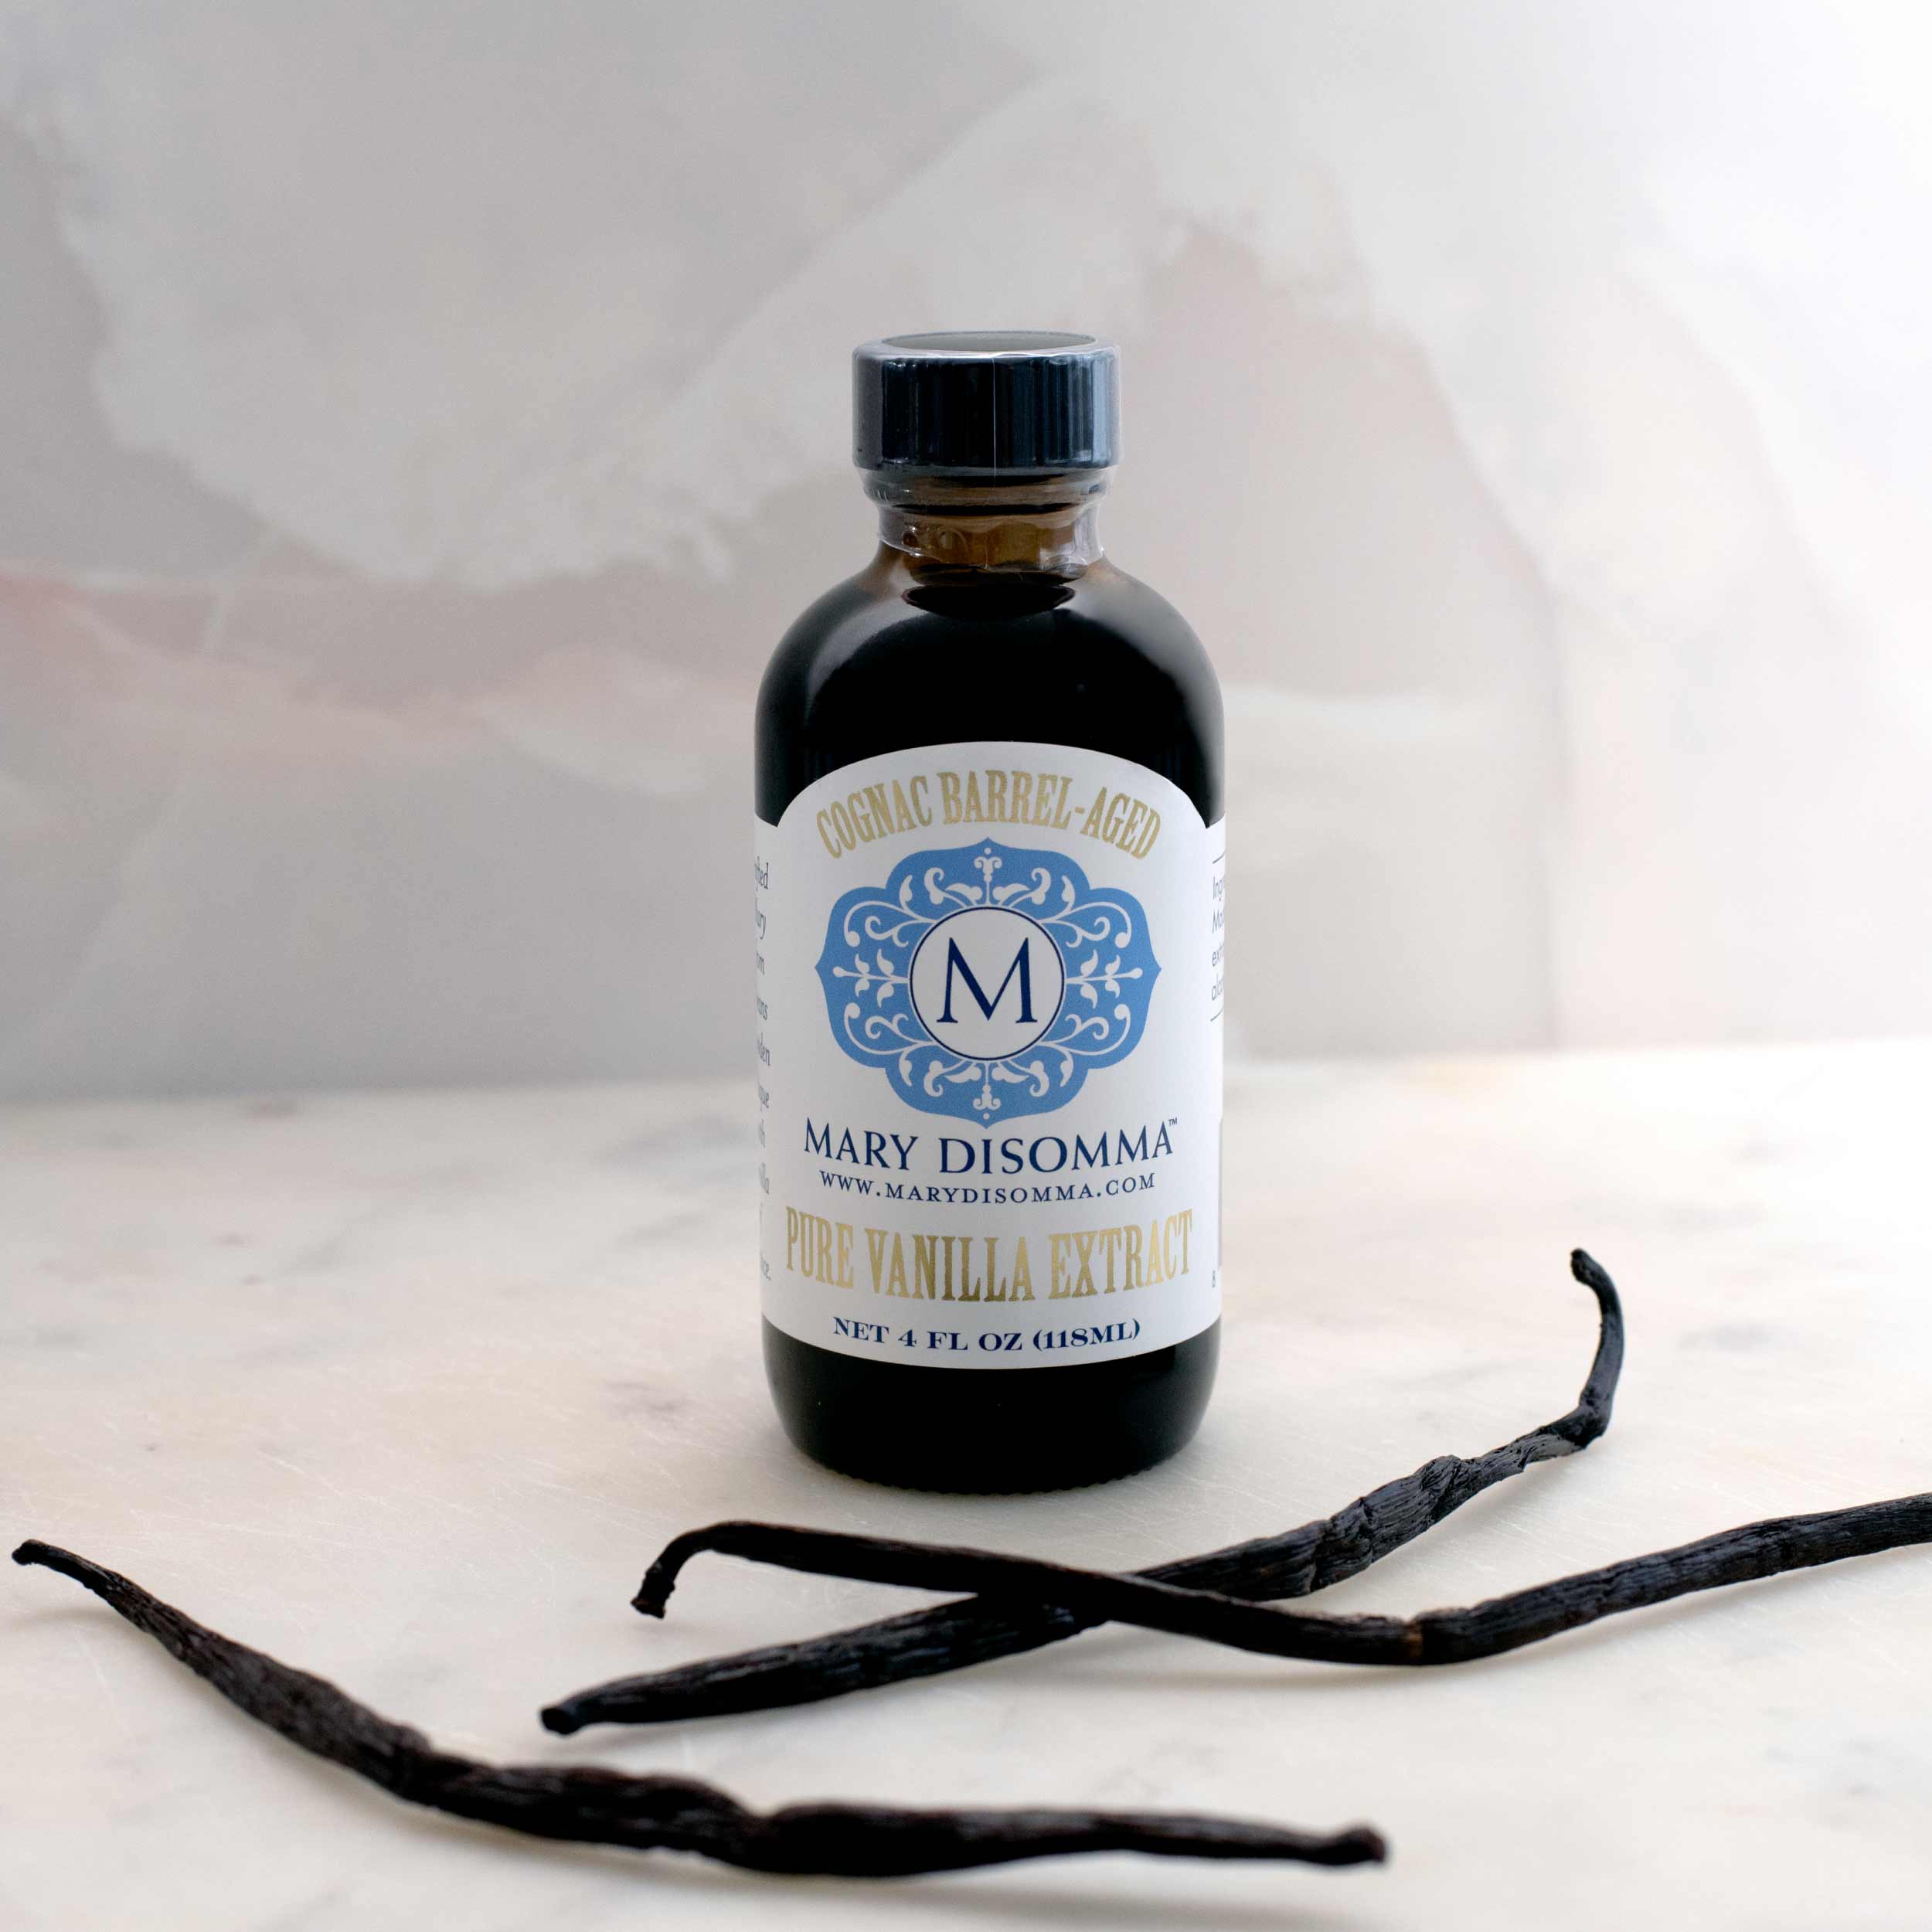
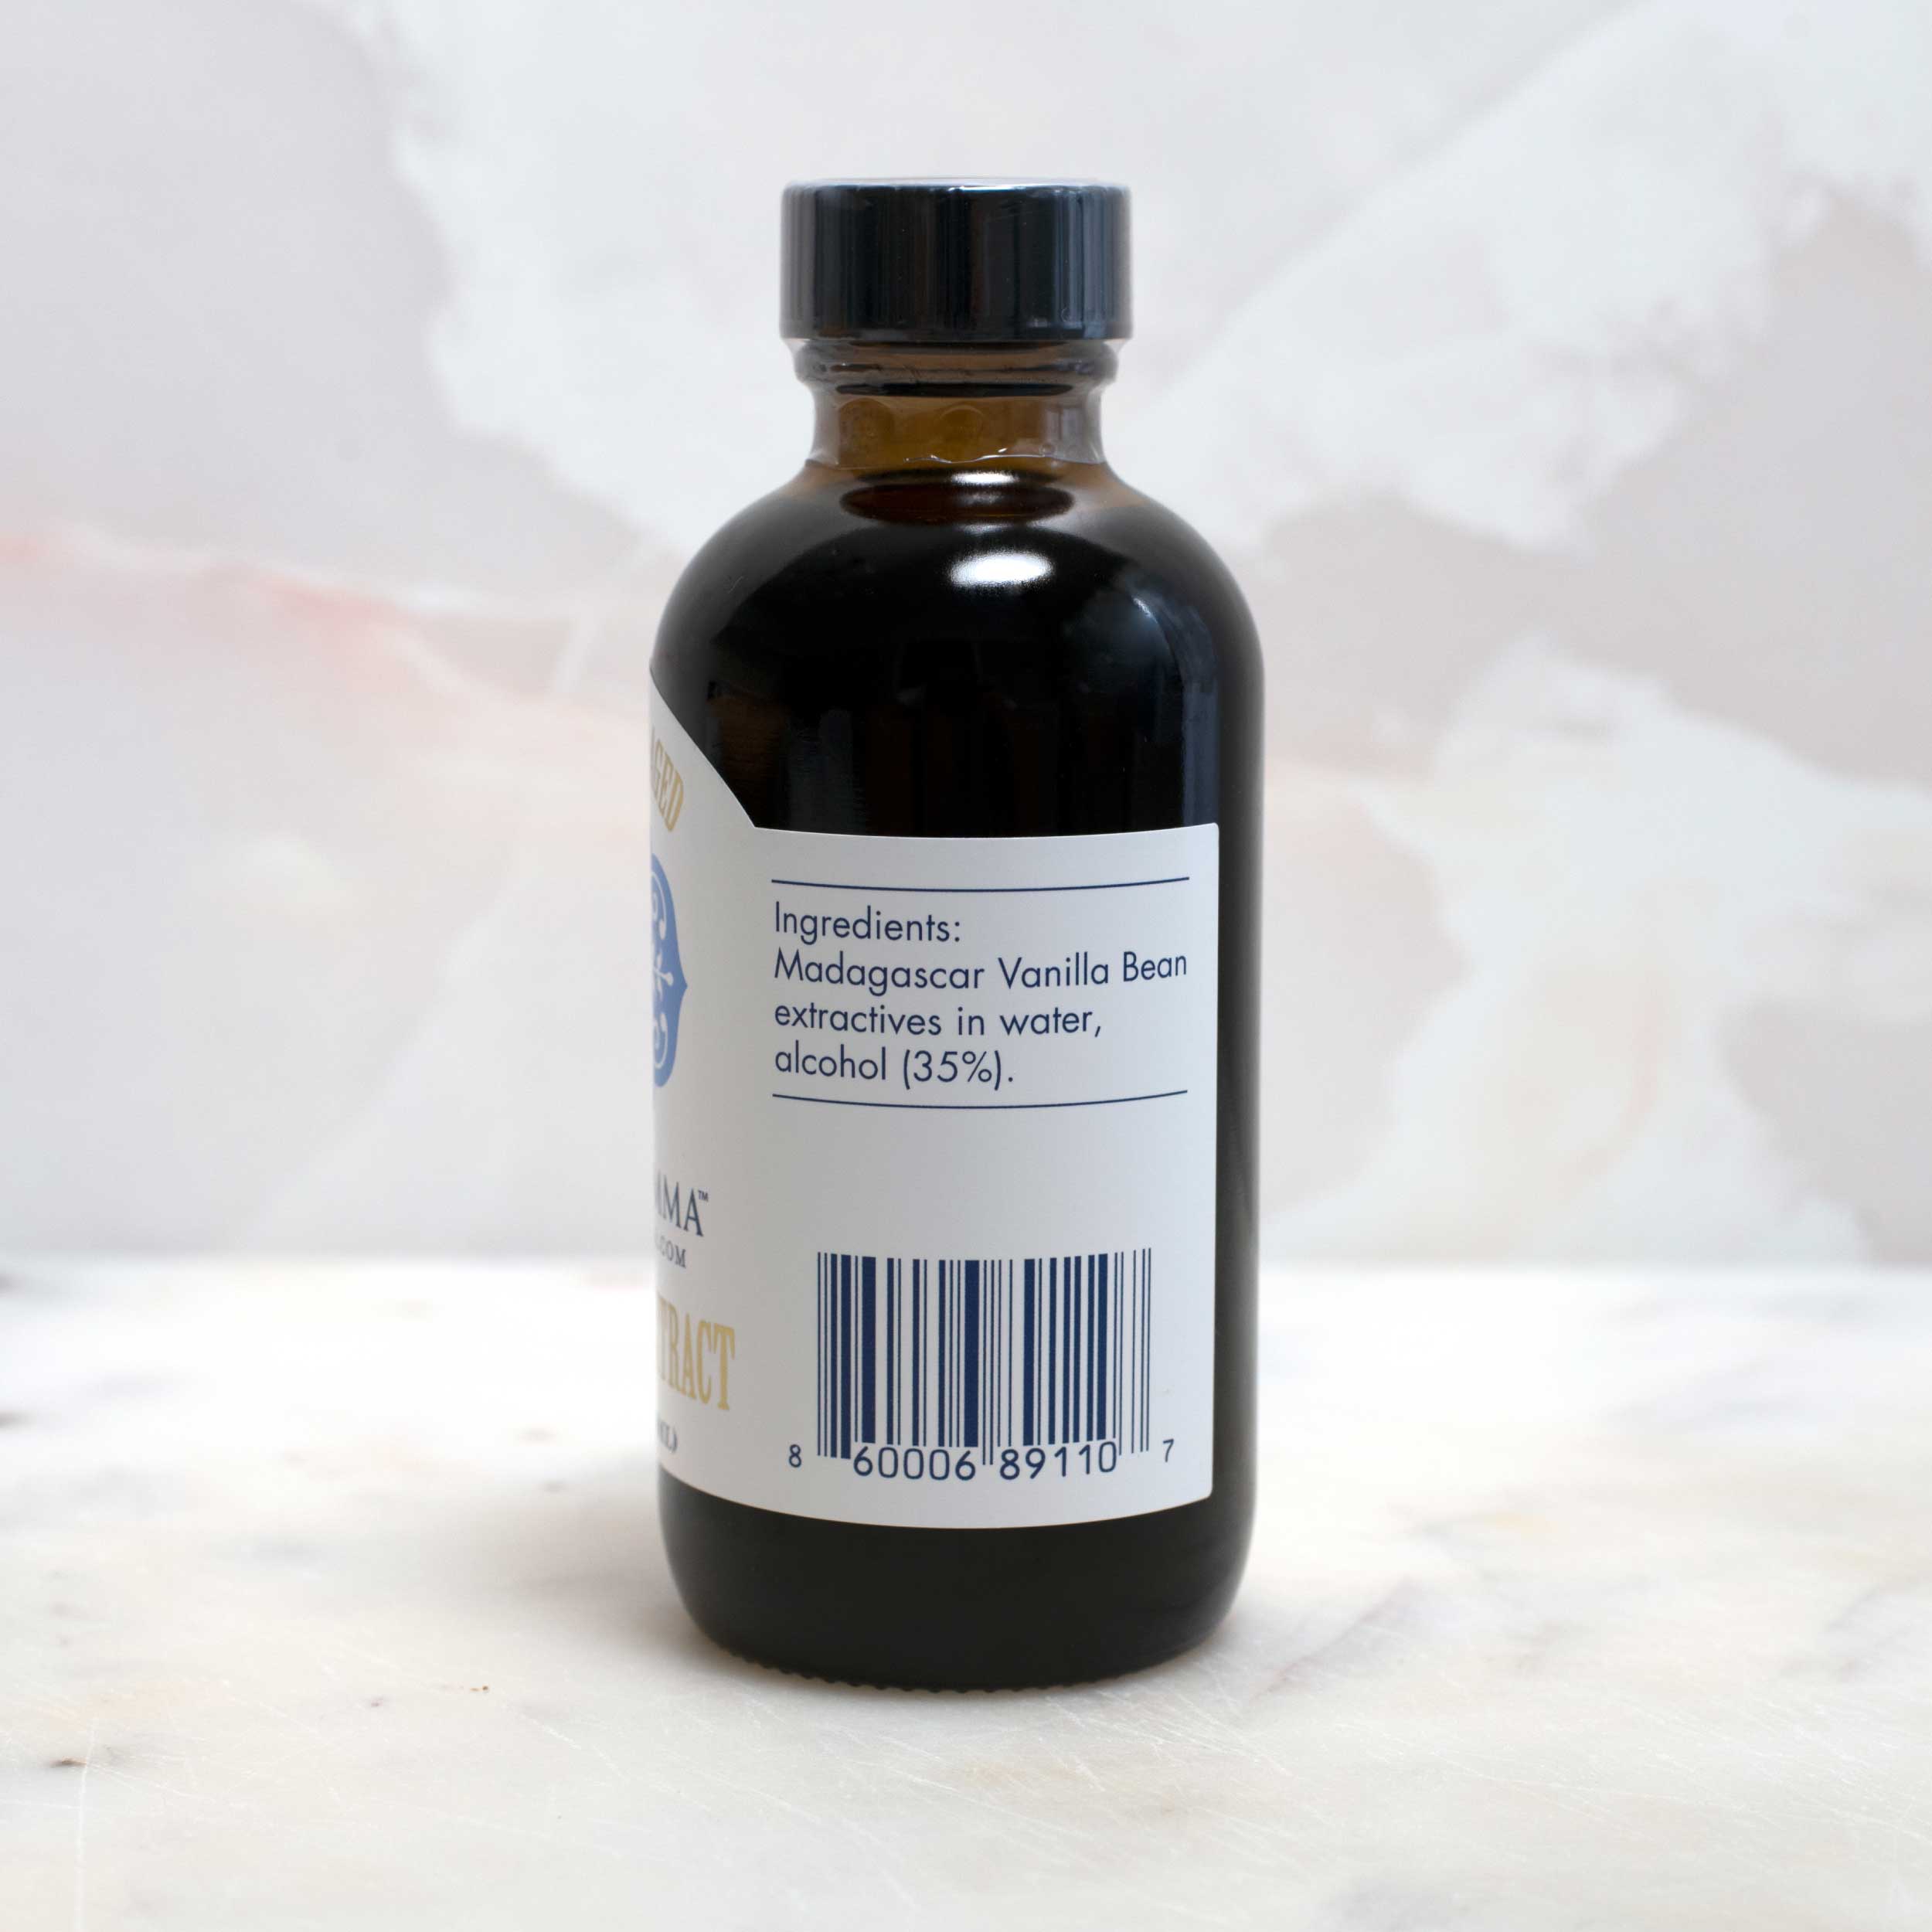
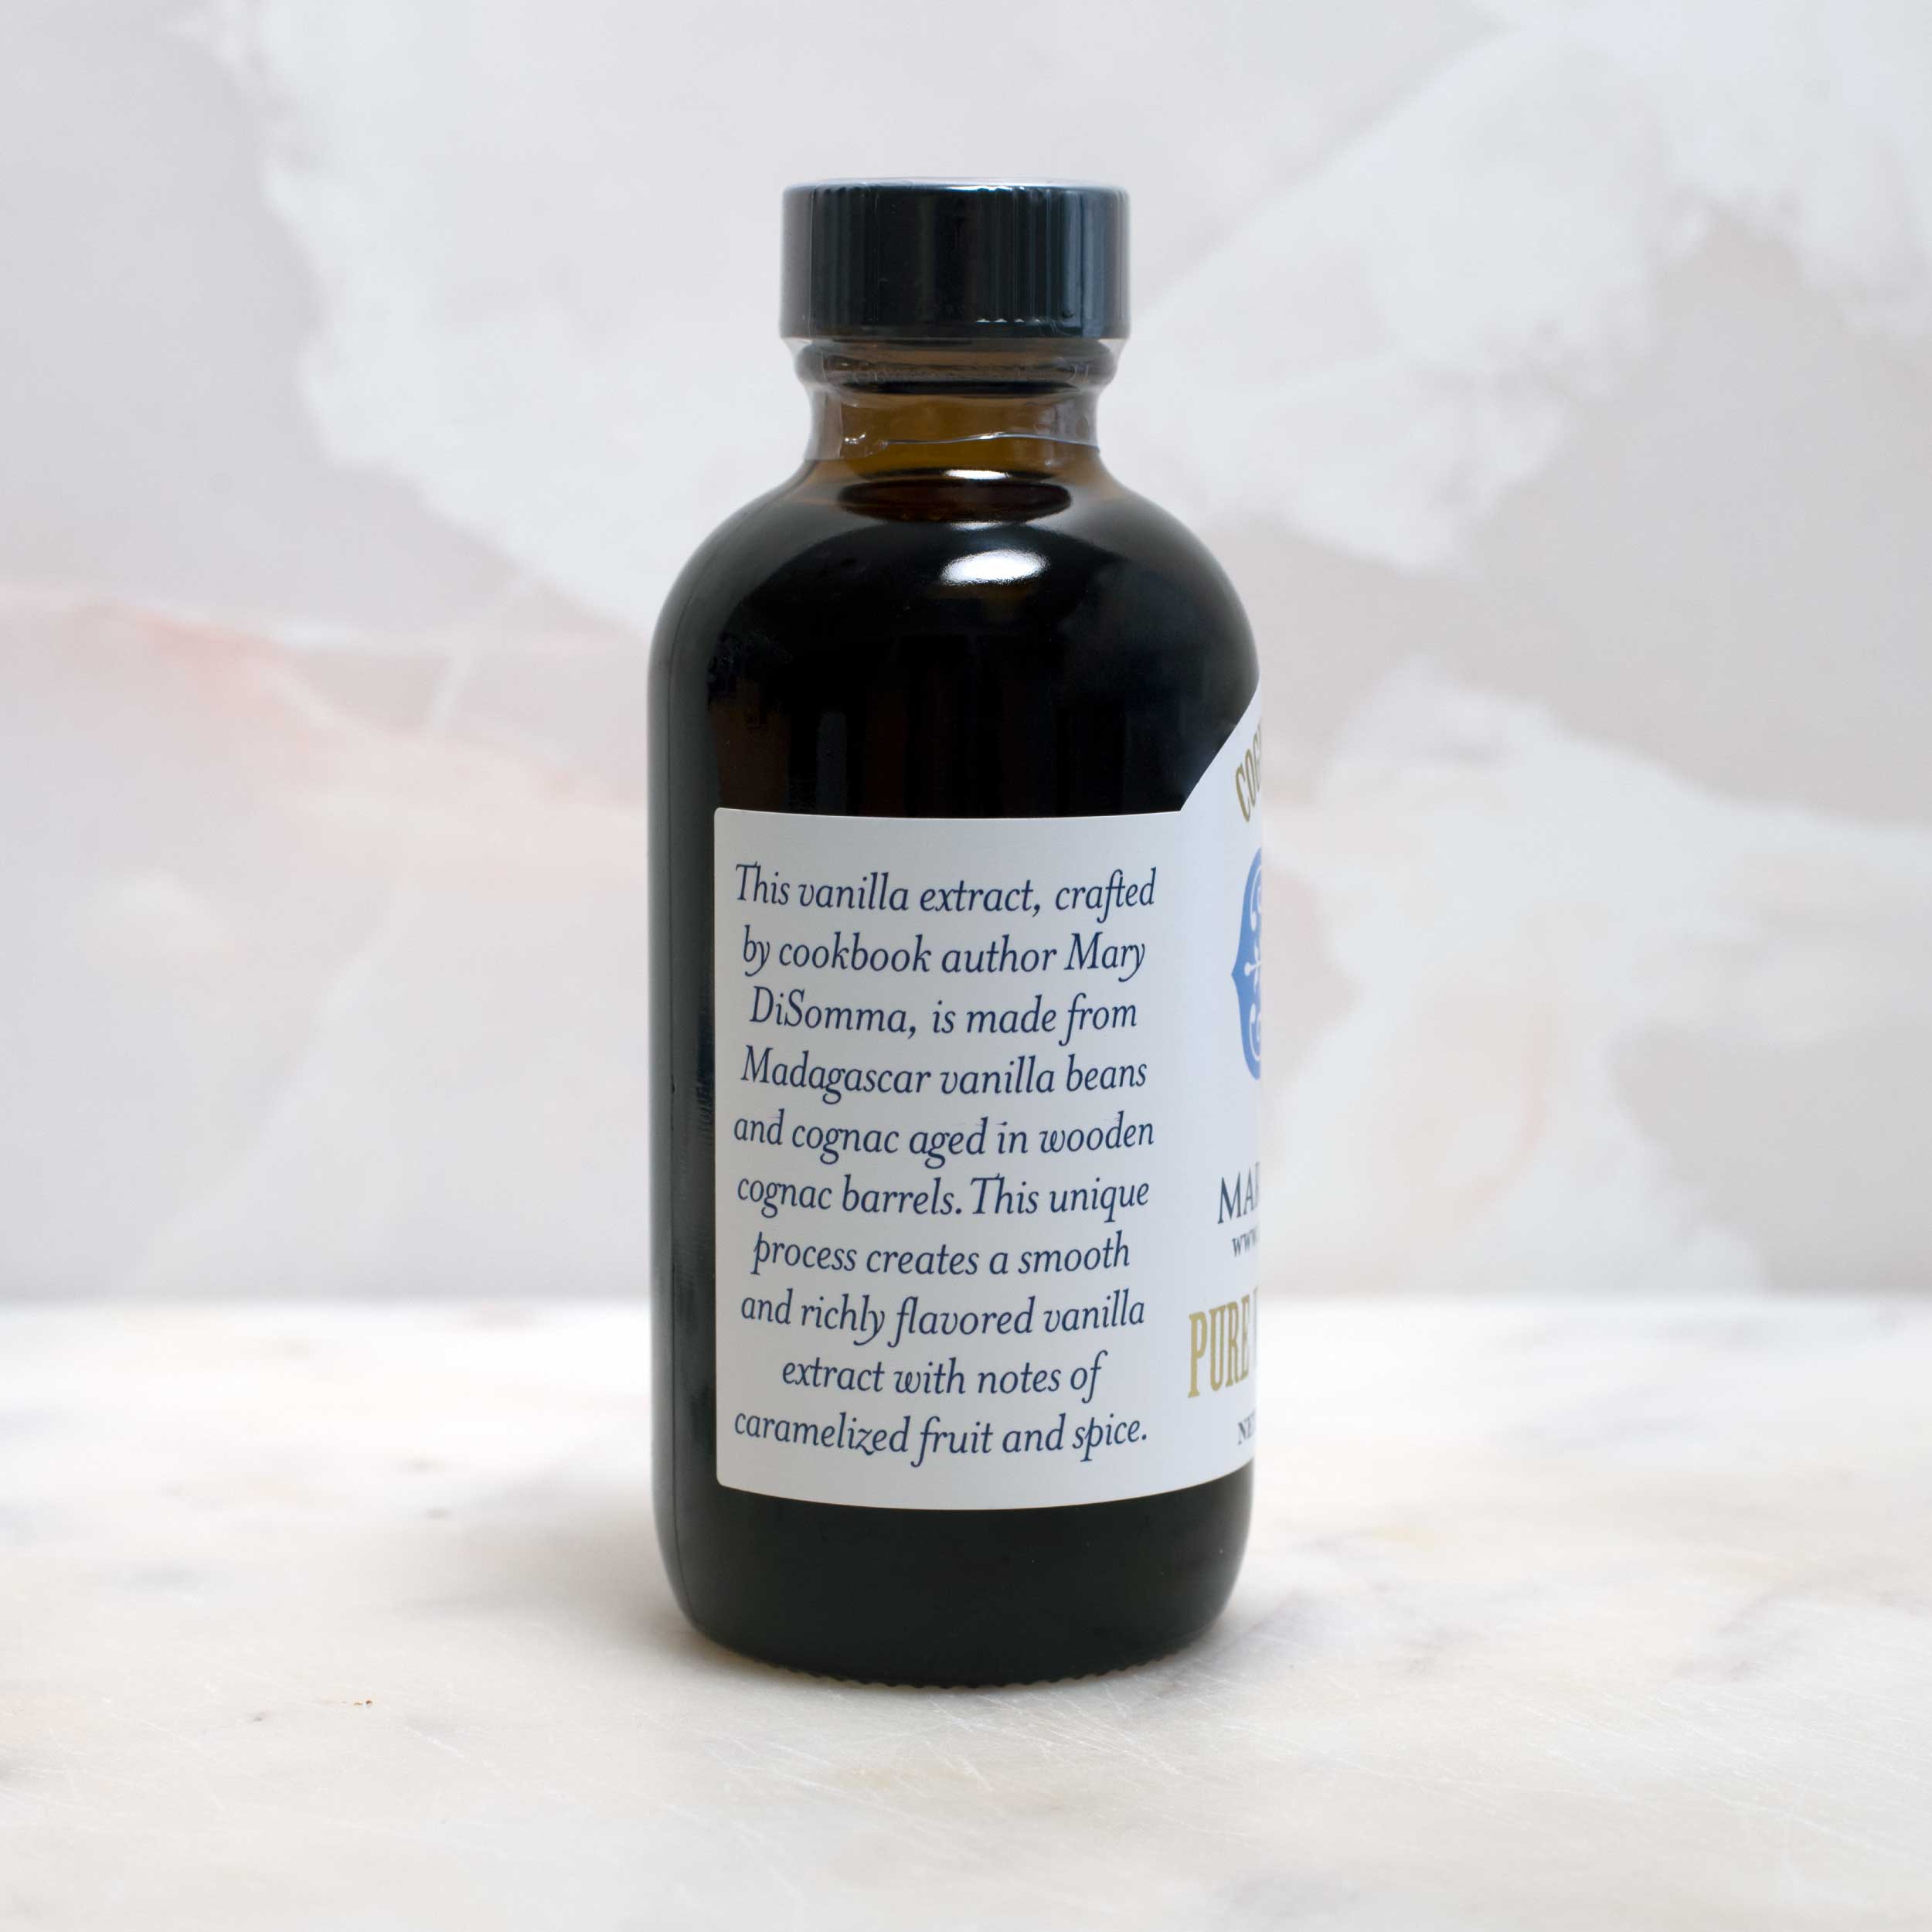
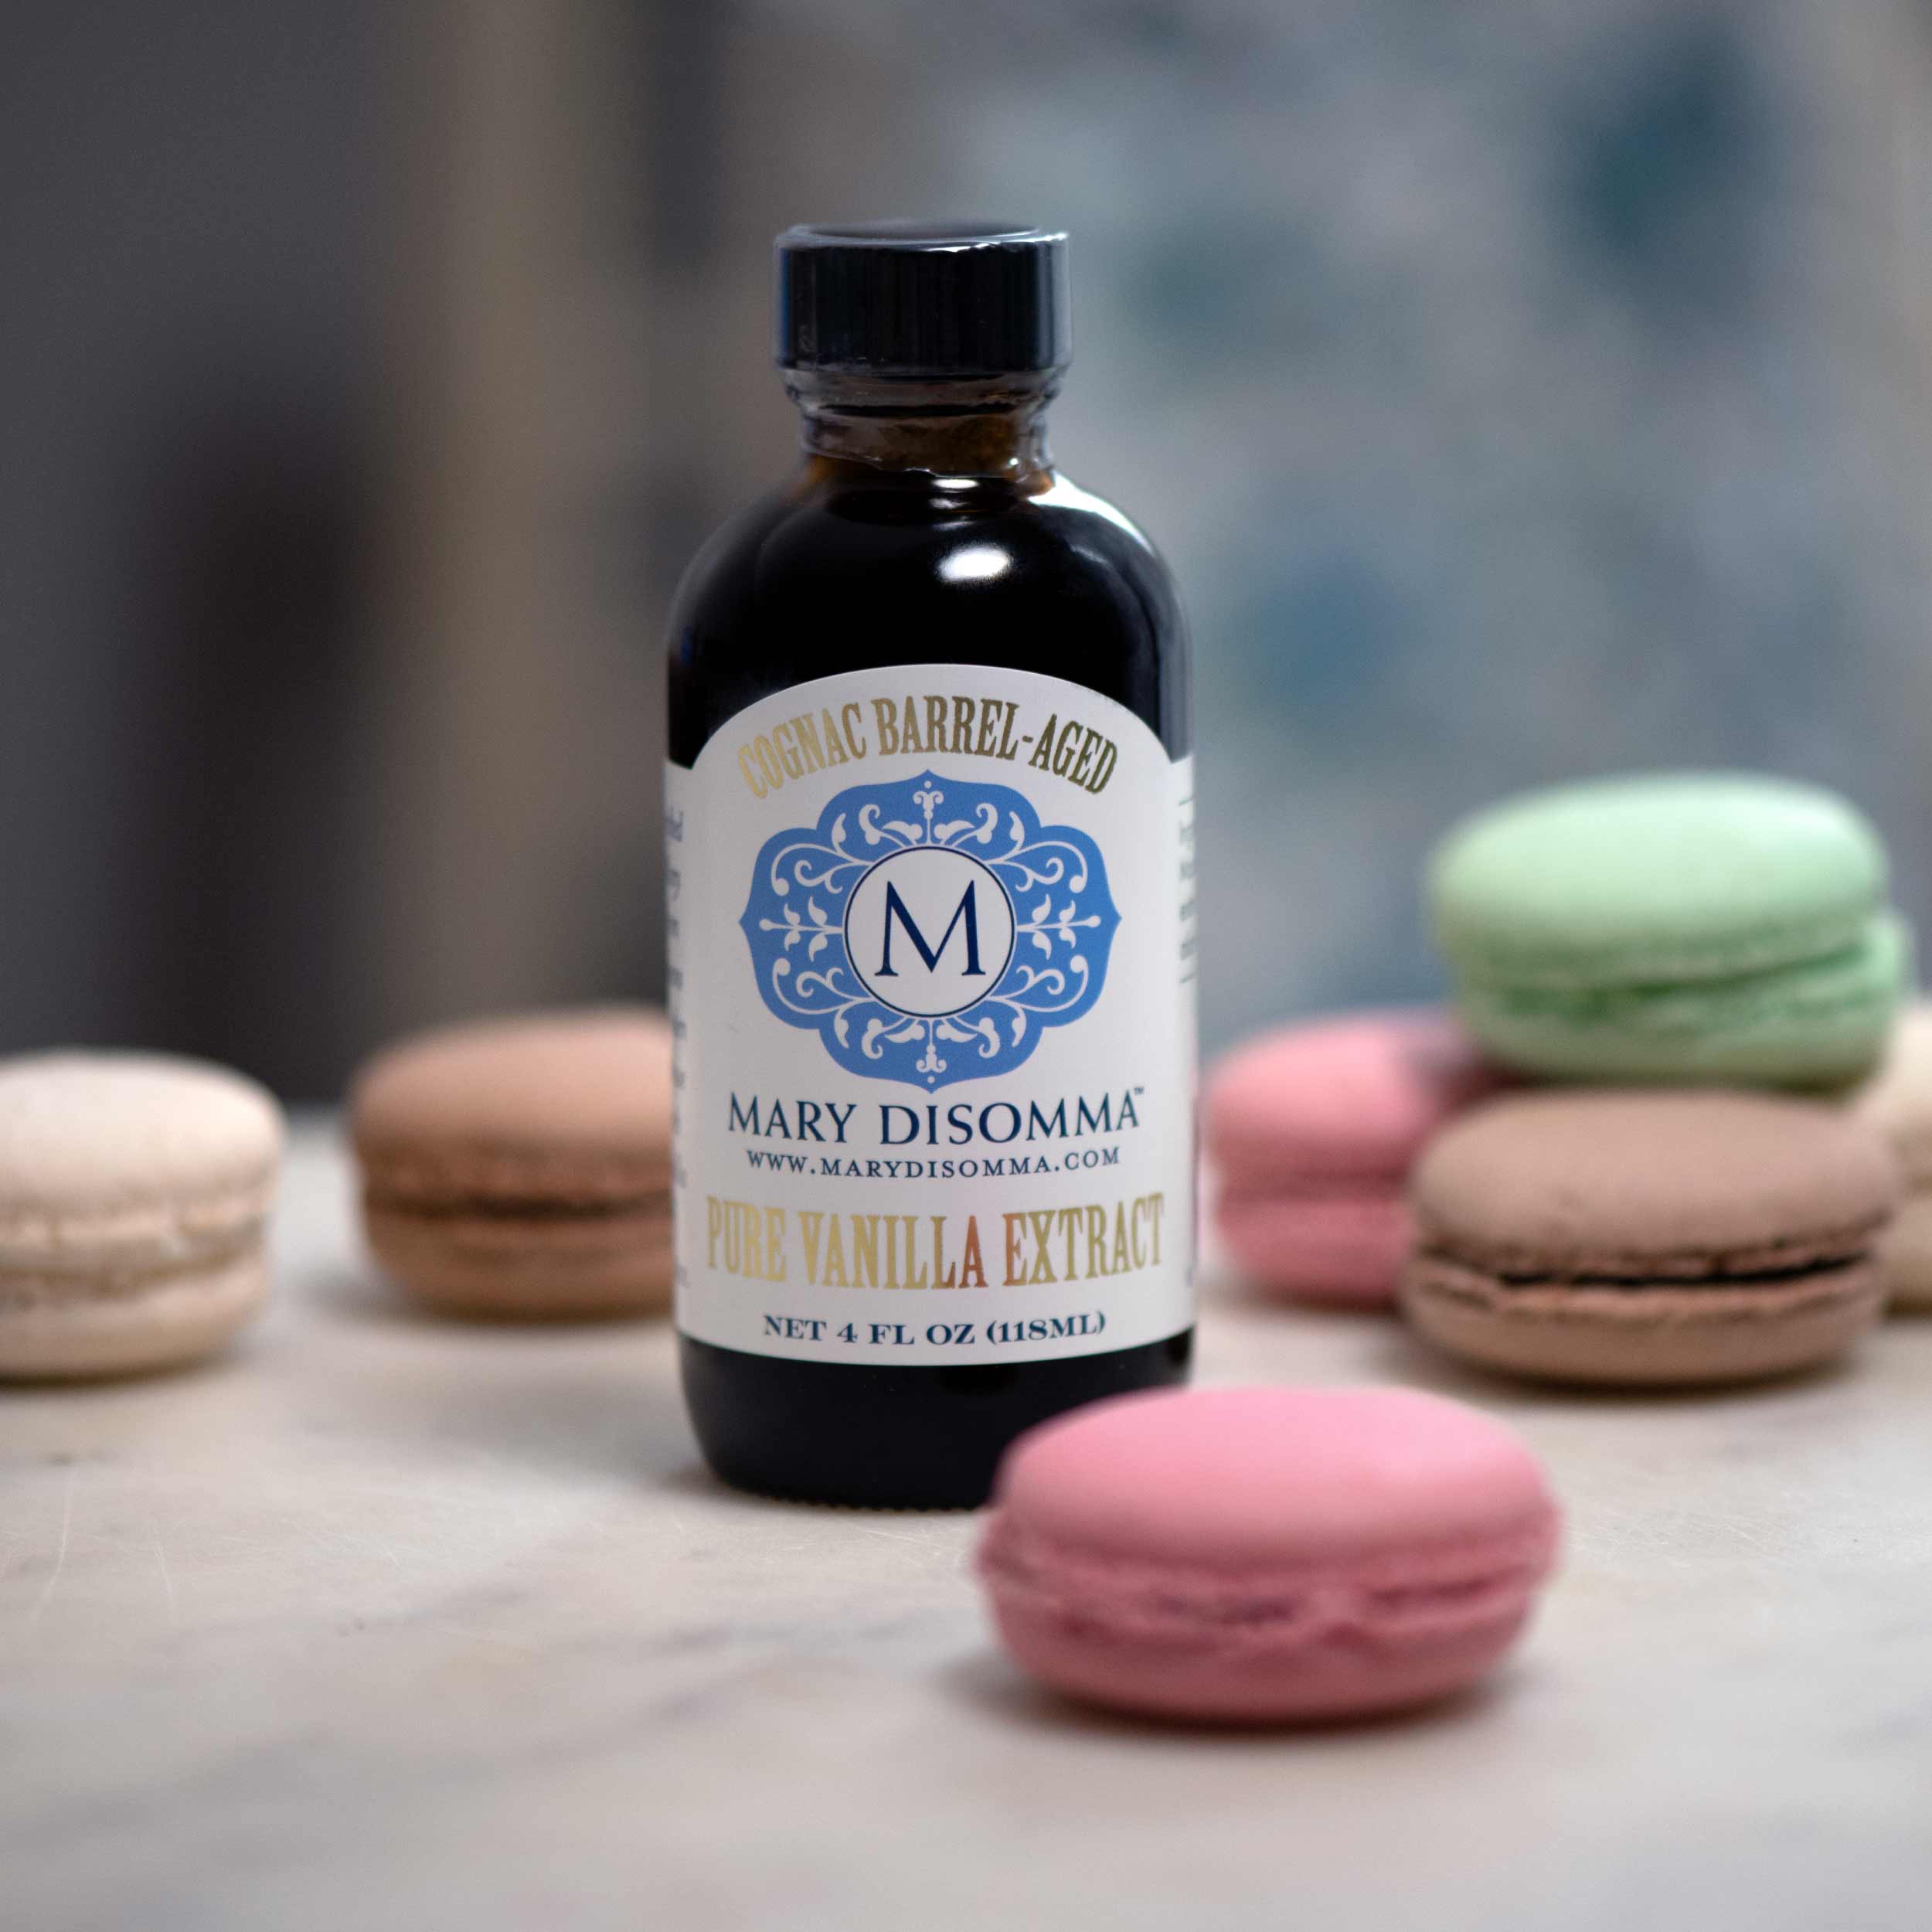
- 2 teaspoons Mary’s Cognac Barrel Aged Pure Vanilla Extract
- 2 (15-ounce) cans of peach slices packed in heavy syrup
- ¾ cup peach syrup reserved from the canned peaches
- ¾ cup water
- ¾ cup granulated sugar
- 7 to 10 ounces vanilla meringue cookies, depending on how generous you want to be with the crushed meringue!
- 1 batch of my Stabilized Whipped Cream recipe
- Dulce de leche
Instructions
- Preheat the oven to 325 degrees. Line the bottom of two 9-inch round cake pans with 9-inch rounds of parchment paper.
- Place the egg whites and cream of tartar in the bowl of a stand mixer. Using the whip attachment, whip the egg whites on medium-high until soft peaks form. Decrease speed to medium and slowly add ½ cup of the sugar. Increase speed to medium-high and whip until stiff and glossy. Carefully transfer the egg whites to a large, clean mixing bowl, being careful not to deflate them. Clean and dry the bowl of your stand mixer. You will be using it again to beat the egg yolks.
- In a separate mixing bowl, whisk together the remaining 1 cup of sugar, the flour, baking powder, and salt.
- In a liquid measuring cup, combine the milk, oil, and vanilla extract. Set aside.
- Place the egg yolks into the cleaned bowl of your stand mixer. Using the whisk attachment, beat on medium until pale yellow in color. This should take about 2 to 3 minutes. The yolks will thicken slightly and appear lighter in color.
- With the mixer on medium-low speed, add the flour mixture and the liquid mixture alternately until combined.
- By hand, using a thin spatula or a metal spoon, gently fold the whipped egg whites into the egg yolk and flour mixture. Mix gently until no streaks of egg whites are visible, being careful not to deflate the batter.
- Divide the batter evenly between the two prepared pans. Bake for 35 minutes at 325. DO NOT open the door to the oven. The cake will rise quite a bit over the top of the pan, but it will deflate slightly once it comes out of the oven.
- After 35 minutes, increase the heat to 350 degrees and bake for an additional 6 to 8 minutes. Again, DO NOT open the oven until around 6 minutes when you want to test the cake. Tap the top of the cake gently with your finger. When your touch does not leave an indentation, the cake is done.
- Remove from the oven and let the cakes cool in the pans upside down on a cooling rack for 10 minutes.
- Next, use a paring knife to loosen the edge of each cake from the pan, and turn them out onto a wire rack to cool completely. The parchment paper should be facing up. When the cakes are completely cooled, carefully peel off the parchment paper and discard. The cakes can be prepared one day ahead of time if you like—just wrap the fully cooled cakes in plastic wrap and store them at room temperature.
- While the cake layers are cooling, prepare the peach syrup and peaches: Start by lining a baking sheet with a paper towel.
- Drain the peaches, reserving ¾ cup of the heavy syrup. Place the peaches on the paper towel-lined pan to remove excess syrup. In a medium saucepan, combine the ¾ cup peach syrup, ¾ cup water, and the remaining ¾ cup sugar. Bring to a simmer and cook until the sugar is dissolved. Reserve until you’re ready to finish the cake.
- To prepare the whipped cream meringue topping, coarsely chop the meringue cookies and reserve. Prepare one batch of my stabilized whipped cream recipe.
- To assemble the cake: If either cake has a “dome” on top, use a serrated knife to cut it off so the cake tops are flat. Using a pastry brush, gently brush the tops of both cake layers with the peach syrup, letting it soak in.
- Place the bottom of one cake layer on a serving platter. Spread about ¼ of the whipped cream on top of the cake layer. Sprinkle 1 cup of the chopped meringue on top of the whipped cream, followed by some of the drained peach slices.
- Top with the second cake layer, with the flat bottom of that layer now becoming the cake top.
- To decorate the cake: Frost the side of the cake with a thin layer of whipped cream. The cream frosting on the side only needs to be a thin layer. This is called a crumb coat. Using your hands, press pieces of chopped meringue into the frosting on the cake side.
- Now it’s time to decorate the top of the cake and do your final decorations! Let your creative juices flow on this one. Here’s a simple way to finish the cake: Frost the top of the cake with whipped cream. If you have extra whipped cream, you can put it in a pastry bag to pipe on top of the finished cake or save it to serve on the side.
- Sprinkle chopped meringue on top of the whipped cream.
- In a circular pattern, place the remaining peach slices on top of the cake. Note: You may not need all the peach slices, depending on how you decorate your cake!
- I love serving this cake with the traditional dulce de leche. You can serve it on the side or drizzle it on top of the finished cake. Store the finished cake in the refrigerator until ready to serve! Because the meringue will soften if refrigerated, it is best to serve the cake the day it is made.