If you’re using whipped cream to decorate a dessert or frost a cake, I highly recommend stabilizing it first. My stabilized whipped cream recipe is the superior choice for filling and frosting. It’s fantastic since it won’t collapse as quickly as conventional whipped cream!

What is stabilized whipped cream?
So, what’s the difference between whipped cream and stabilized whipped cream? It’s less complicated than it sounds. Stabilized whipped cream is just homemade whipped cream with the addition of a little dissolved, unflavored gelatin. Unlike regular whipped cream, which will deflate rather quickly, stabilized whipped cream will keep its shape for up to 1 day. Just remember that because of the addition of gelatin, the cream will "set up" after refrigeration so it is best to frost your cake right after making the cream. You can refrigerate the frosted cake for up to 3 hours.


What kind of gelatin is best for stabilized whipped cream?
I like to use Knox gelatin for my stabilized whipped cream. Knox is a very common brand of unflavored gelatin—you can find it in almost any supermarket! You can purchase unflavored gelatin in a bulk jar or in individual envelopes. An envelope of gelatin contains about 2½ teaspoons, so one envelope will be more than enough for this recipe.
Do make sure to let your gelatin “bloom” before you use it. Blooming the gelatin is easy—you just hydrate it in cold water and allow it to soften a bit before use. I’ll describe the process in the recipe below.
The colder the cream, the faster and fluffier you can whip it.
Whenever you make a homemade whipped cream recipe, remember to use cold, heavy whipping cream right out of the fridge. I like to chill my bowl and beaters, too. You can let them sit in the refrigerator or the freezer for a while before you start. Your whipped cream will turn out fluffier and it will be easier to whip—it’ll take a little extra time, but you’ll thank me later!
Make sure to let your desserts cool before you frost them.
Make sure you have your cake layers or cupcakes ready to go—completely prepared and cooled to room temperature—before you start frosting. And if you just need enough to top something smaller, like cupcakes, you can easily divide this recipe in half!
More Recipes that Love Homemade Whipped Cream
I like to use this stabilized whipped cream to frost my chiffon chaja cake recipe (homemade dulce de leche recipe included). Want to practice on something else? Try stabilized whipped cream in place of frosting on one of my delicious cupcake recipes!


Mary’s Stabilized Whipped Cream Recipe
Ingredients
- 2 tablespoons plus 2 teaspoons cold water
- 2 teaspoons unflavored gelatin
- 2½ cups cold heavy whipping cream
- ¼ cup confectioners’ sugar
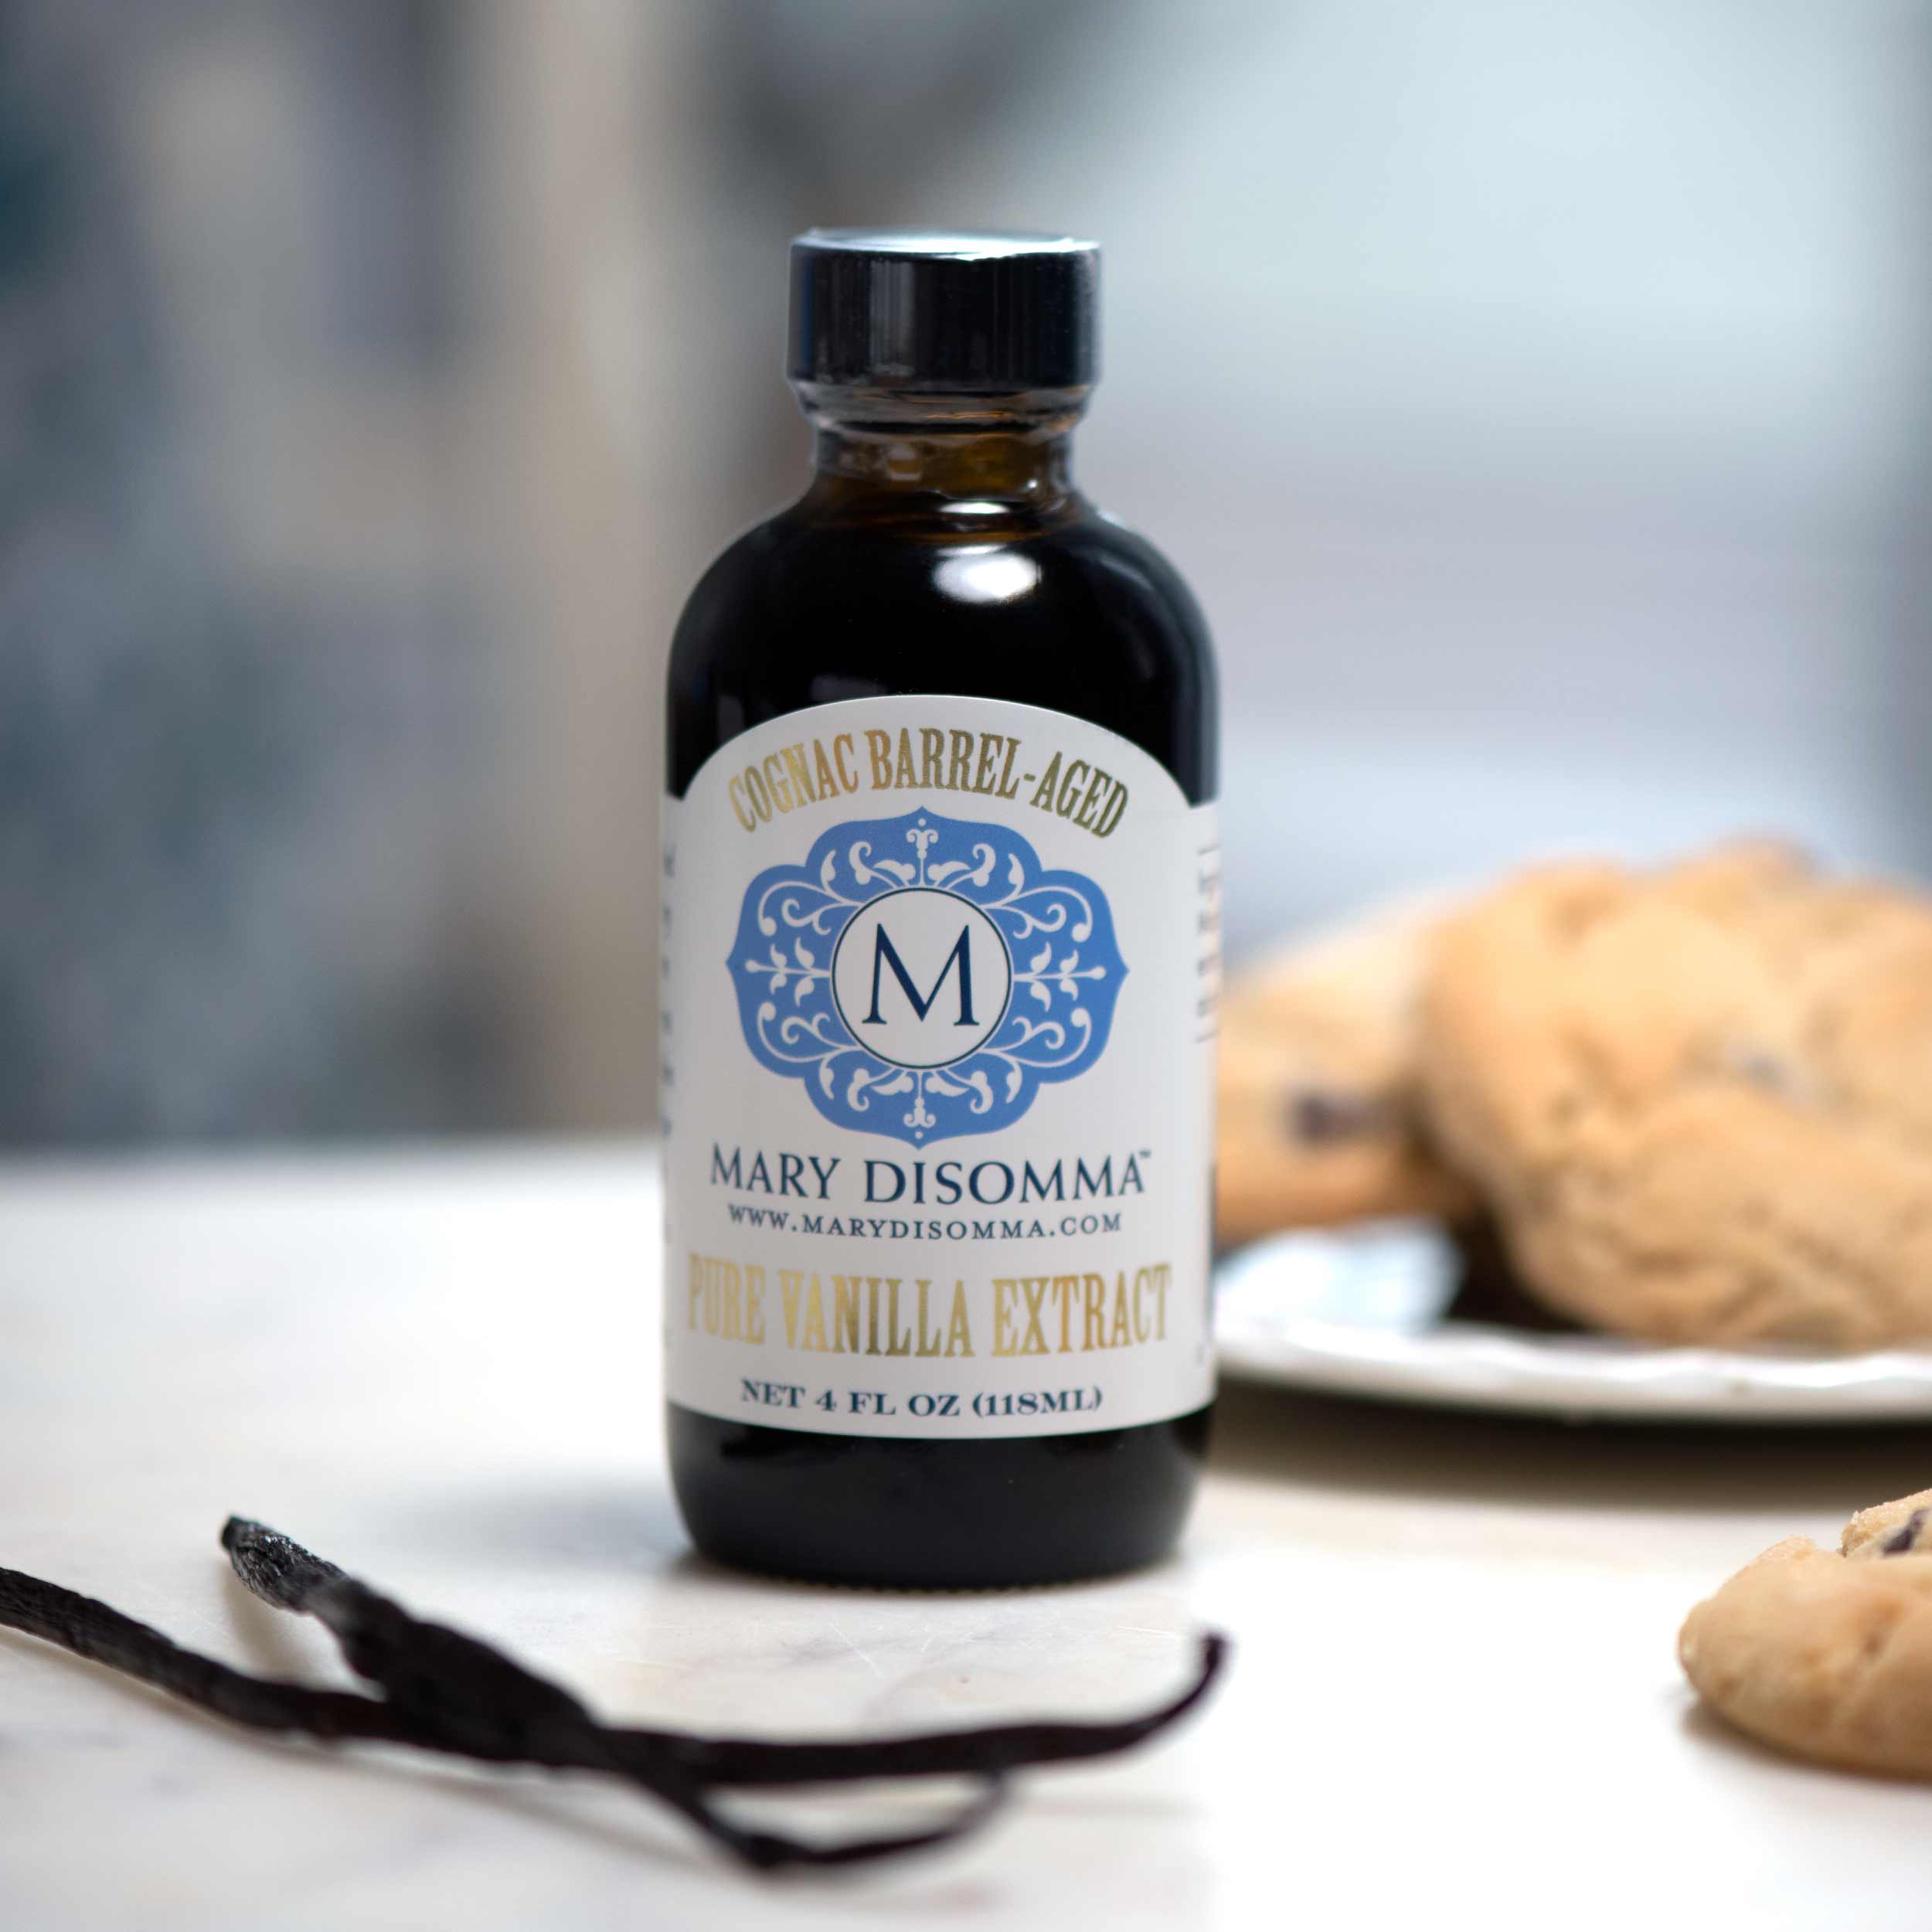
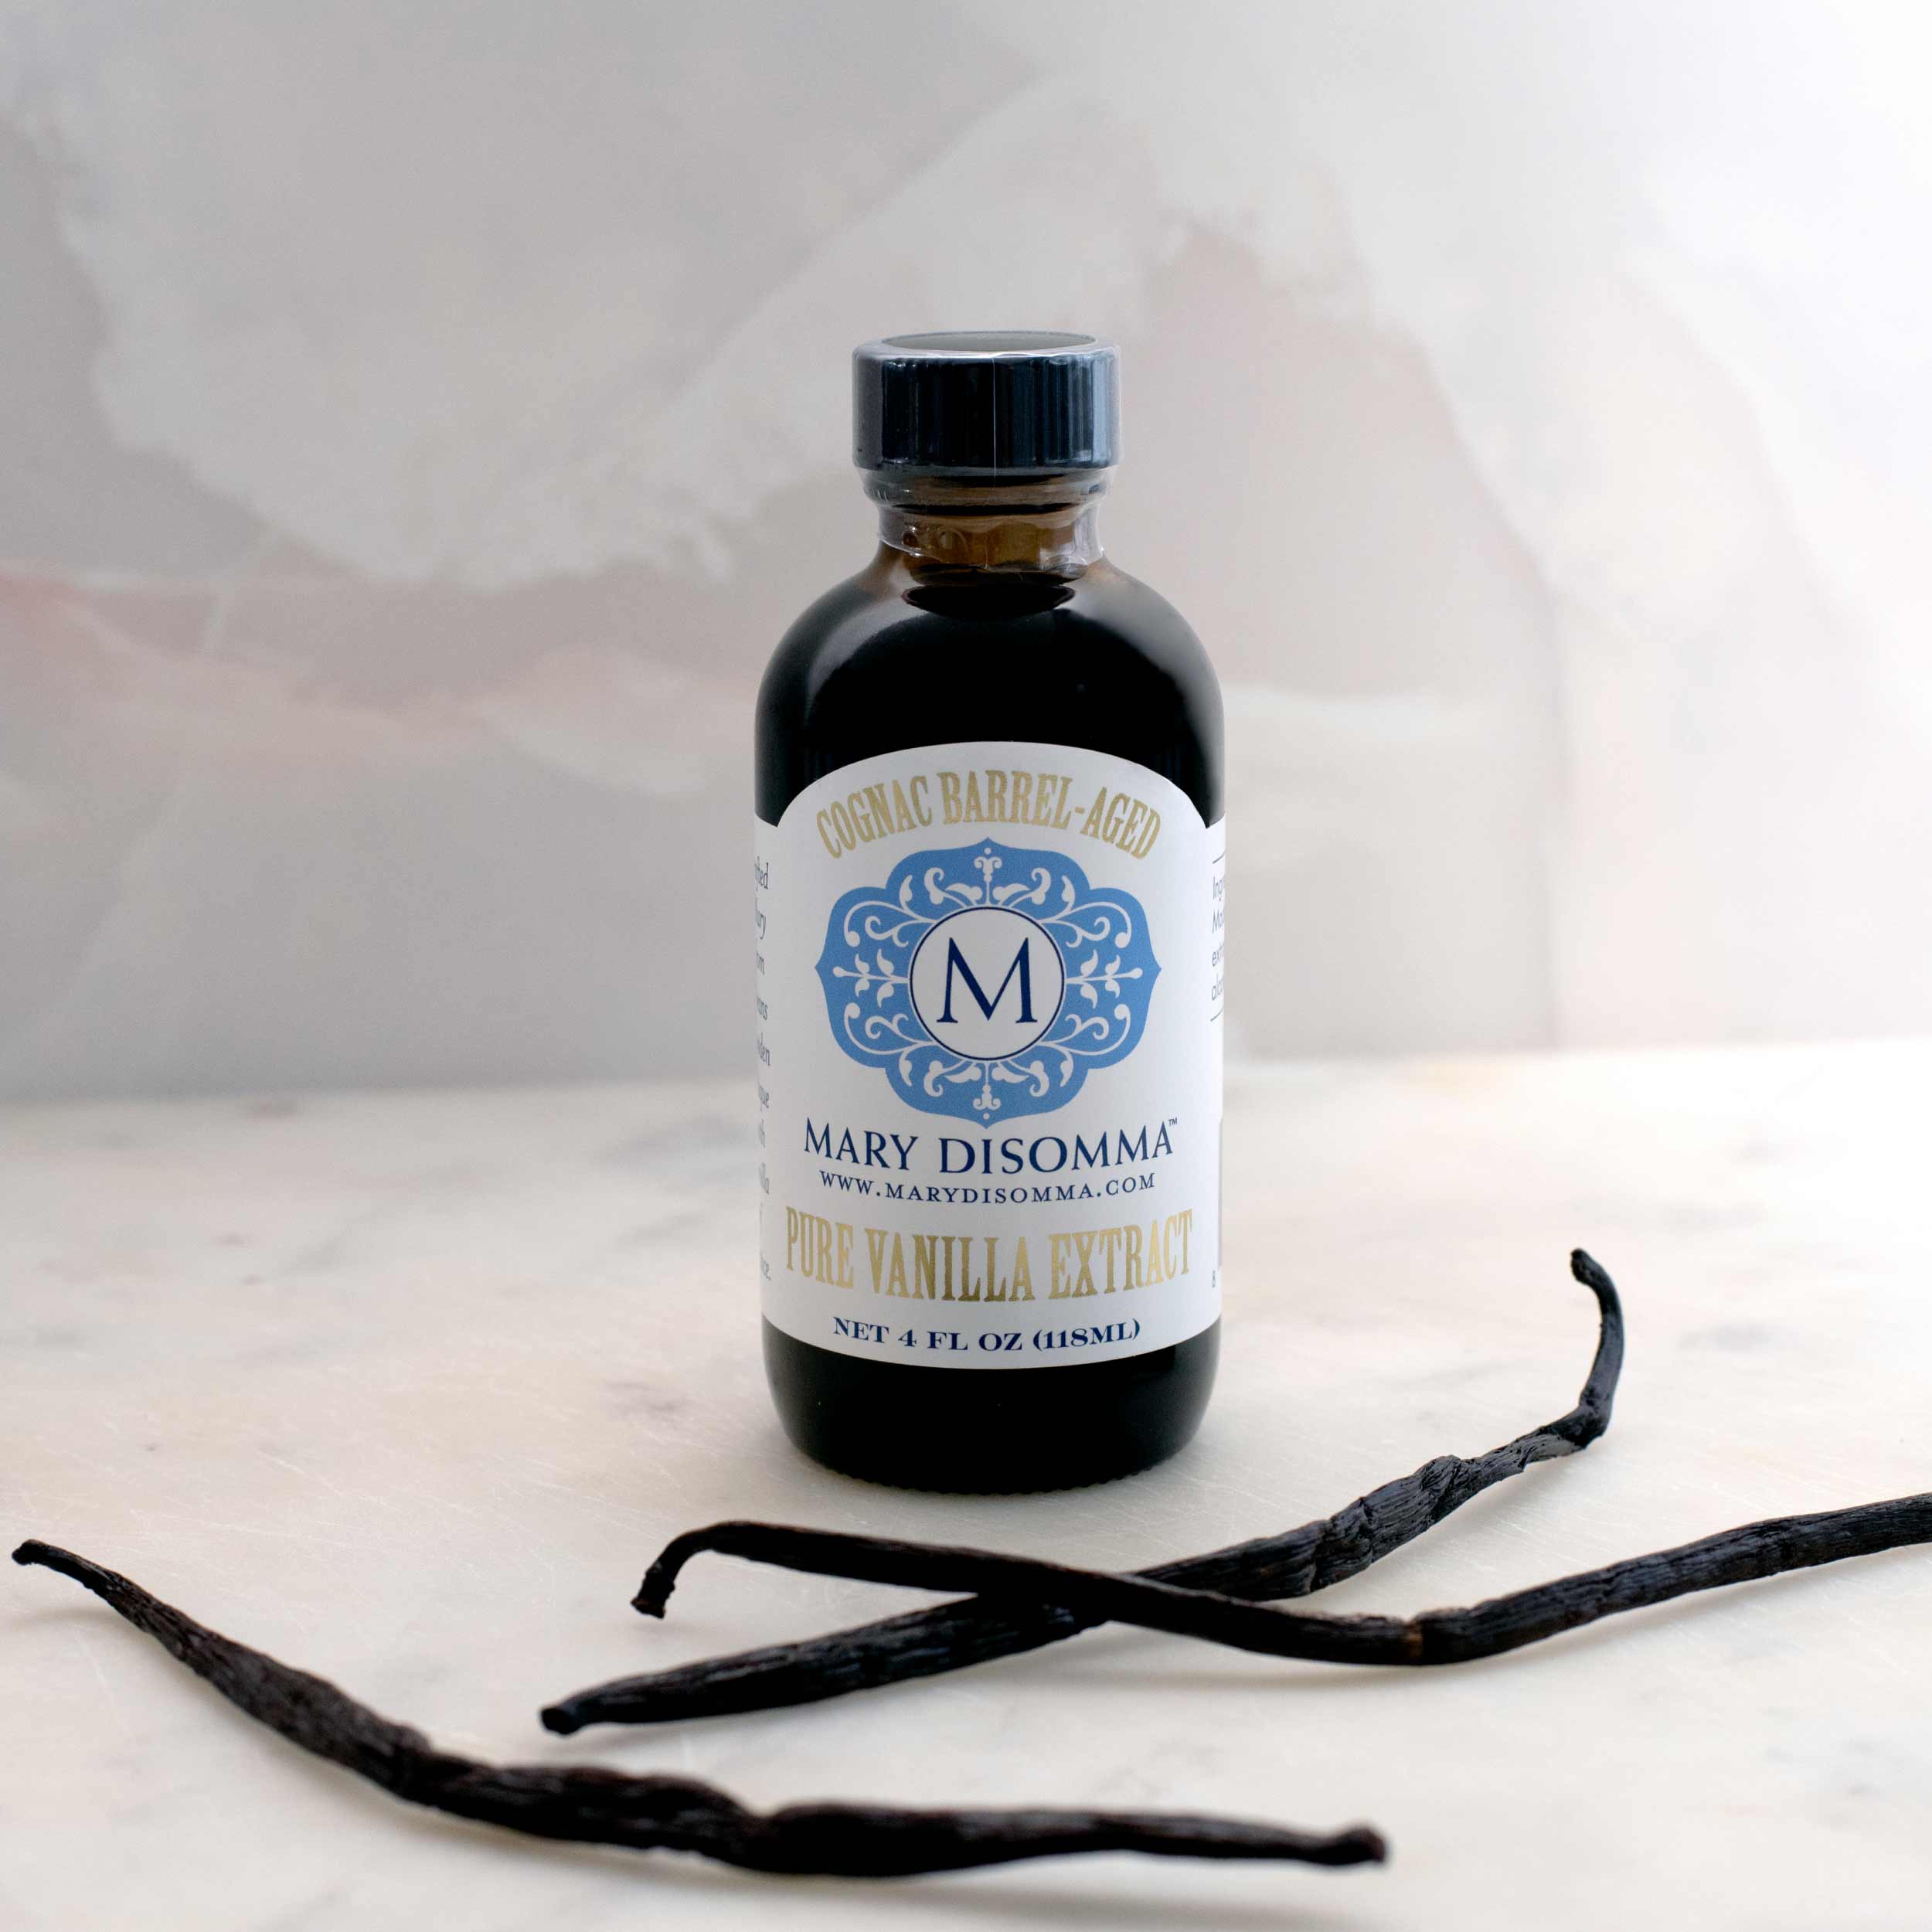
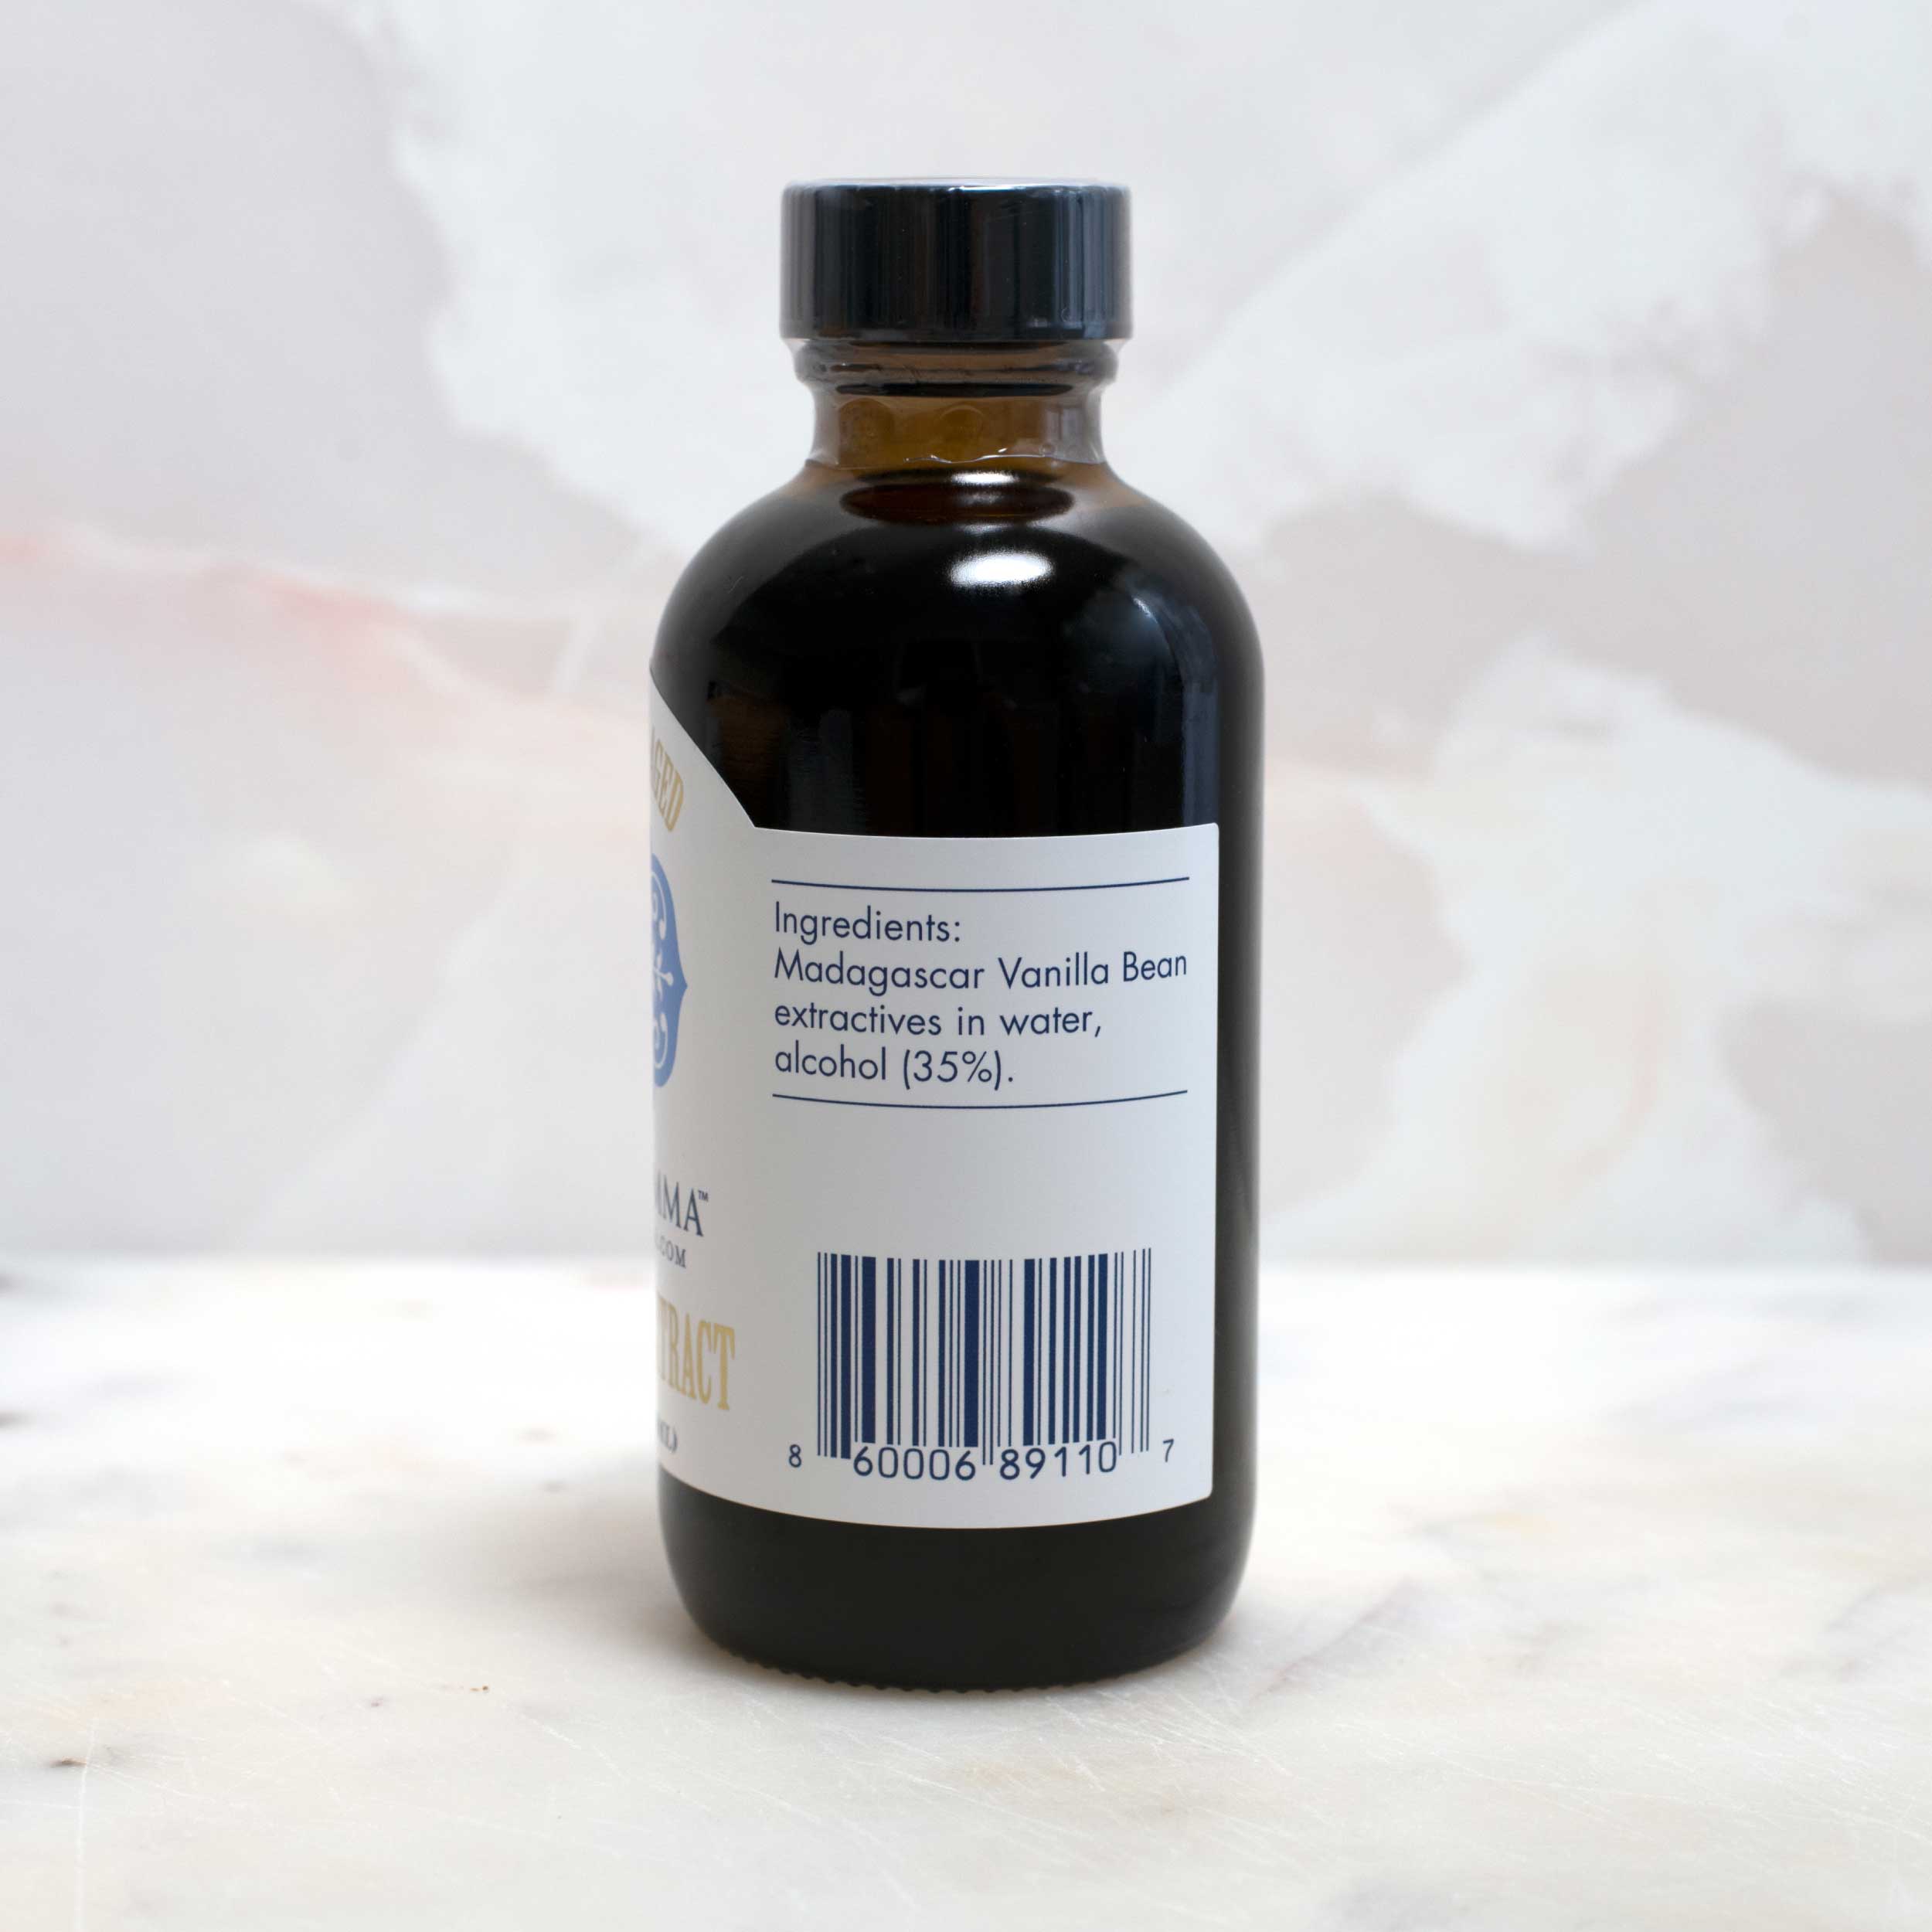
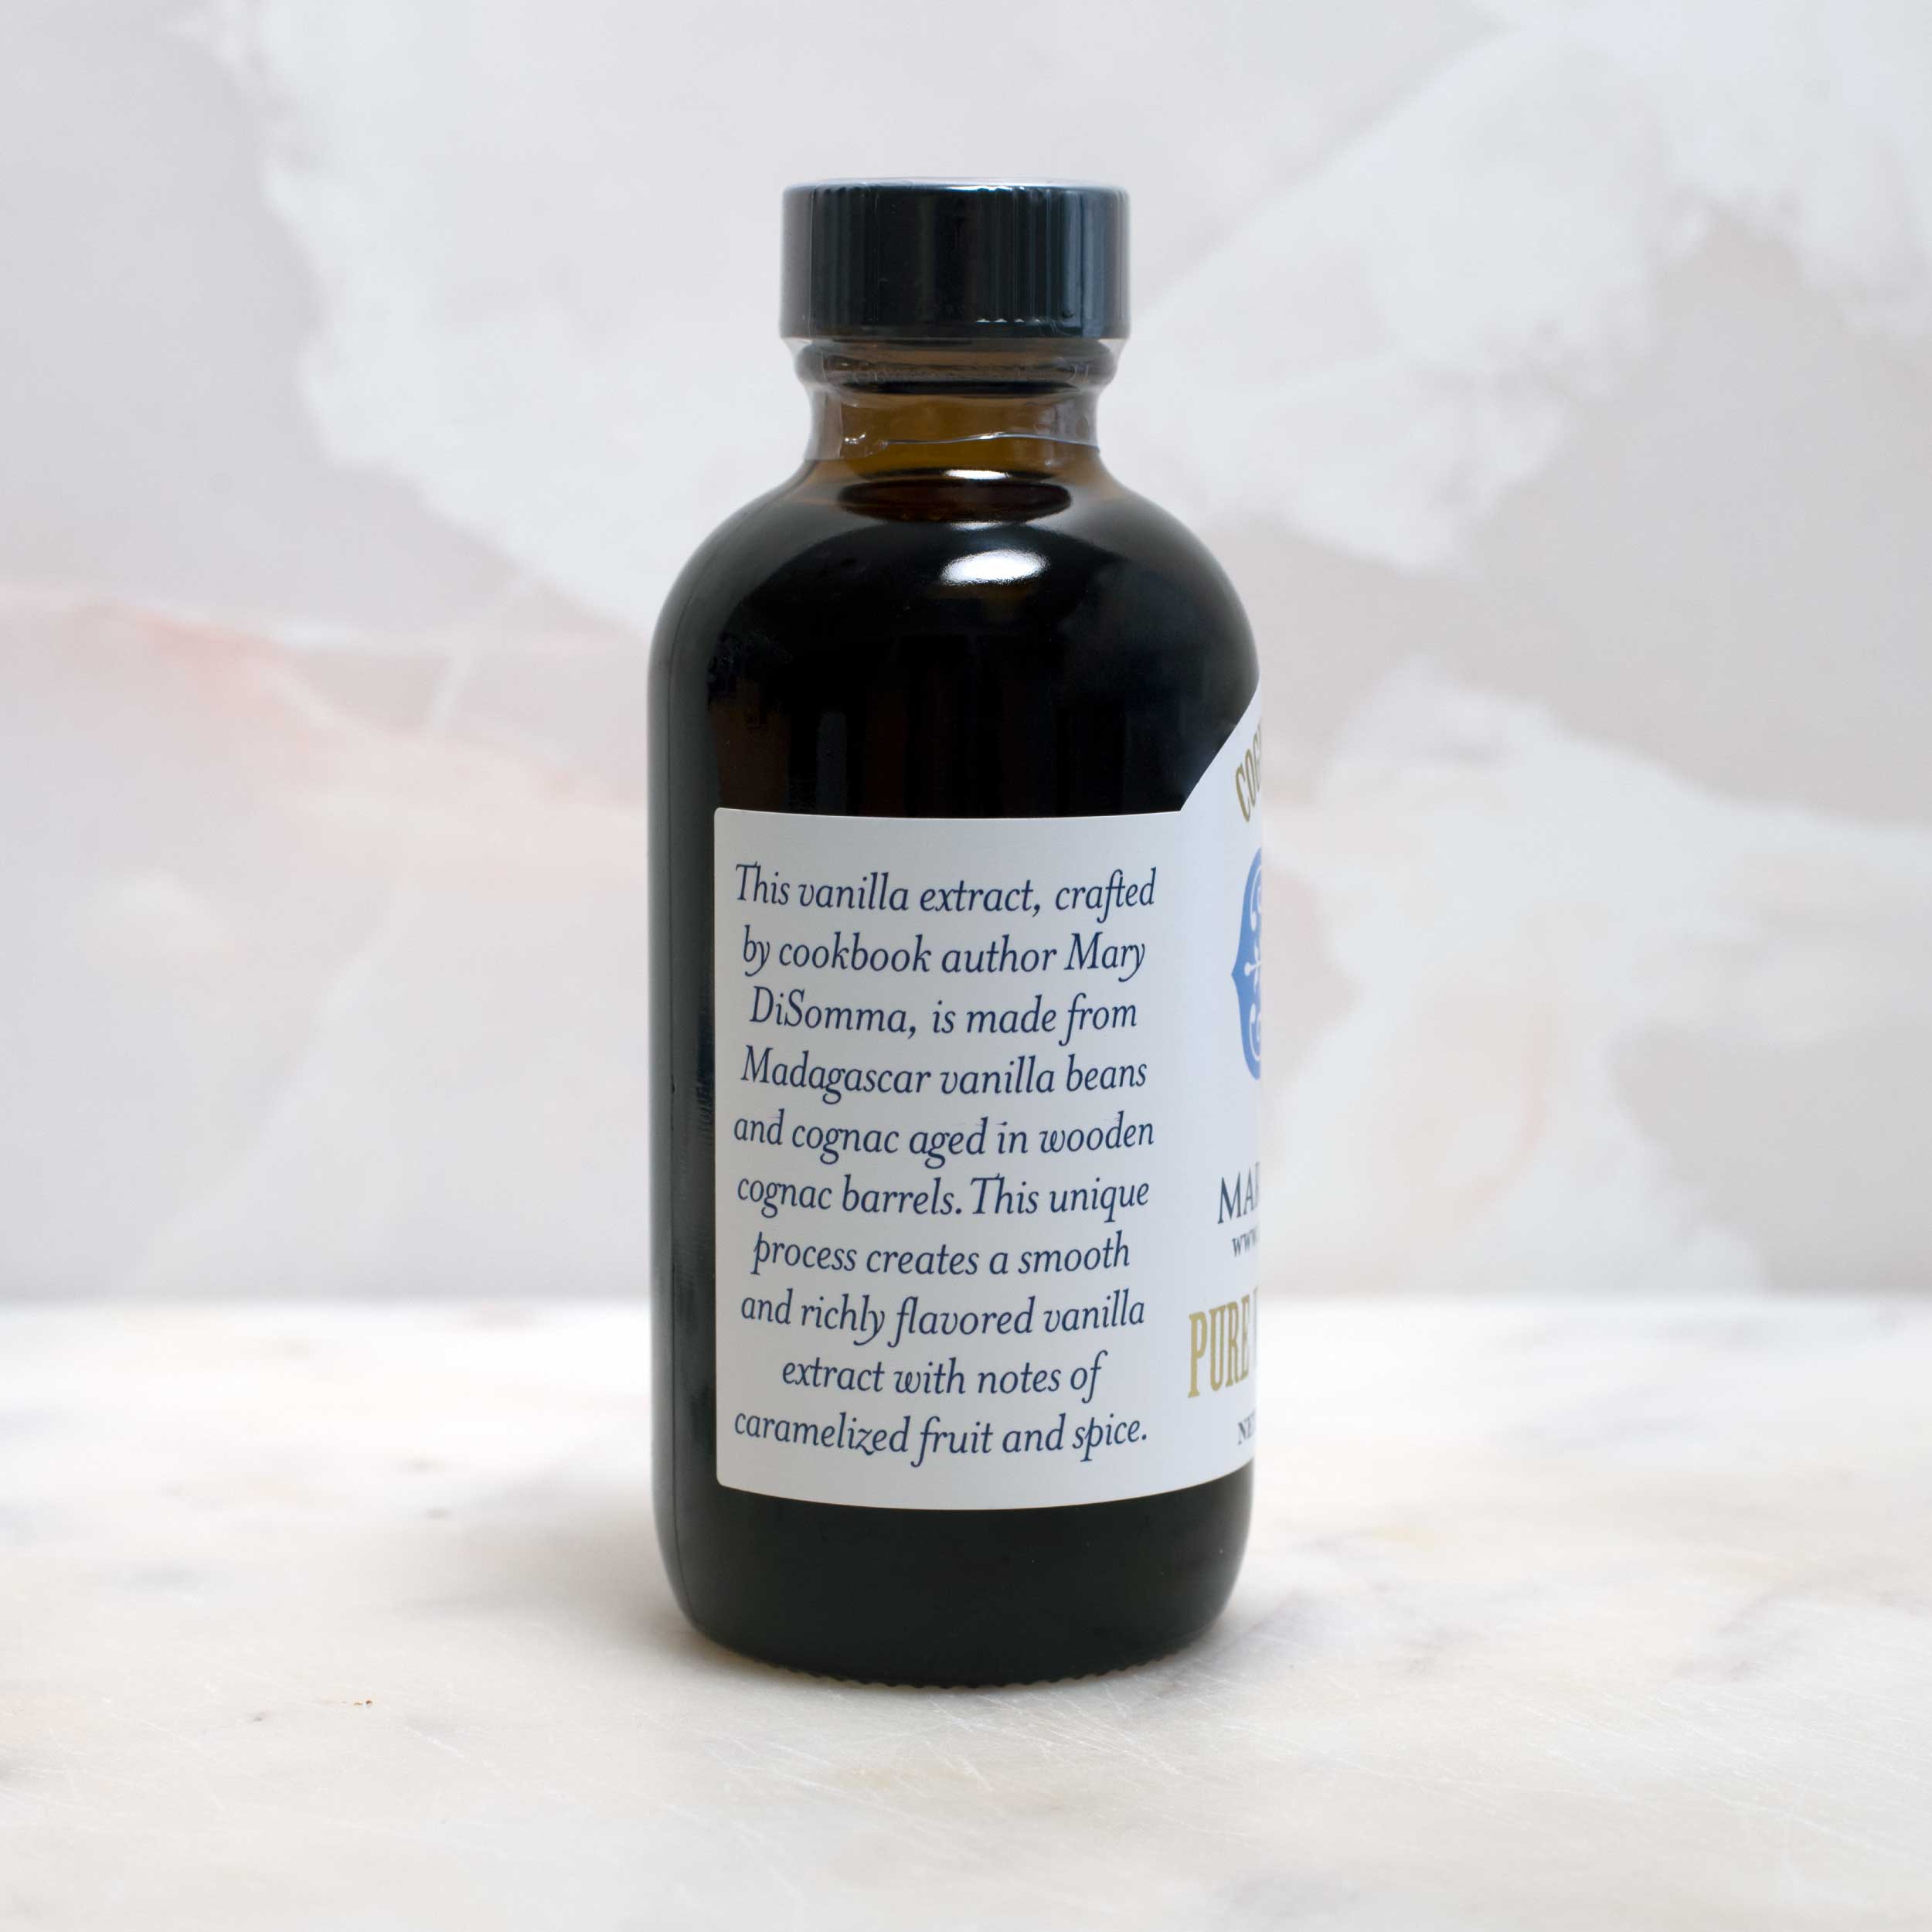
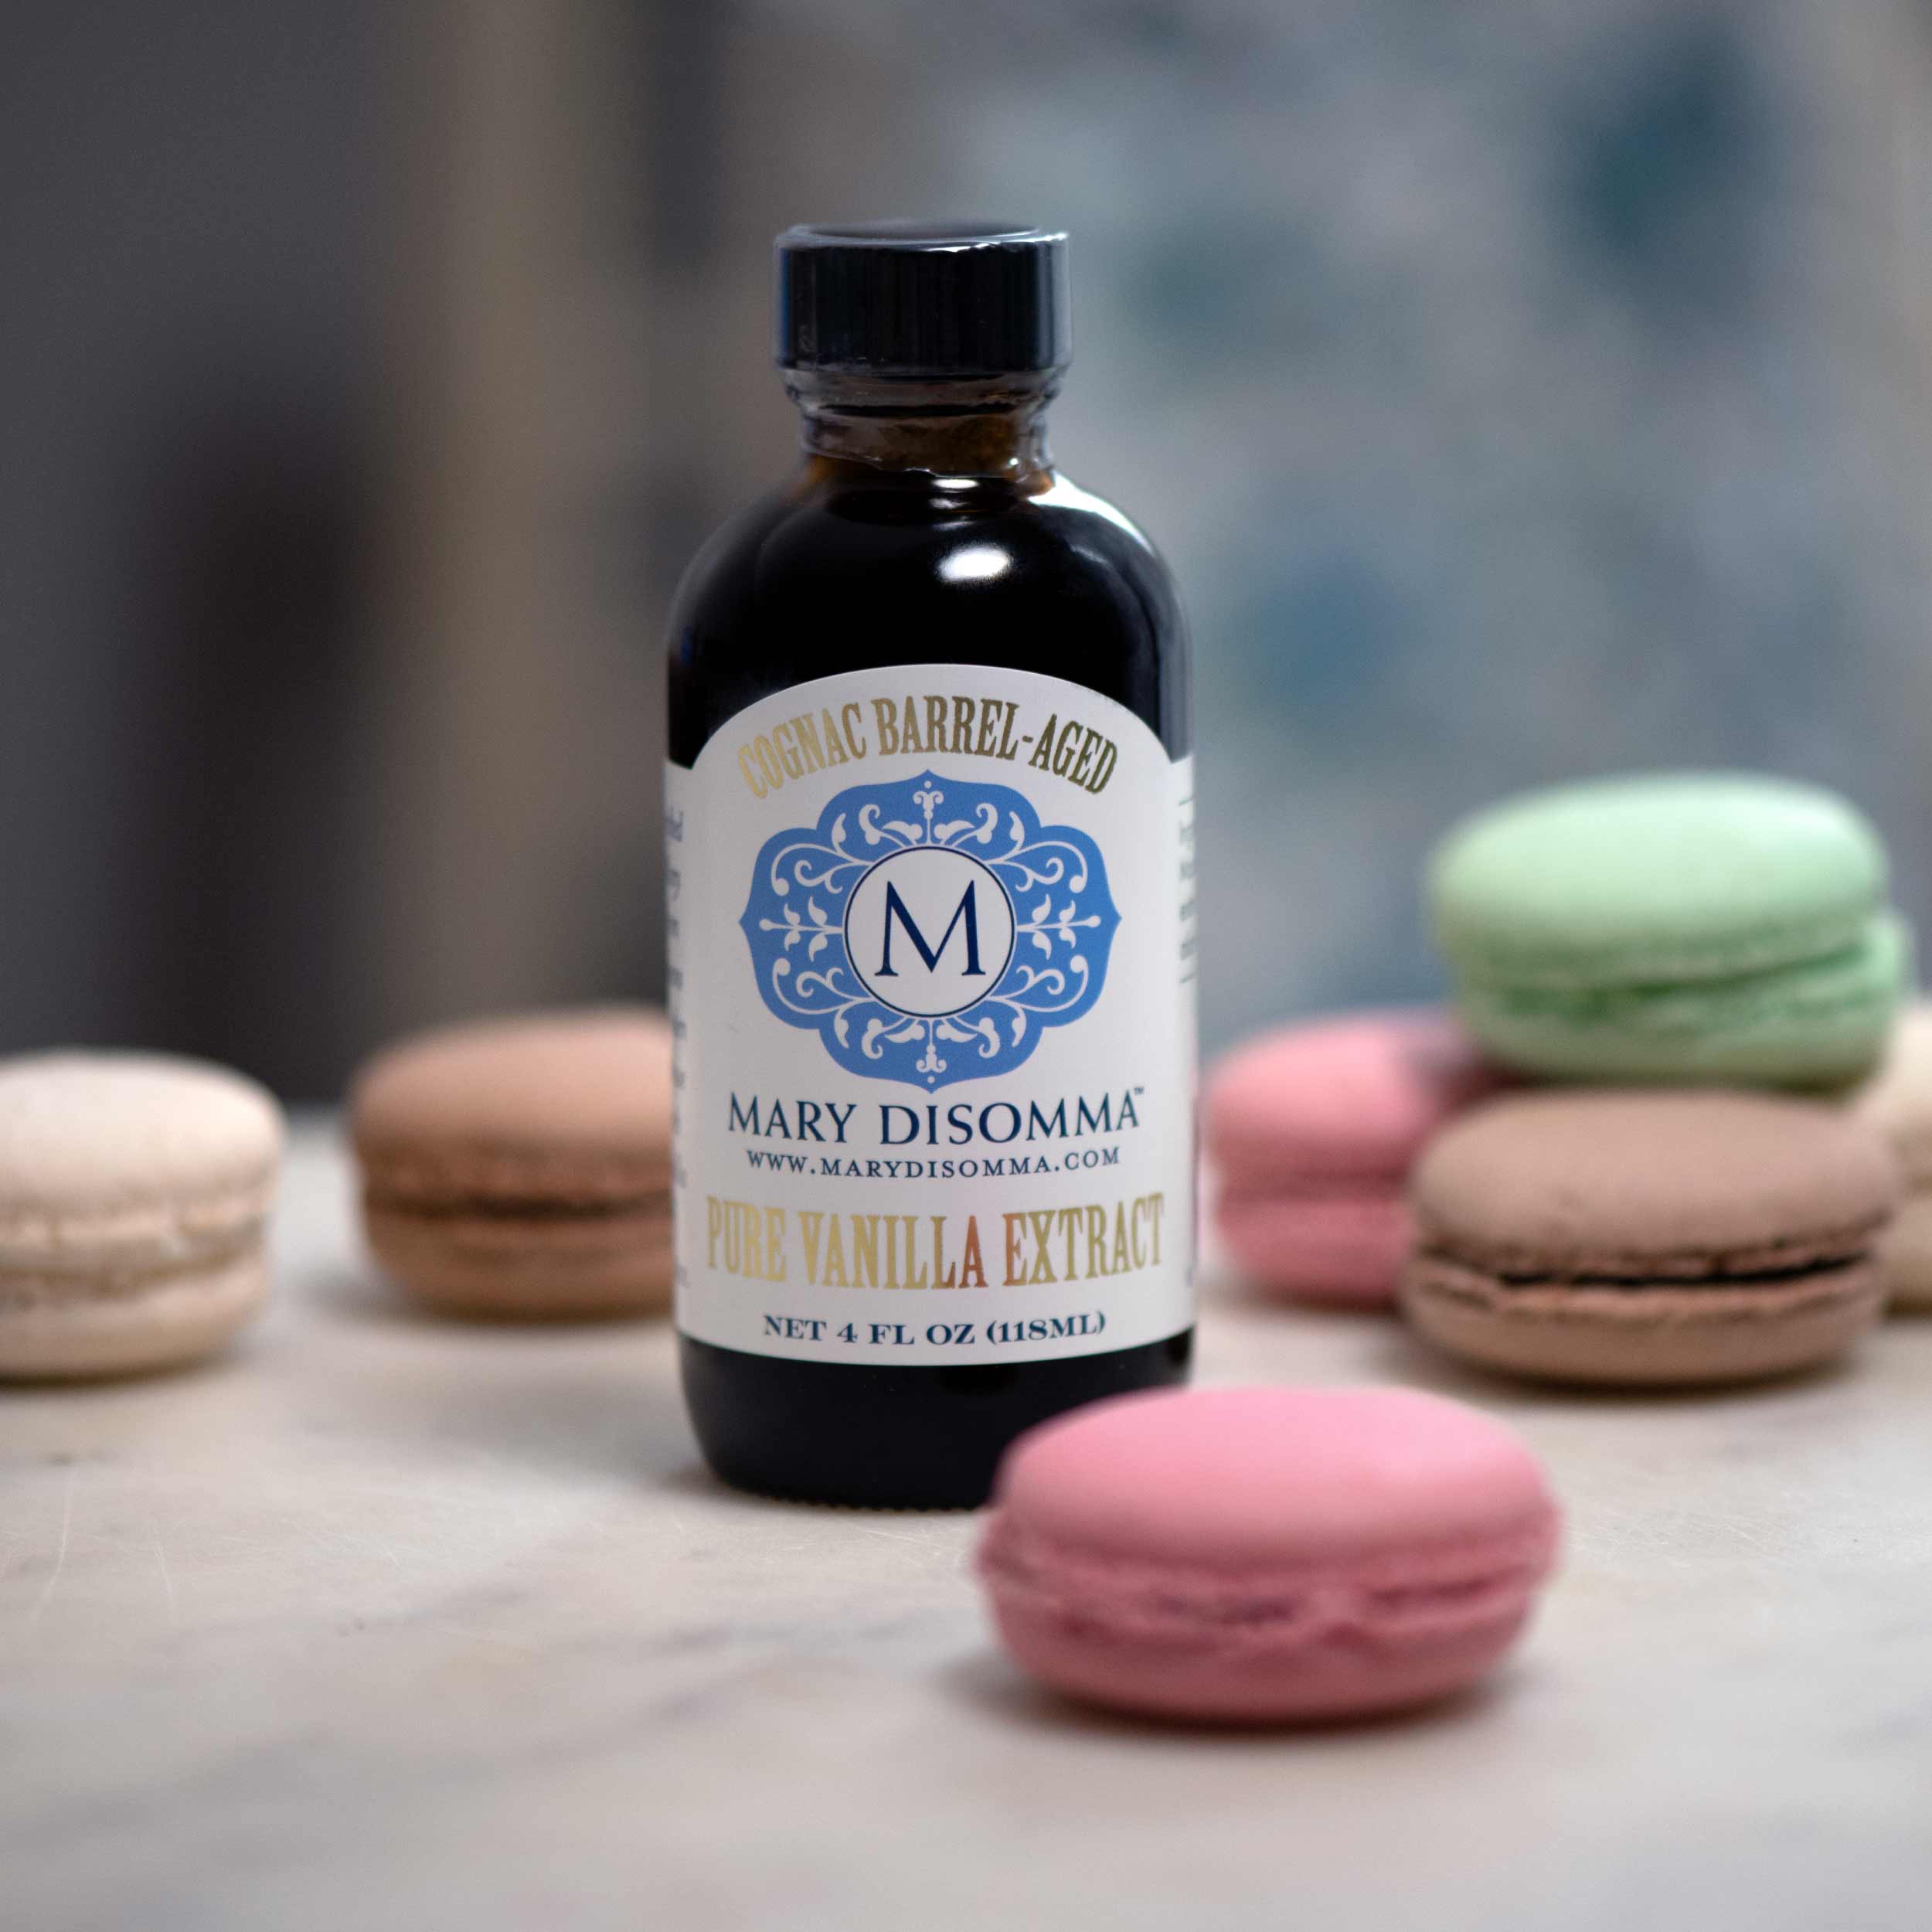
- ½ teaspoon Mary’s Cognac Barrel Aged Pure Vanilla Extract
Instructions
- Have the elements of your dessert ready to go before you start whipping the cream.
- Place the water into a microwave-safe bowl. Sprinkle the unflavored gelatin on top and allow to sit for 3 to 4 minutes.
- If the gelatin is not fully dissolved or begins to harden before your cream is ready, simply place it in the microwave and heat for just a few seconds. Stir the mixture then set aside to cool slightly before adding it to the cream.
- In the chilled bowl of a stand mixer fitted with the whisk attachment, add the cold heavy whipping cream. Begin to whip on medium speed until soft peaks form.
- With the mixer on medium-high, slowly add the gelatin, followed by the confectioners’ sugar and vanilla extract. Whip until combined and firm peaks hold.
- Use the stabilized whipped cream immediately to frost, assemble, or top your dessert. Your stabilized whipped cream will keep for up to 1 day, but it may begin to “weep” (exude a bit of water) after 6 to 8 hours.