We never made homemade ice cream when I was growing up. That’s something I started doing at the farm, and it’s become a family tradition since then! My kids used to sneak little spoonfuls even before the ice cream was ready. And you’d better believe I’ll be making this one for my grandkids, too!
The farm is near an Amish community, and we’re lucky enough to get fresh cream, skimmed right off the top. That’s what we use when we make ice cream at the farm—but you can also use heavy cream from the supermarket and it’ll work just as well!

5 Tips for Making Homemade Ice Cream
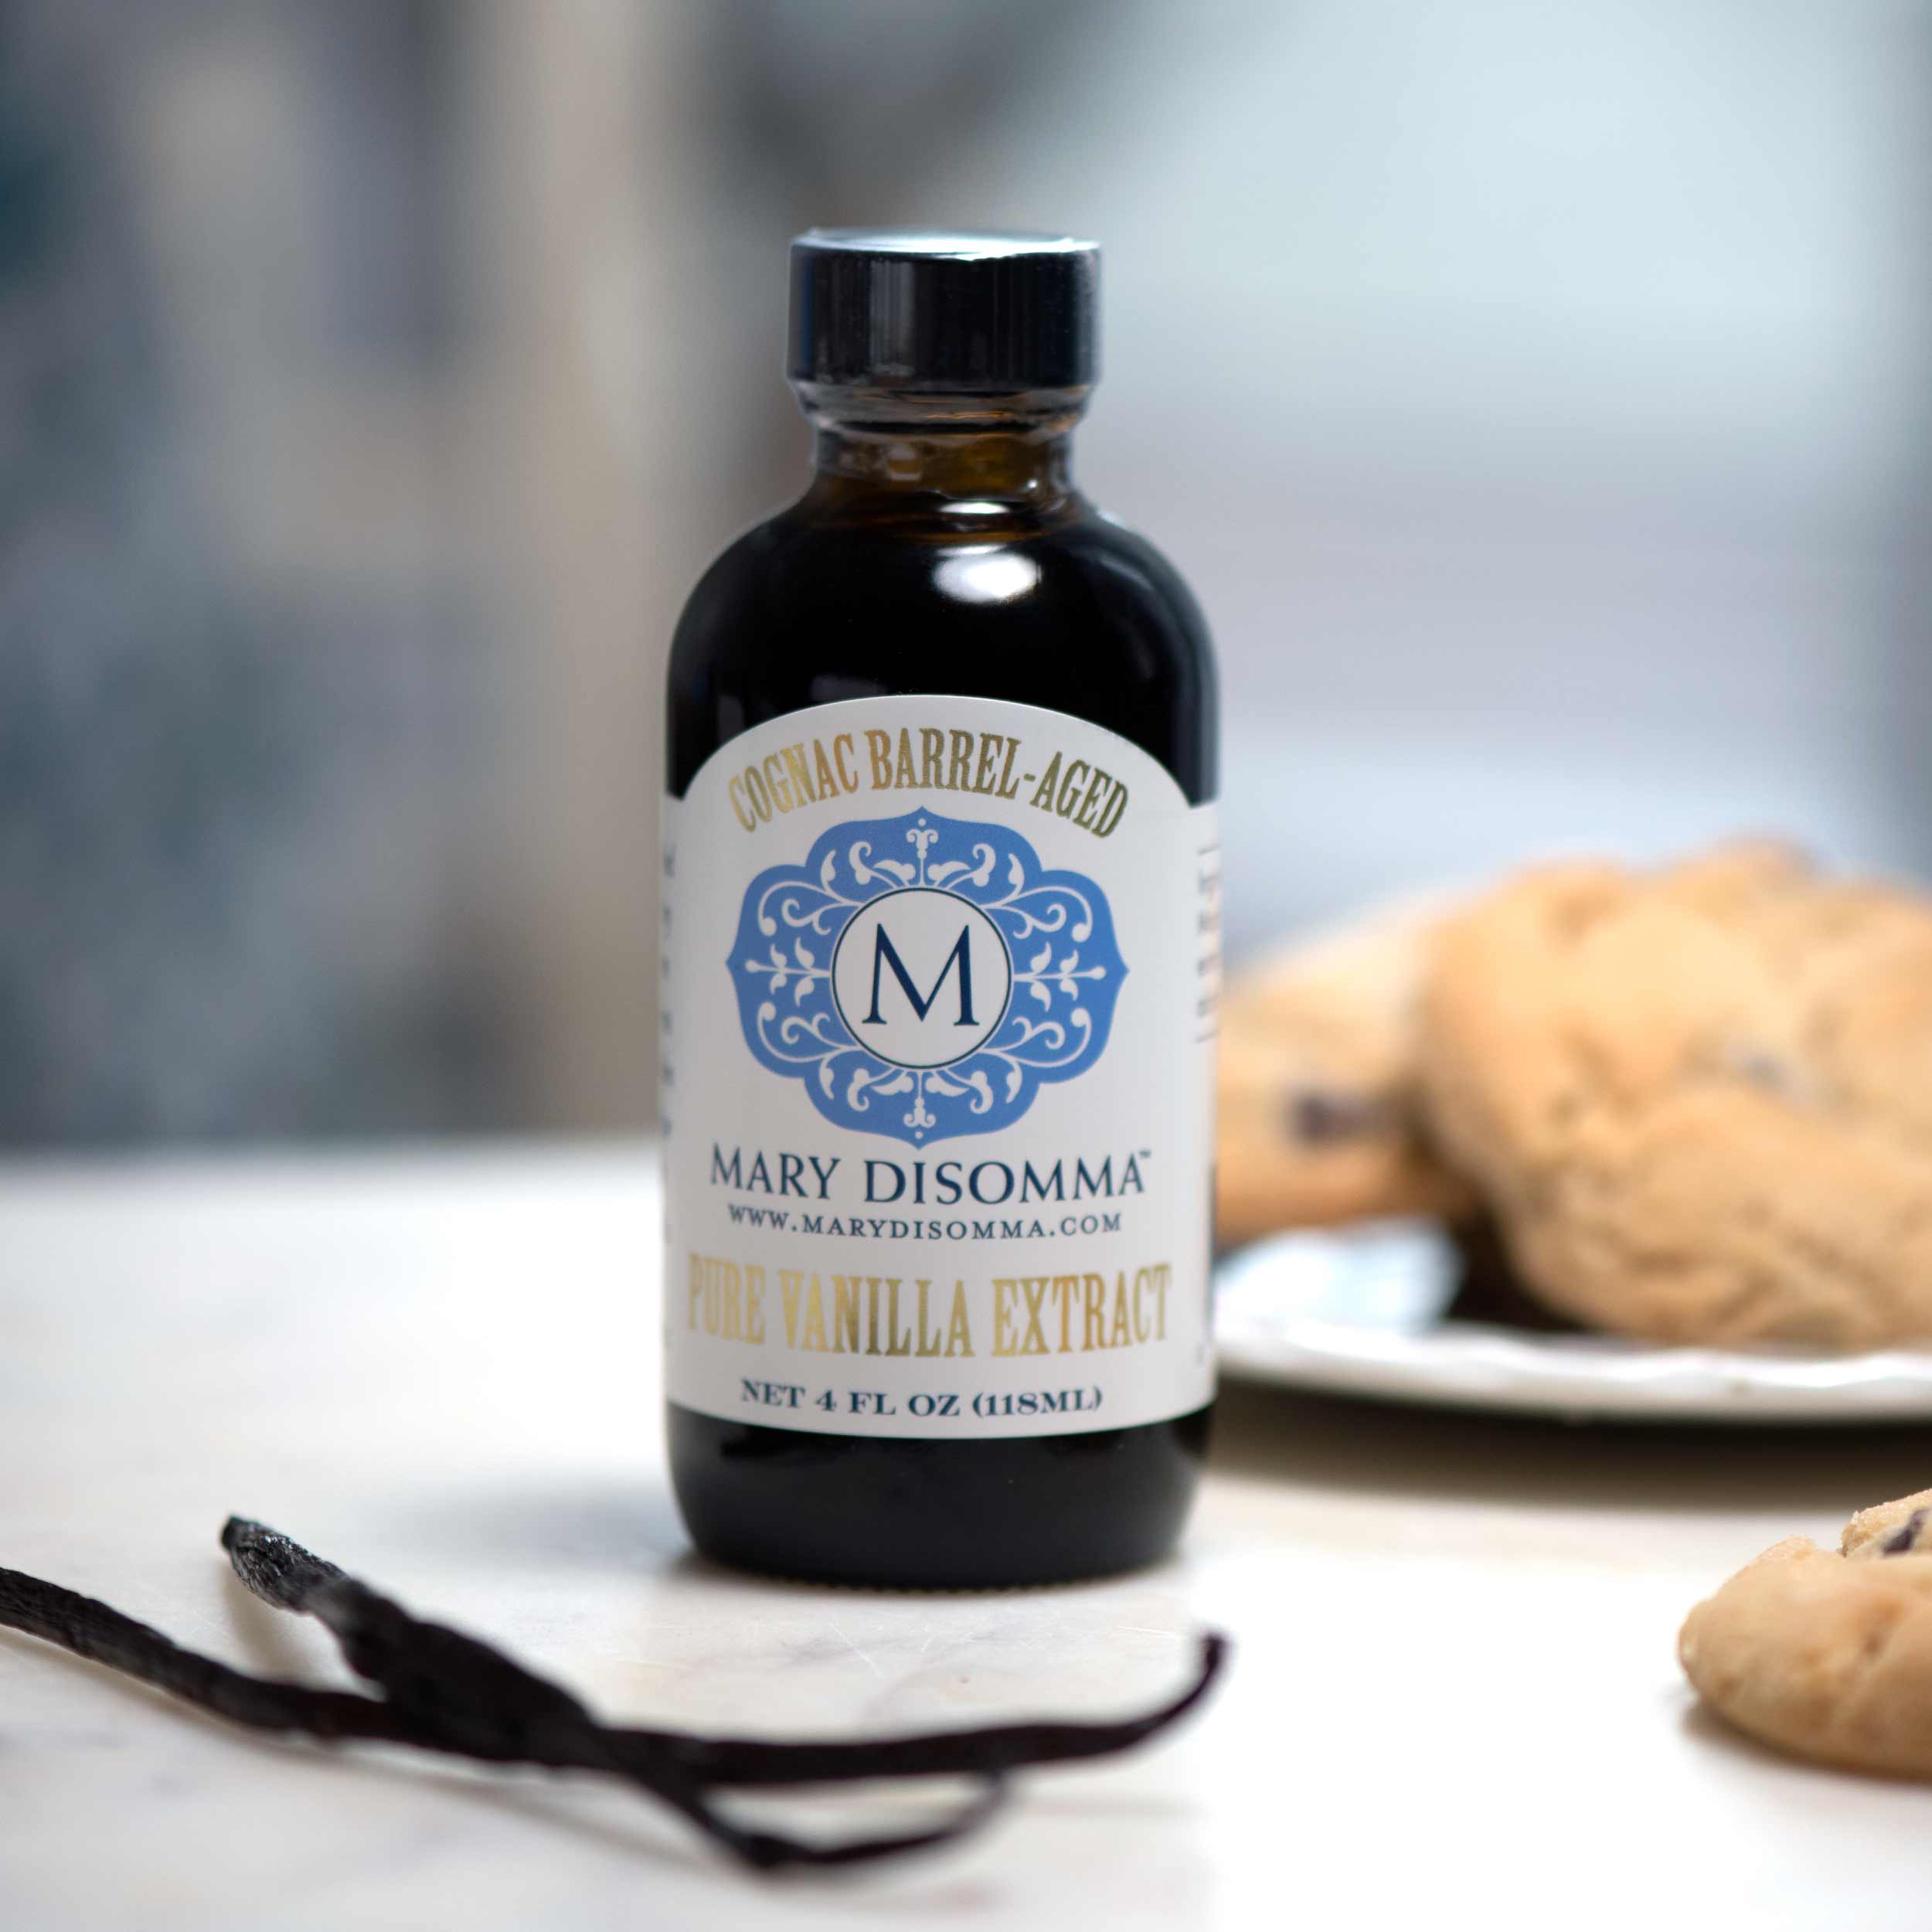
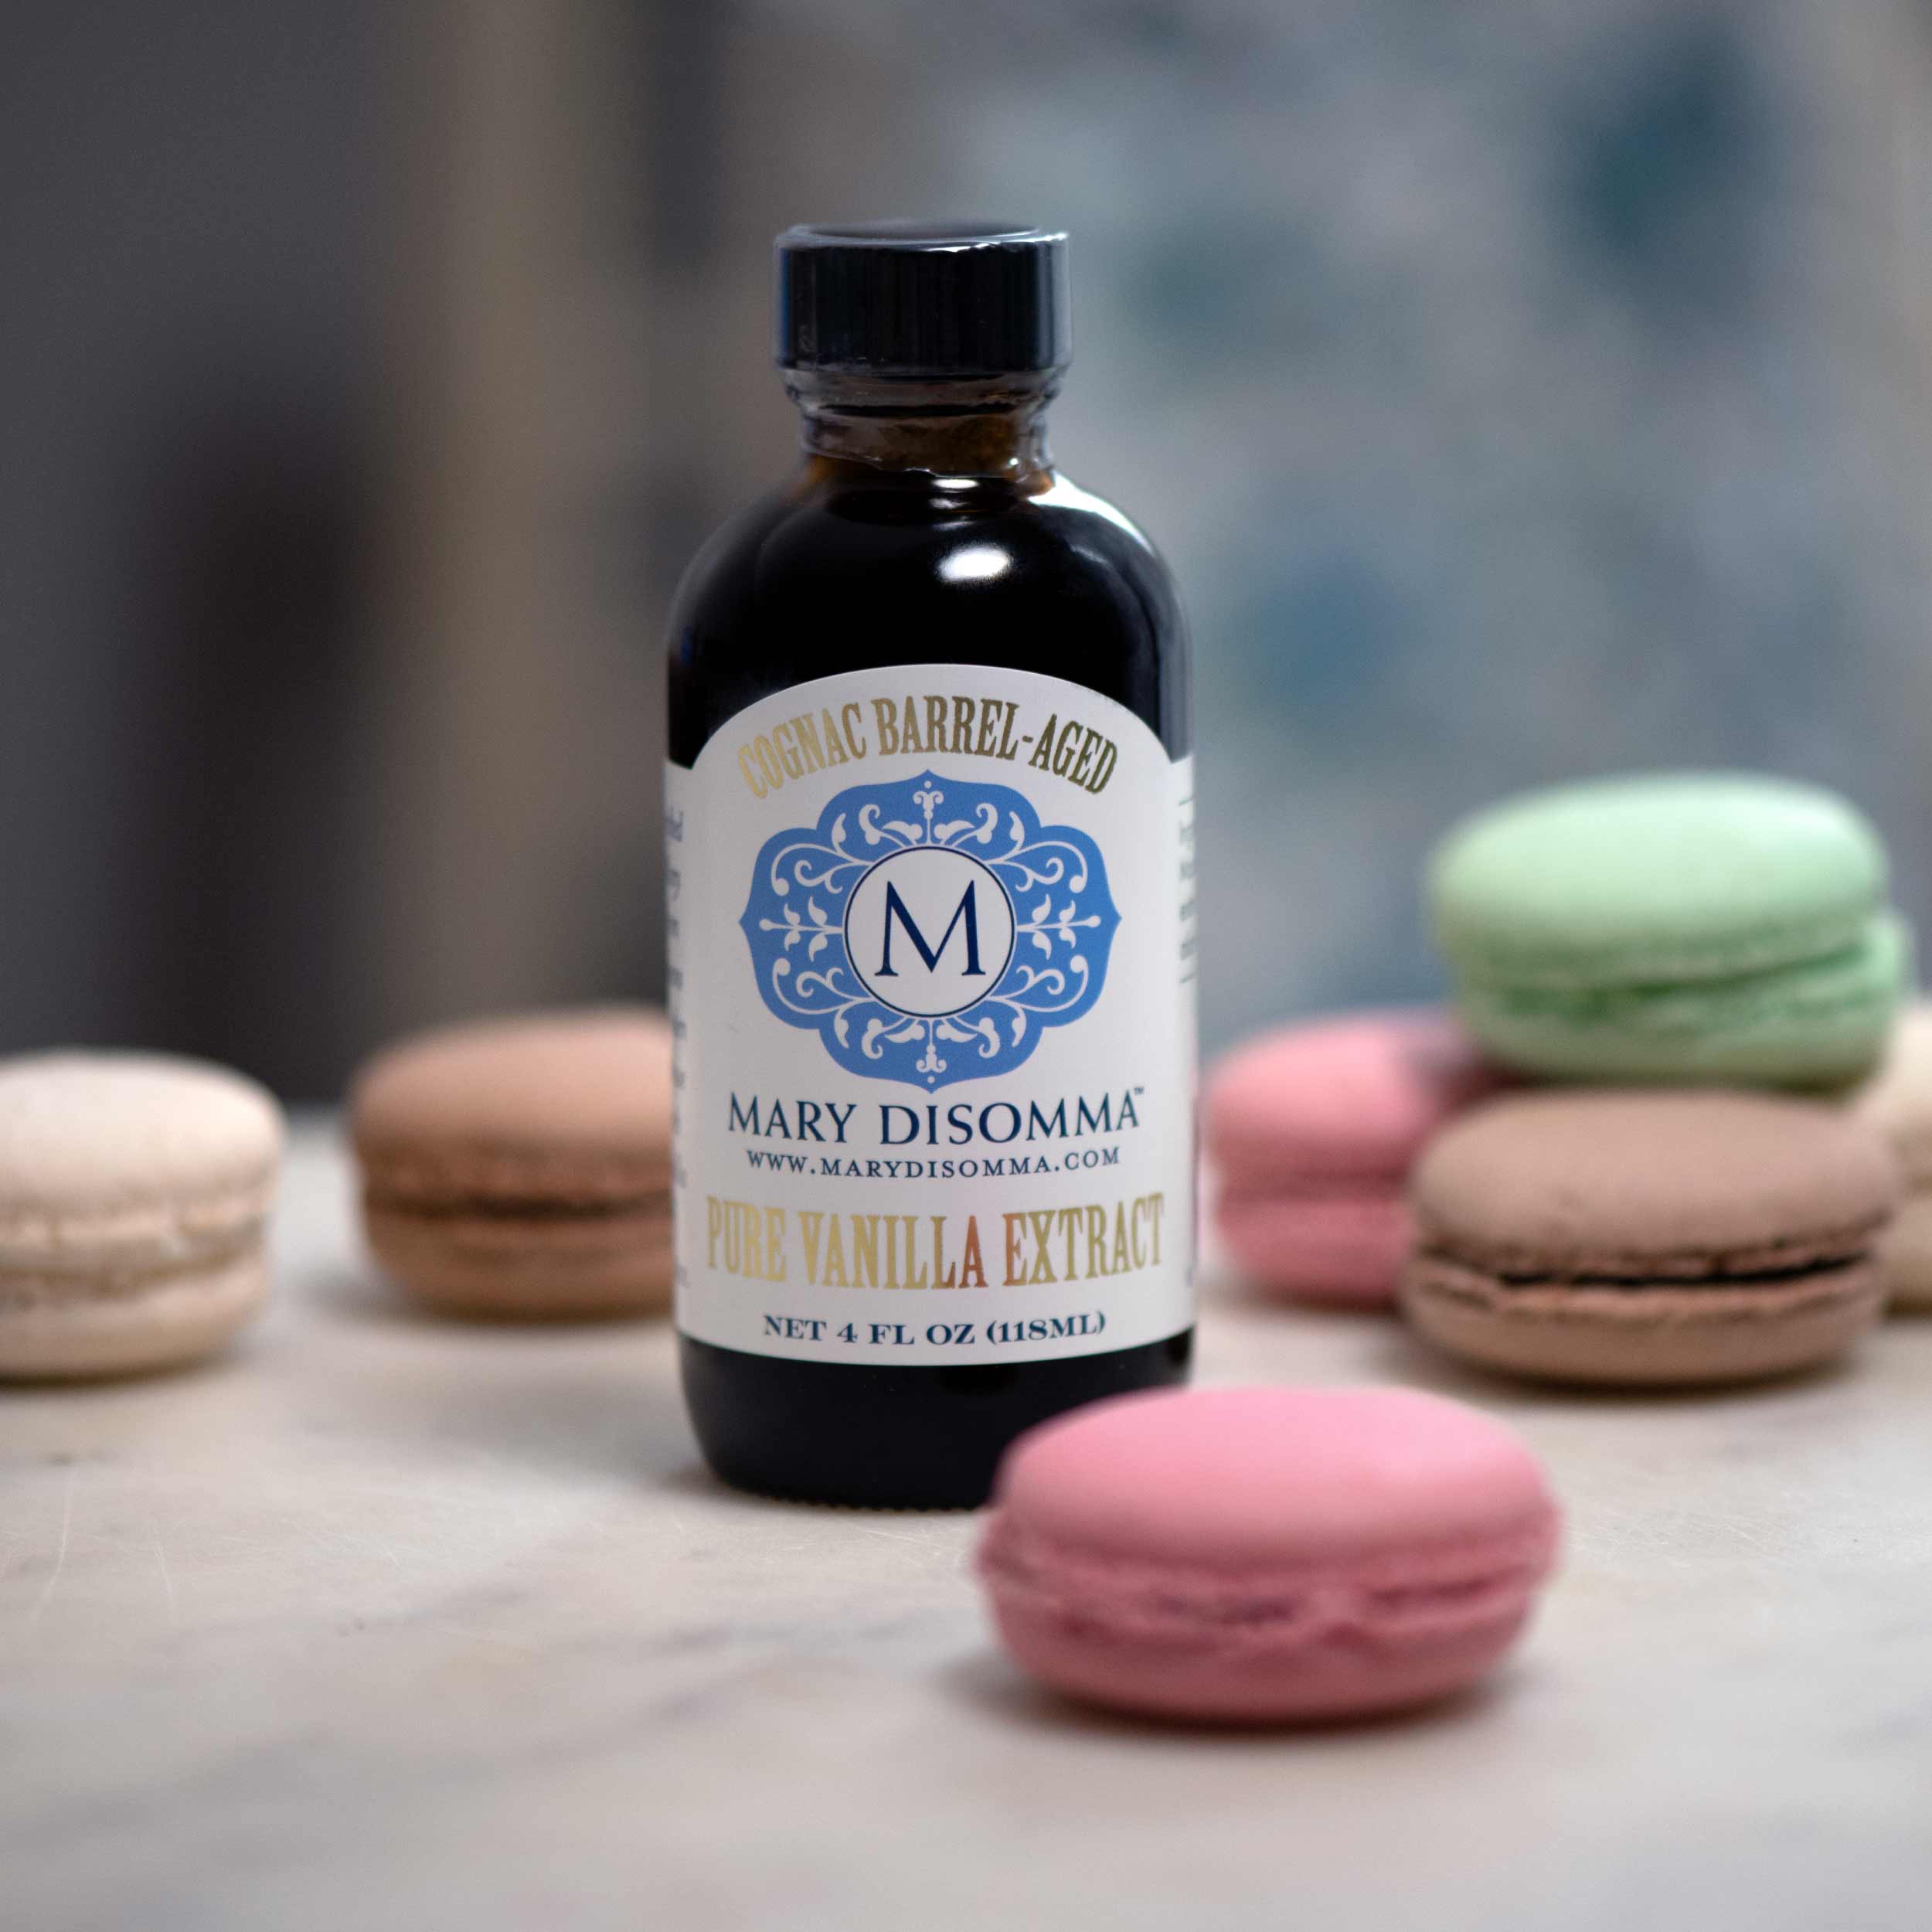
#1 Use good vanilla!
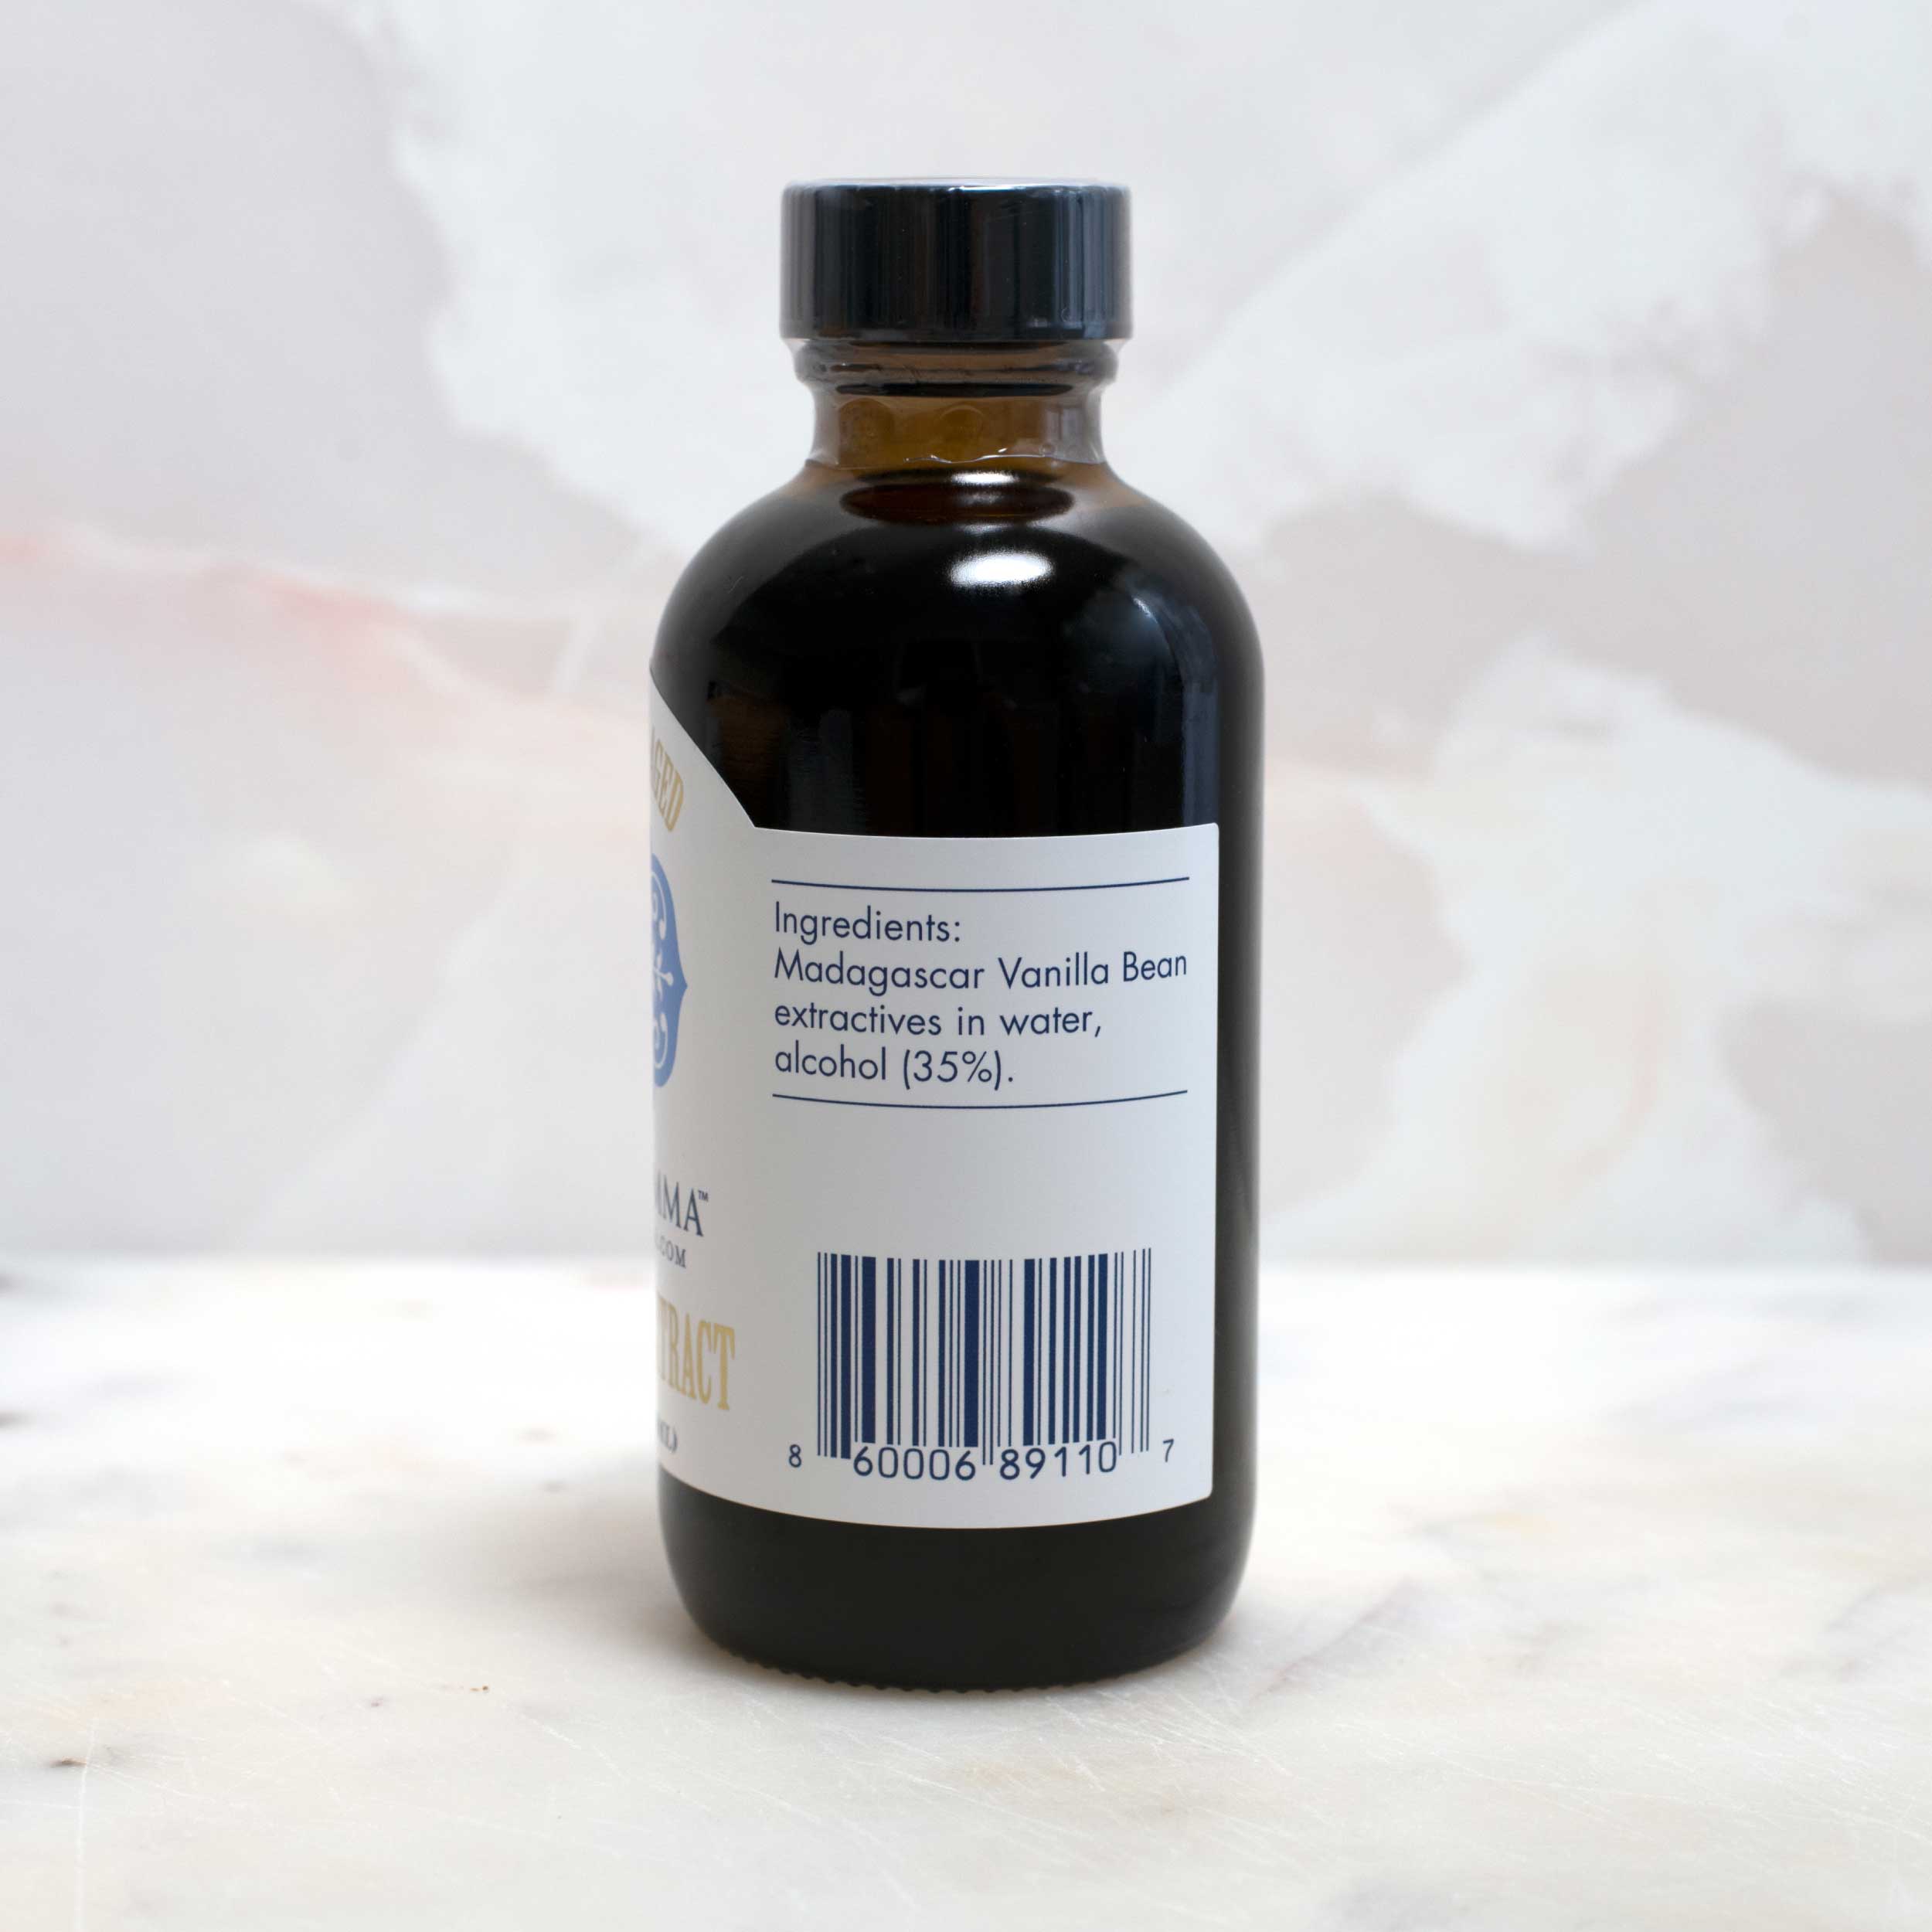
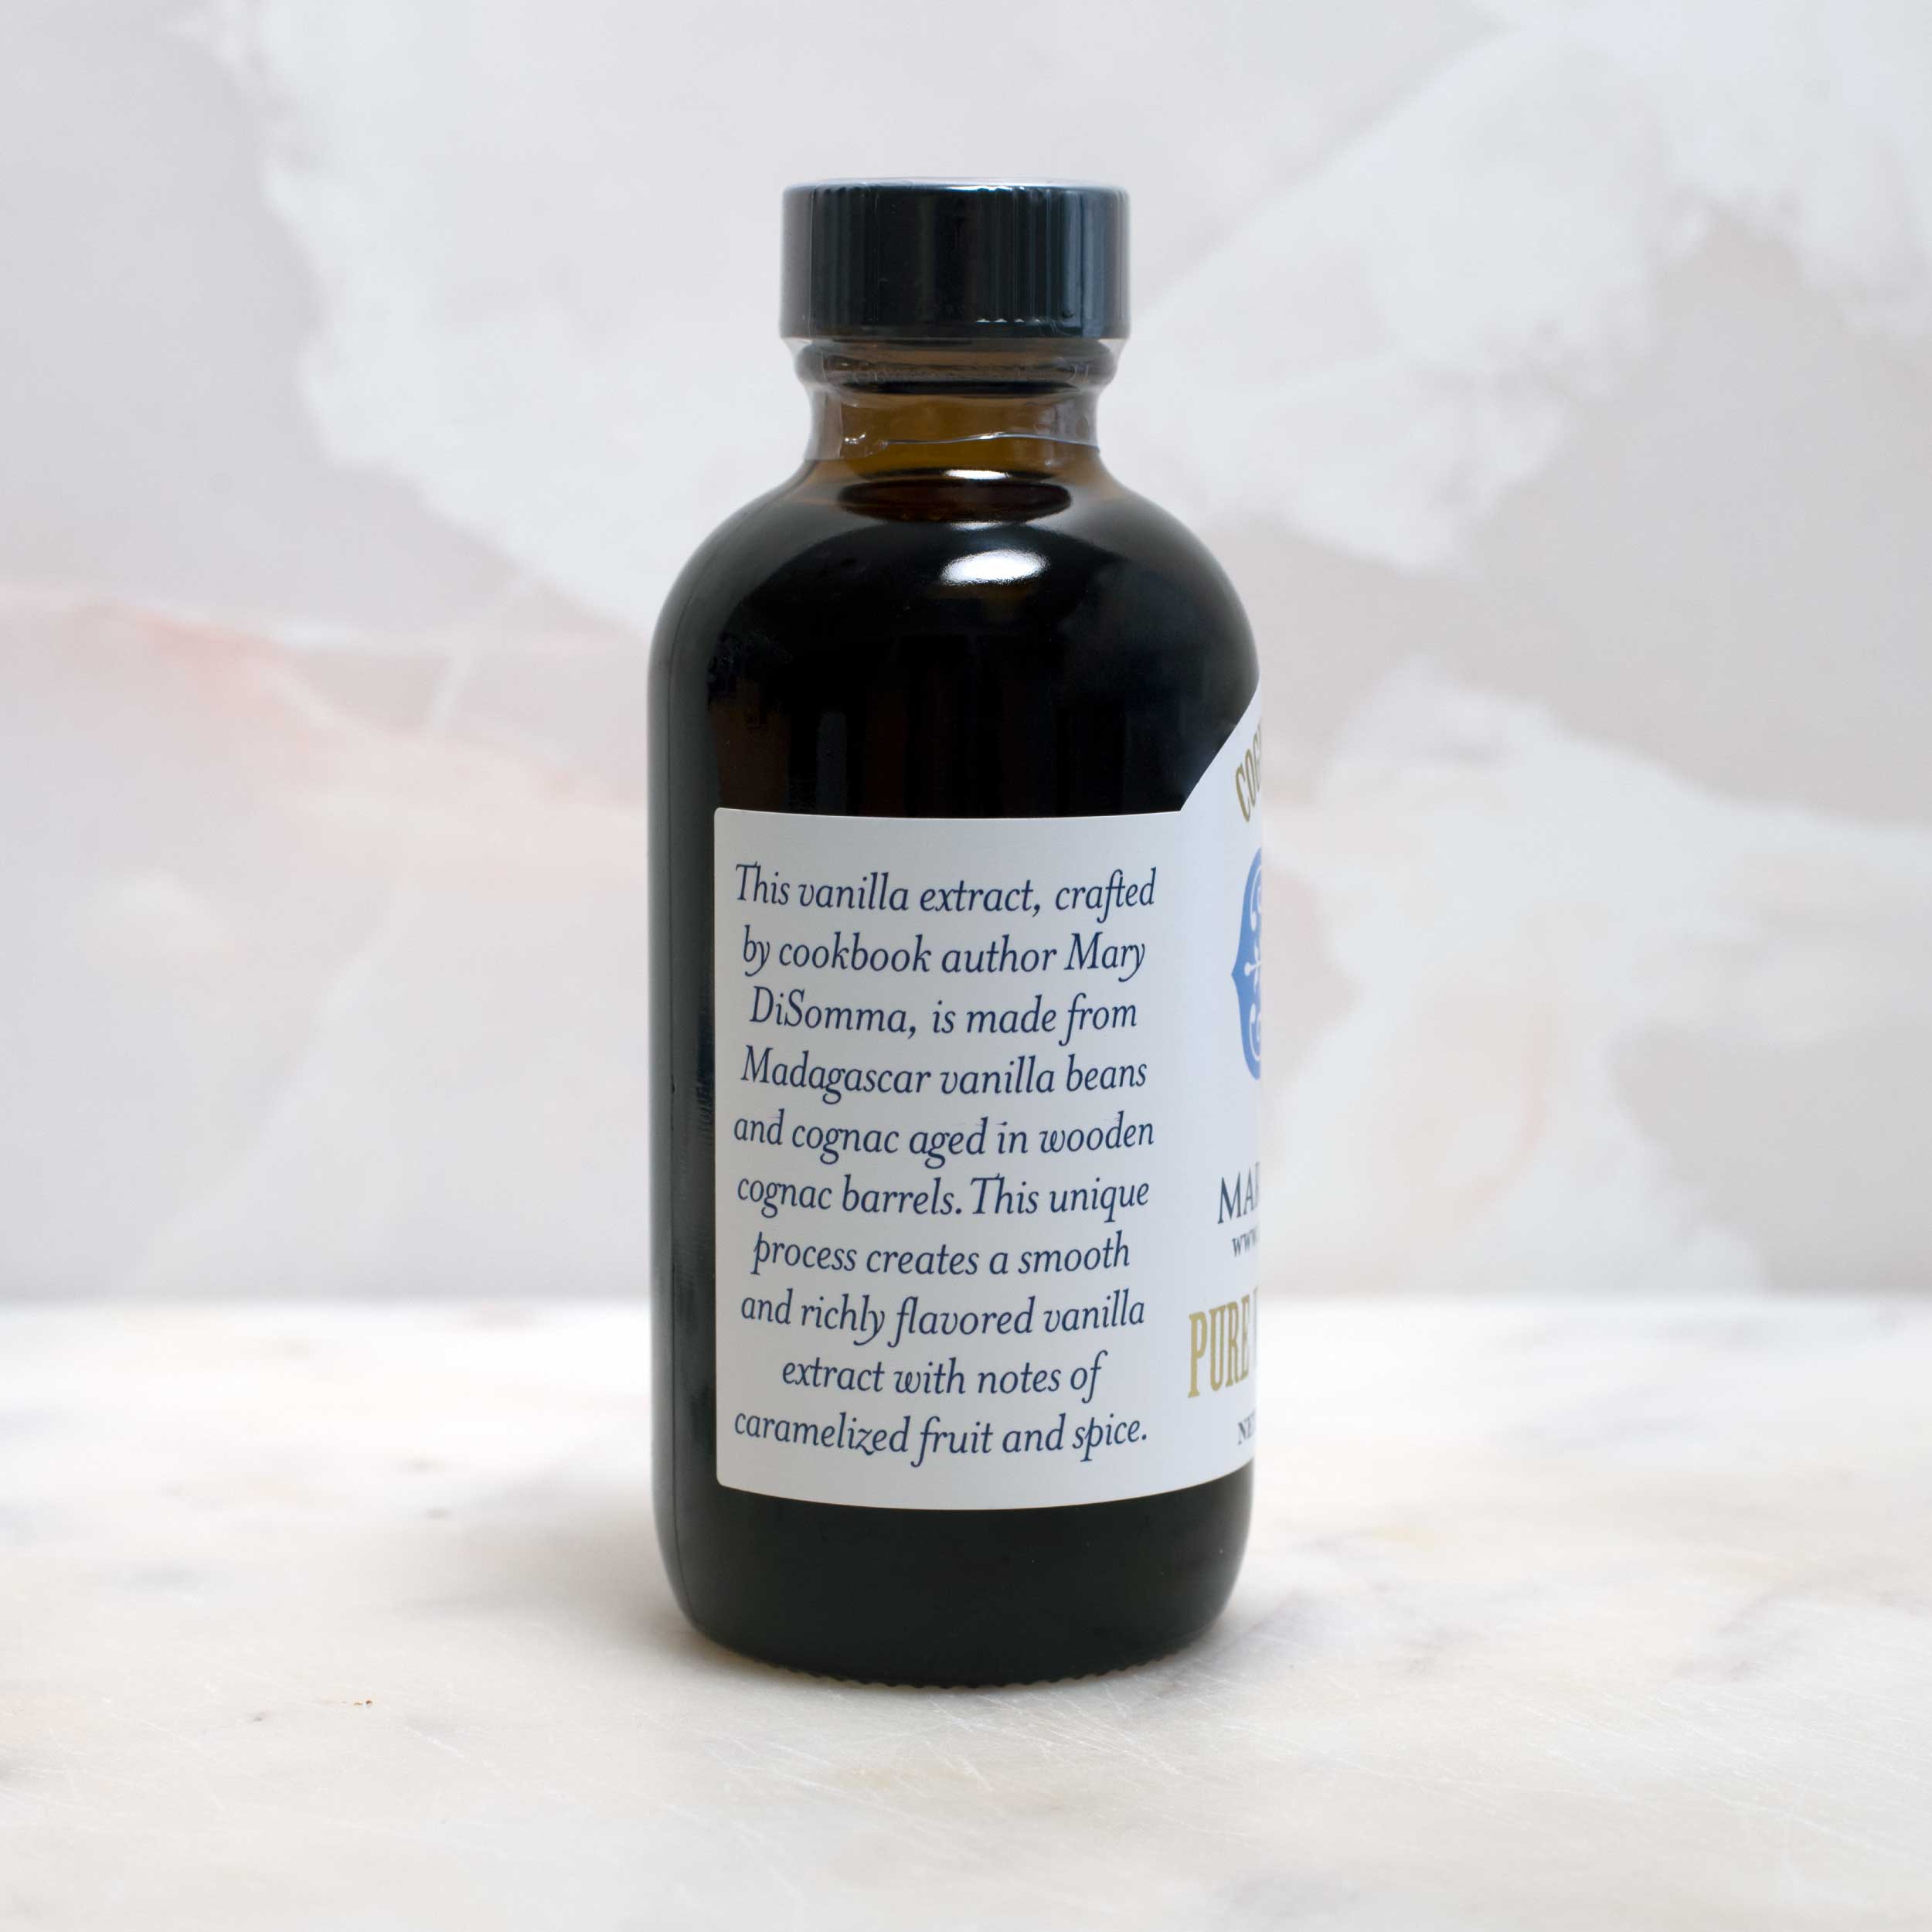
I love to scrape the seeds from a real vanilla bean into the mix—those little speckles make it feel extra special. But when I don’t have a fresh pod on hand, I swap in my Cognac Barrel-Aged Vanilla Extract (grab some here from my online boutique). It’s rich, layered, and smooth—a pantry essential if you ask me!
#2 Use Heavy Cream vs. Whipping Cream
Use plain old heavy cream, NOT whipping cream. What’s the difference? The fat content of whipping cream falls between 30 and 36 percent, while heavy cream has a fat content of 36 percent or more. More fat (36 percent or more) gives it that rich, velvety texture.
#3 Use an ice cream maker, and chill the ice cream maker canister for at least 24 hours before starting.
Making your own ice cream might sound complicated, but it’s actually super simple—and you don’t need a high-end machine to do it. I use a Cuisinart Ice Cream Maker. It costs less than $75 and it works beautifully!
After you have your ice cream maker in hand, make sure you chill it for 24 hours before you start making your ice cream. If you hear a sloshing sound when you give it a little shake, it’s not ready!
#4 Give it time, take your time, and keep it cold!
One of the key ingredients to making good homemade ice cream is time. I like to plan ahead when I do it. One piece of advice is to make your base the day before so it’s nice and cold when you’re ready to churn. When it’s time to churn, start the machine first, then pour in your mixture. This helps prevent buildup on the sides of the bowl.
#5 If you’re adding more flavorings, add them at the right time.
Want to add more flavor? Make sure to not add any extra flavorings until the ice cream has begun to look like soft serve ice cream. You want to evenly distribute the additional ingredients, not have them sink to the bottom of your ice cream maker canister.
Now that you've mastered homemade ice cream, try pairing it with some of my other favorite recipes.


Pairings For Vanilla Ice Cream


Easy Homemade Ice Cream Recipe
This old-fashioned vanilla ice cream is creamy, full of flavor, and easy to make at home—even without fancy equipment. Pairs well with all of your favorite toppings!
Ingredients
Instructions
- Prepare your ice cream maker as directed. If using one that requires a chilled bowl, chill it in the freezer at least 24 hours before making your ice cream.
- The day before you want to churn the ice cream, prepare your ice cream base. Place the heavy cream, whole milk, sugar, and salt in a heavy saucepan. Continue to whisk over medium heat until the sugar is dissolved. Small bubbles will form around the side of the mixture, but do not let the mixture boil. Turn off the heat.
- Place the cornstarch in a small bowl. Whisk in ½ cup of the hot cream mixture. Using a rubber spatula, scrape the cornstarch mixture into the hot cream mixture in the saucepan.
- While whisking continuously, bring the mixture to a gentle boil and cook for about 2 minutes. The mixture should begin to thicken. When a thin coating clings to the back of a spoon and holds a line when you put your finger down the middle, it’s ready. Remove the pan from the heat.
- Pour the mixture through a strainer into a clean bowl. I like to pour the mixture through a strainer to make sure there are no clumps of cornstarch in my ice cream base.
- Whisk in the vanilla extract and let the ice cream base cool to room temperature. When cooked, cover it with plastic wrap and let it chill overnight in the refrigerator.
- When you are ready to churn the ice cream, transfer the ice cream base into your ice cream maker and churn according to your ice cream maker’s directions. If using the Cuisinart Ice Cream Maker, see my tips above!
- Process the ice cream until it is thickened to a soft-serve consistency, about 15 to 20 minutes. Although you can eat the ice cream immediately, I like to transfer it to a freezer-safe container with a lid and let it get a bit more solid. If your ice cream gets too hard in the freezer, simply let it sit at room temperature for a few minutes before scooping. The finished ice cream can be kept in the freezer for up to 2 months.