If you know me, you know the DiSomma family loves holidays! We gather at our farm in Cuba, IL or at our home in Oak Park, cooking out in the summer and celebrating with all our favorite foods. We always have salads, sides, delicious meals, and of course, desserts and drinks. We go all out when we get together! The Fourth of July is no exception—and it’s the perfect time to try some truly beautiful desserts on your spread.

Fun Dessert Ideas for the Fourth of July
This red, white, and blueberry cake recipe is perfect for your Fourth of July celebration! It's such a fun and easy cake to make. With no fussy decorating required, the presentation is still beautiful with whipped cream frosting and fresh mixed berries! I promise you will make this summer dessert time and time again. It's guaranteed to put you in a festive mood for the Fourth or any summer get-together. This cake batter uses cake flour for an extra light and fluffy texture, and the addition of sour cream makes this summer cake moist and rich. For the perfect garnish, add some fresh mint leaves!


More Fourth of July Recipes
If you’re looking for more Fourth of July dessert ideas, here are some of my Fourth of July desserts. These treats are great for cookouts and are guaranteed to impress your guests.
- For an extra festive touch, add blueberries to my giant strawberry shortcake recipe for a Fourth of July twist!
- My Red, White, and Blue Strawberry Blueberry 4th of July Dessert Trifle recipe is layered with mixed berries and whipped cream for a show-stopping dessert.
- Star Spangled Blueberry Pie recipe: A delightful pie with a patriotic twist.
- Cast-Iron Chocolate Chip Cookie recipe: Perfectly gooey and great for sharing.
- Potato Chip Cookies recipe: A sweet and salty treat that’s always a hit.
- Honey Citrus Fruit Salad recipe: Refreshing and easy, with a mix of summer berries.

Easy Fourth of July Dessert: Red White and Blueberry Cake Recipe
Ingredients
- 2½ cups cake flour
- 2 teaspoons baking powder
- ½ teaspoon baking soda
- 1 teaspoon salt
- 12 tablespoons (3/4 cup) unsalted butter, room temperature
- 1¾ cups granulated sugar
- 5 large egg whites, room temperature
- ½ cup sour cream
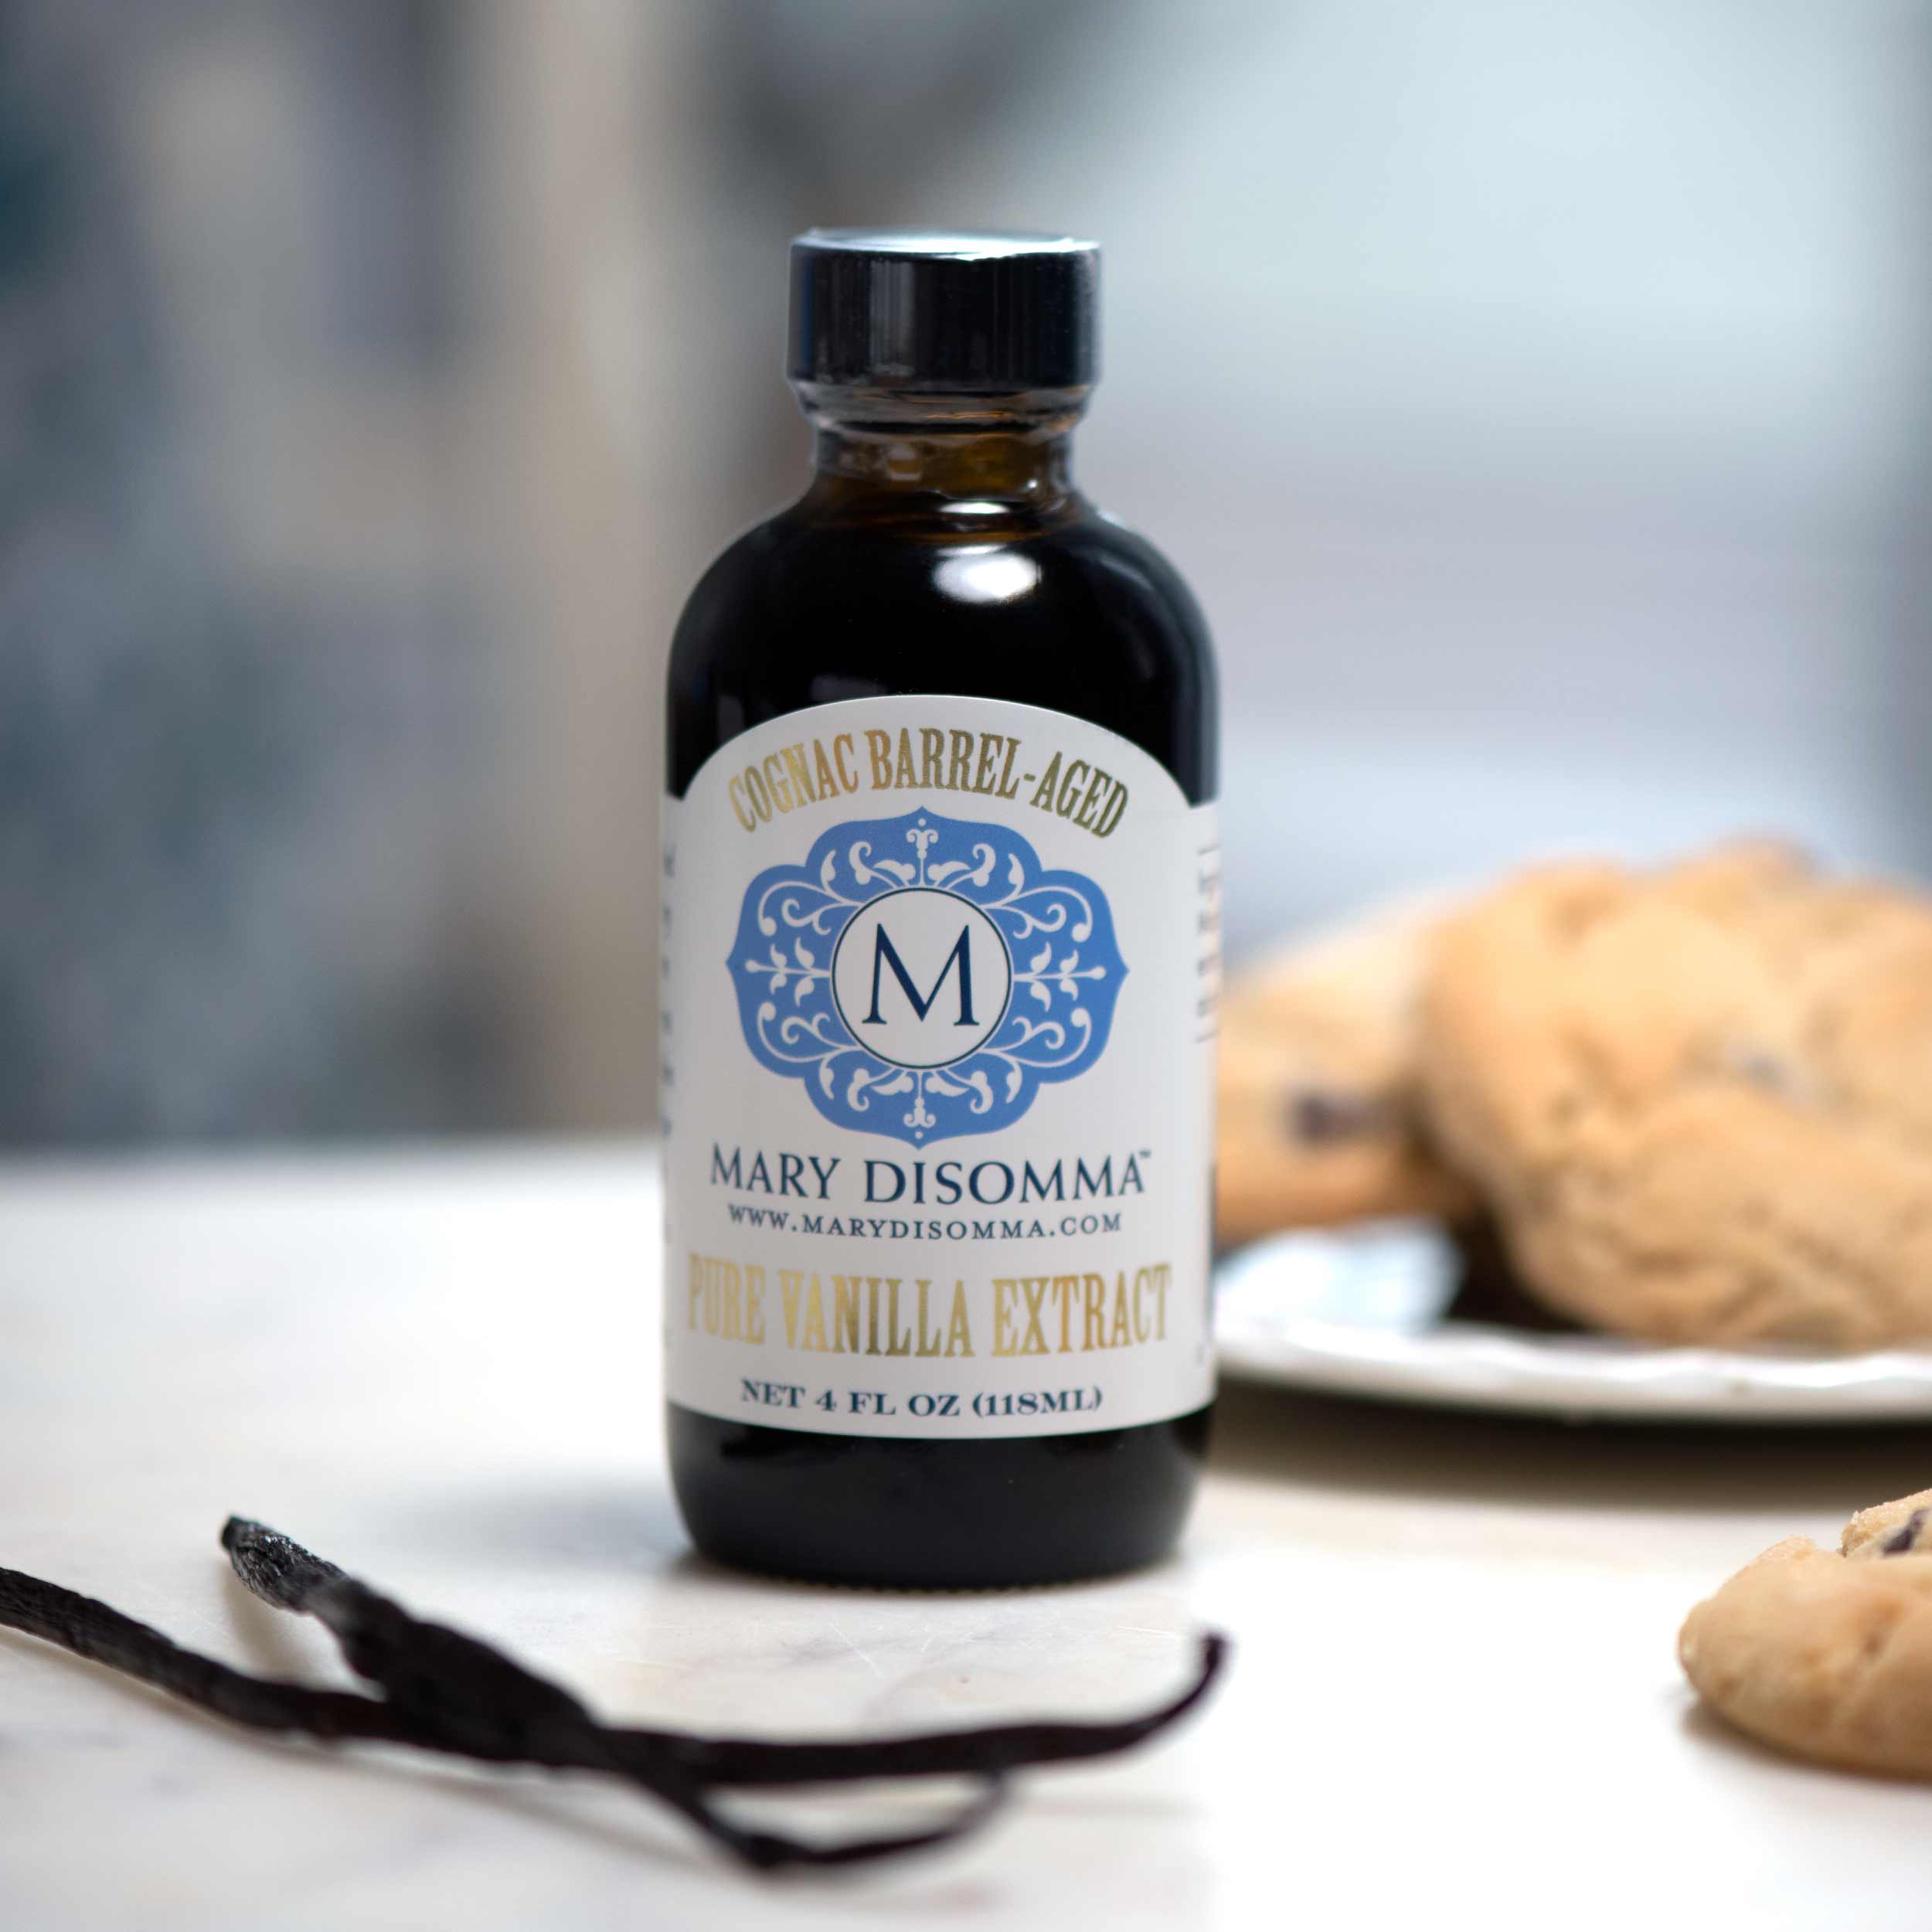
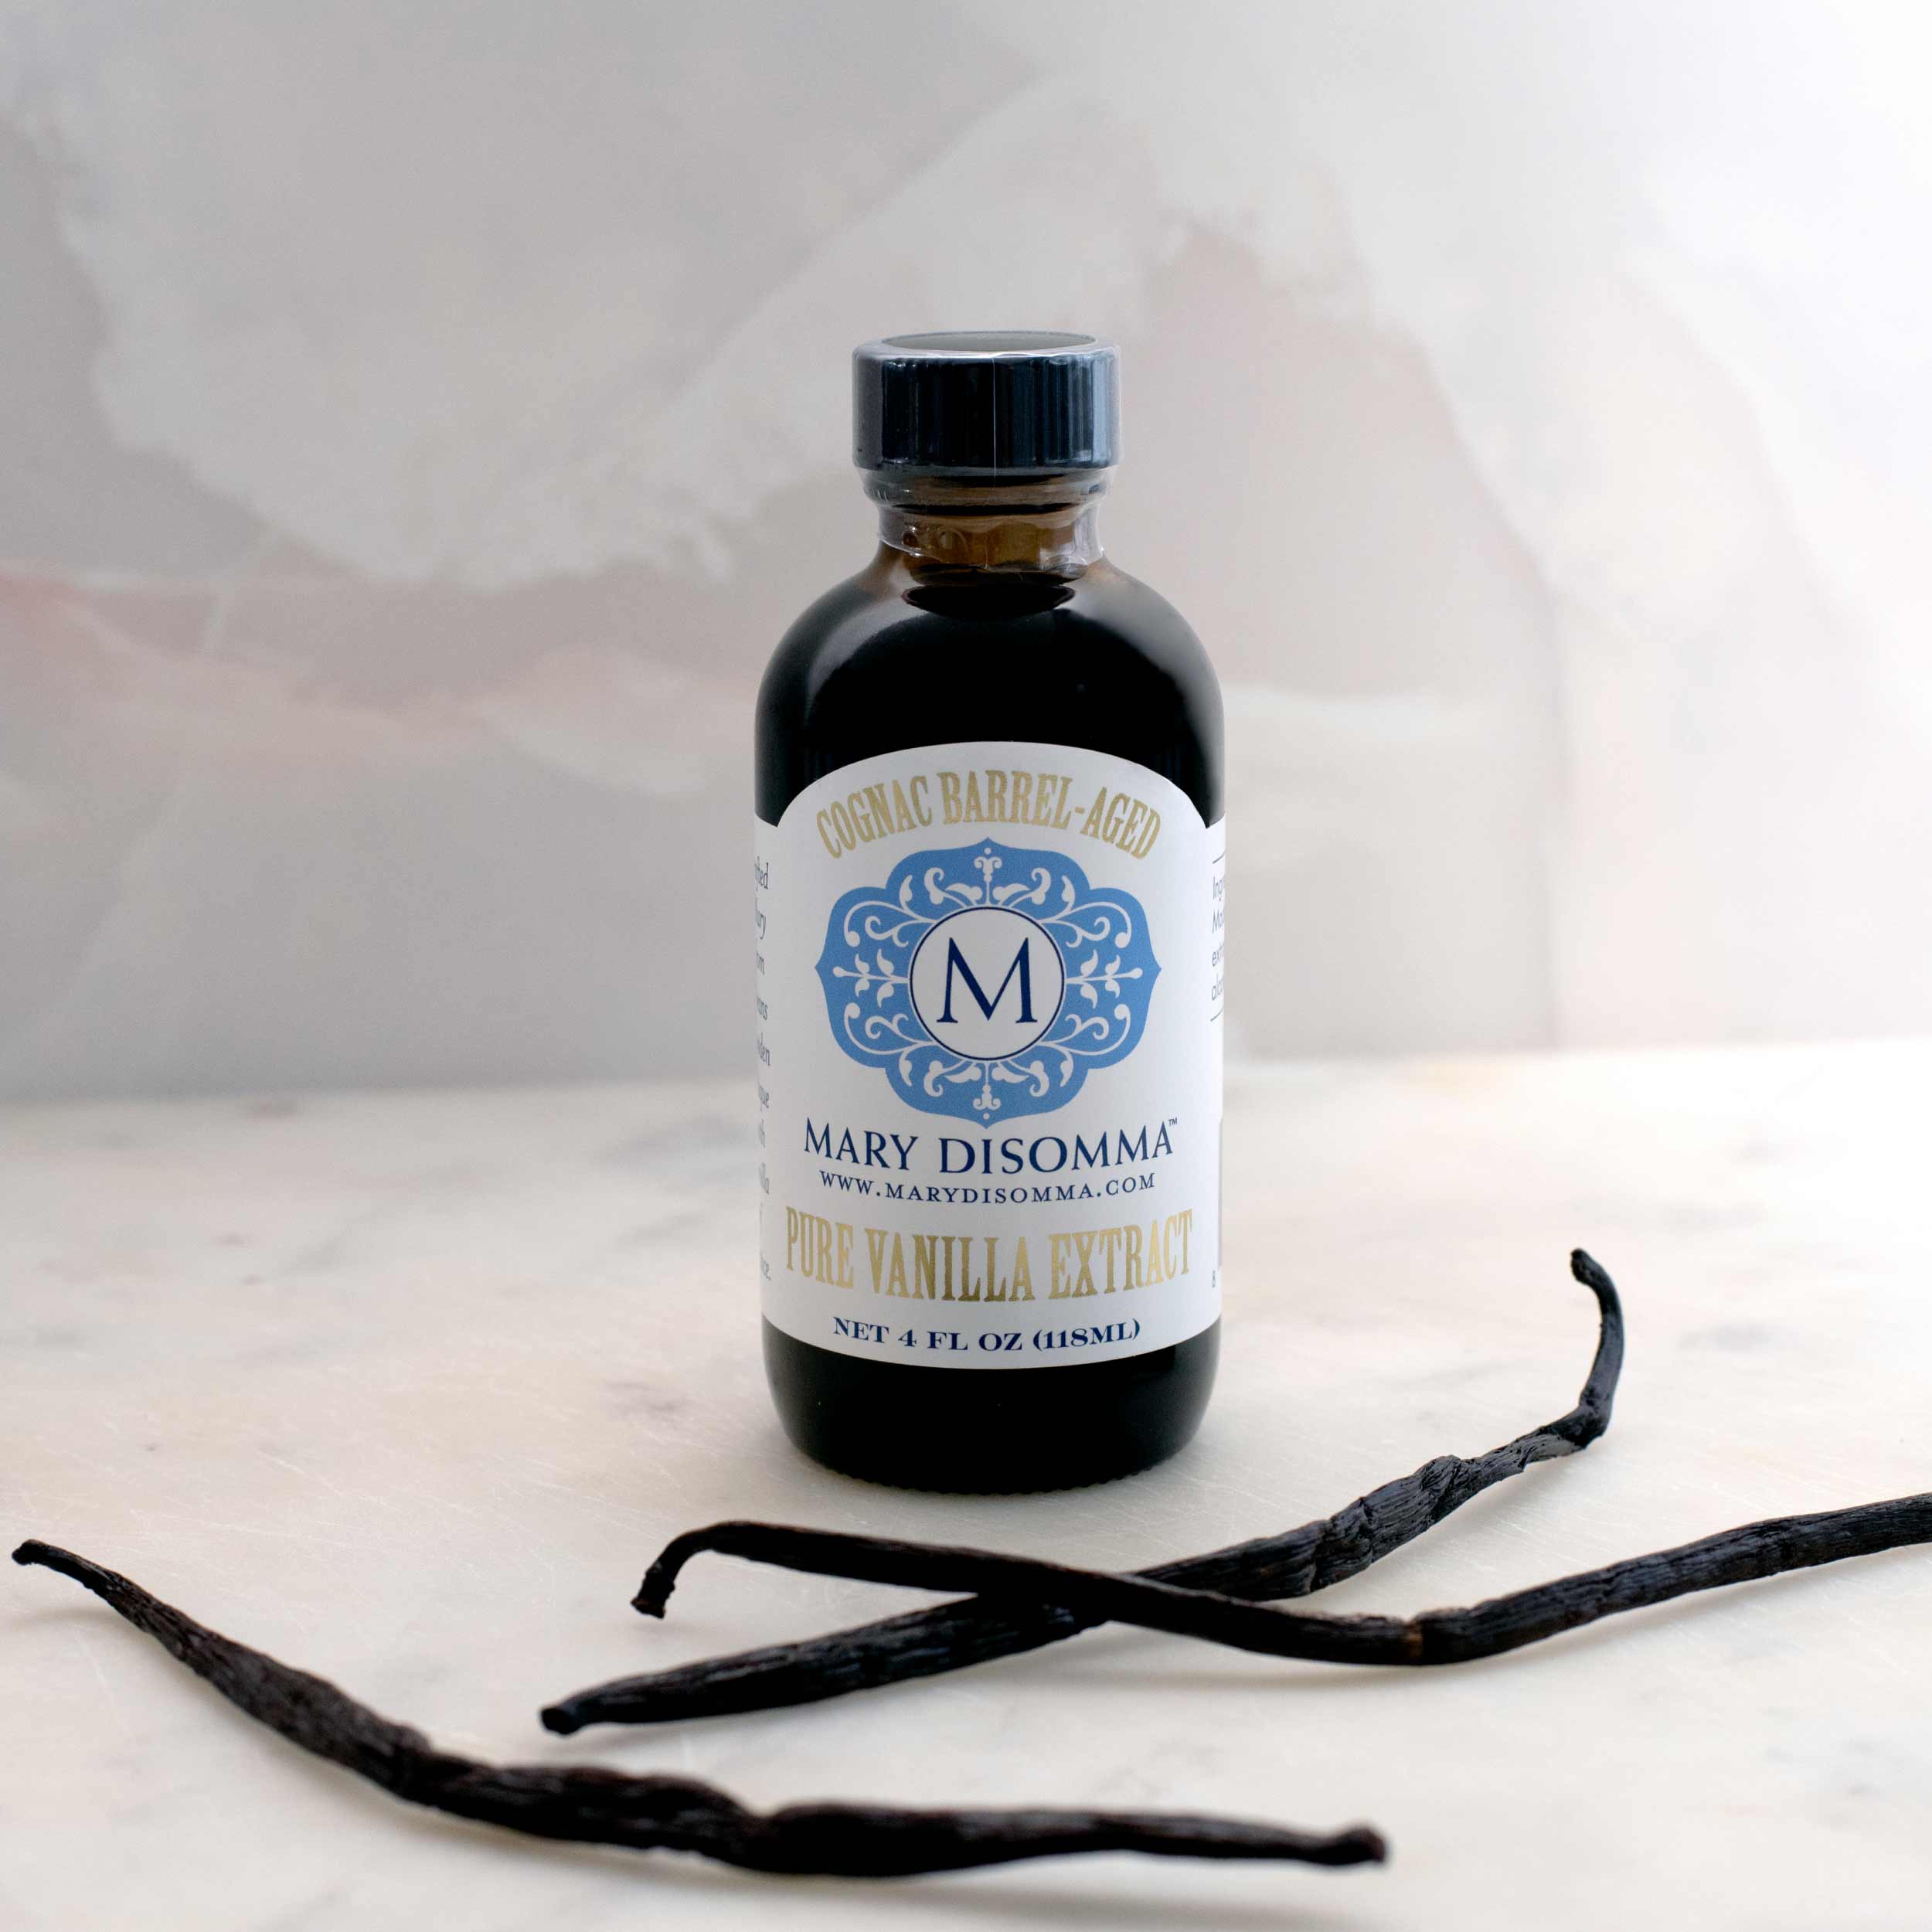
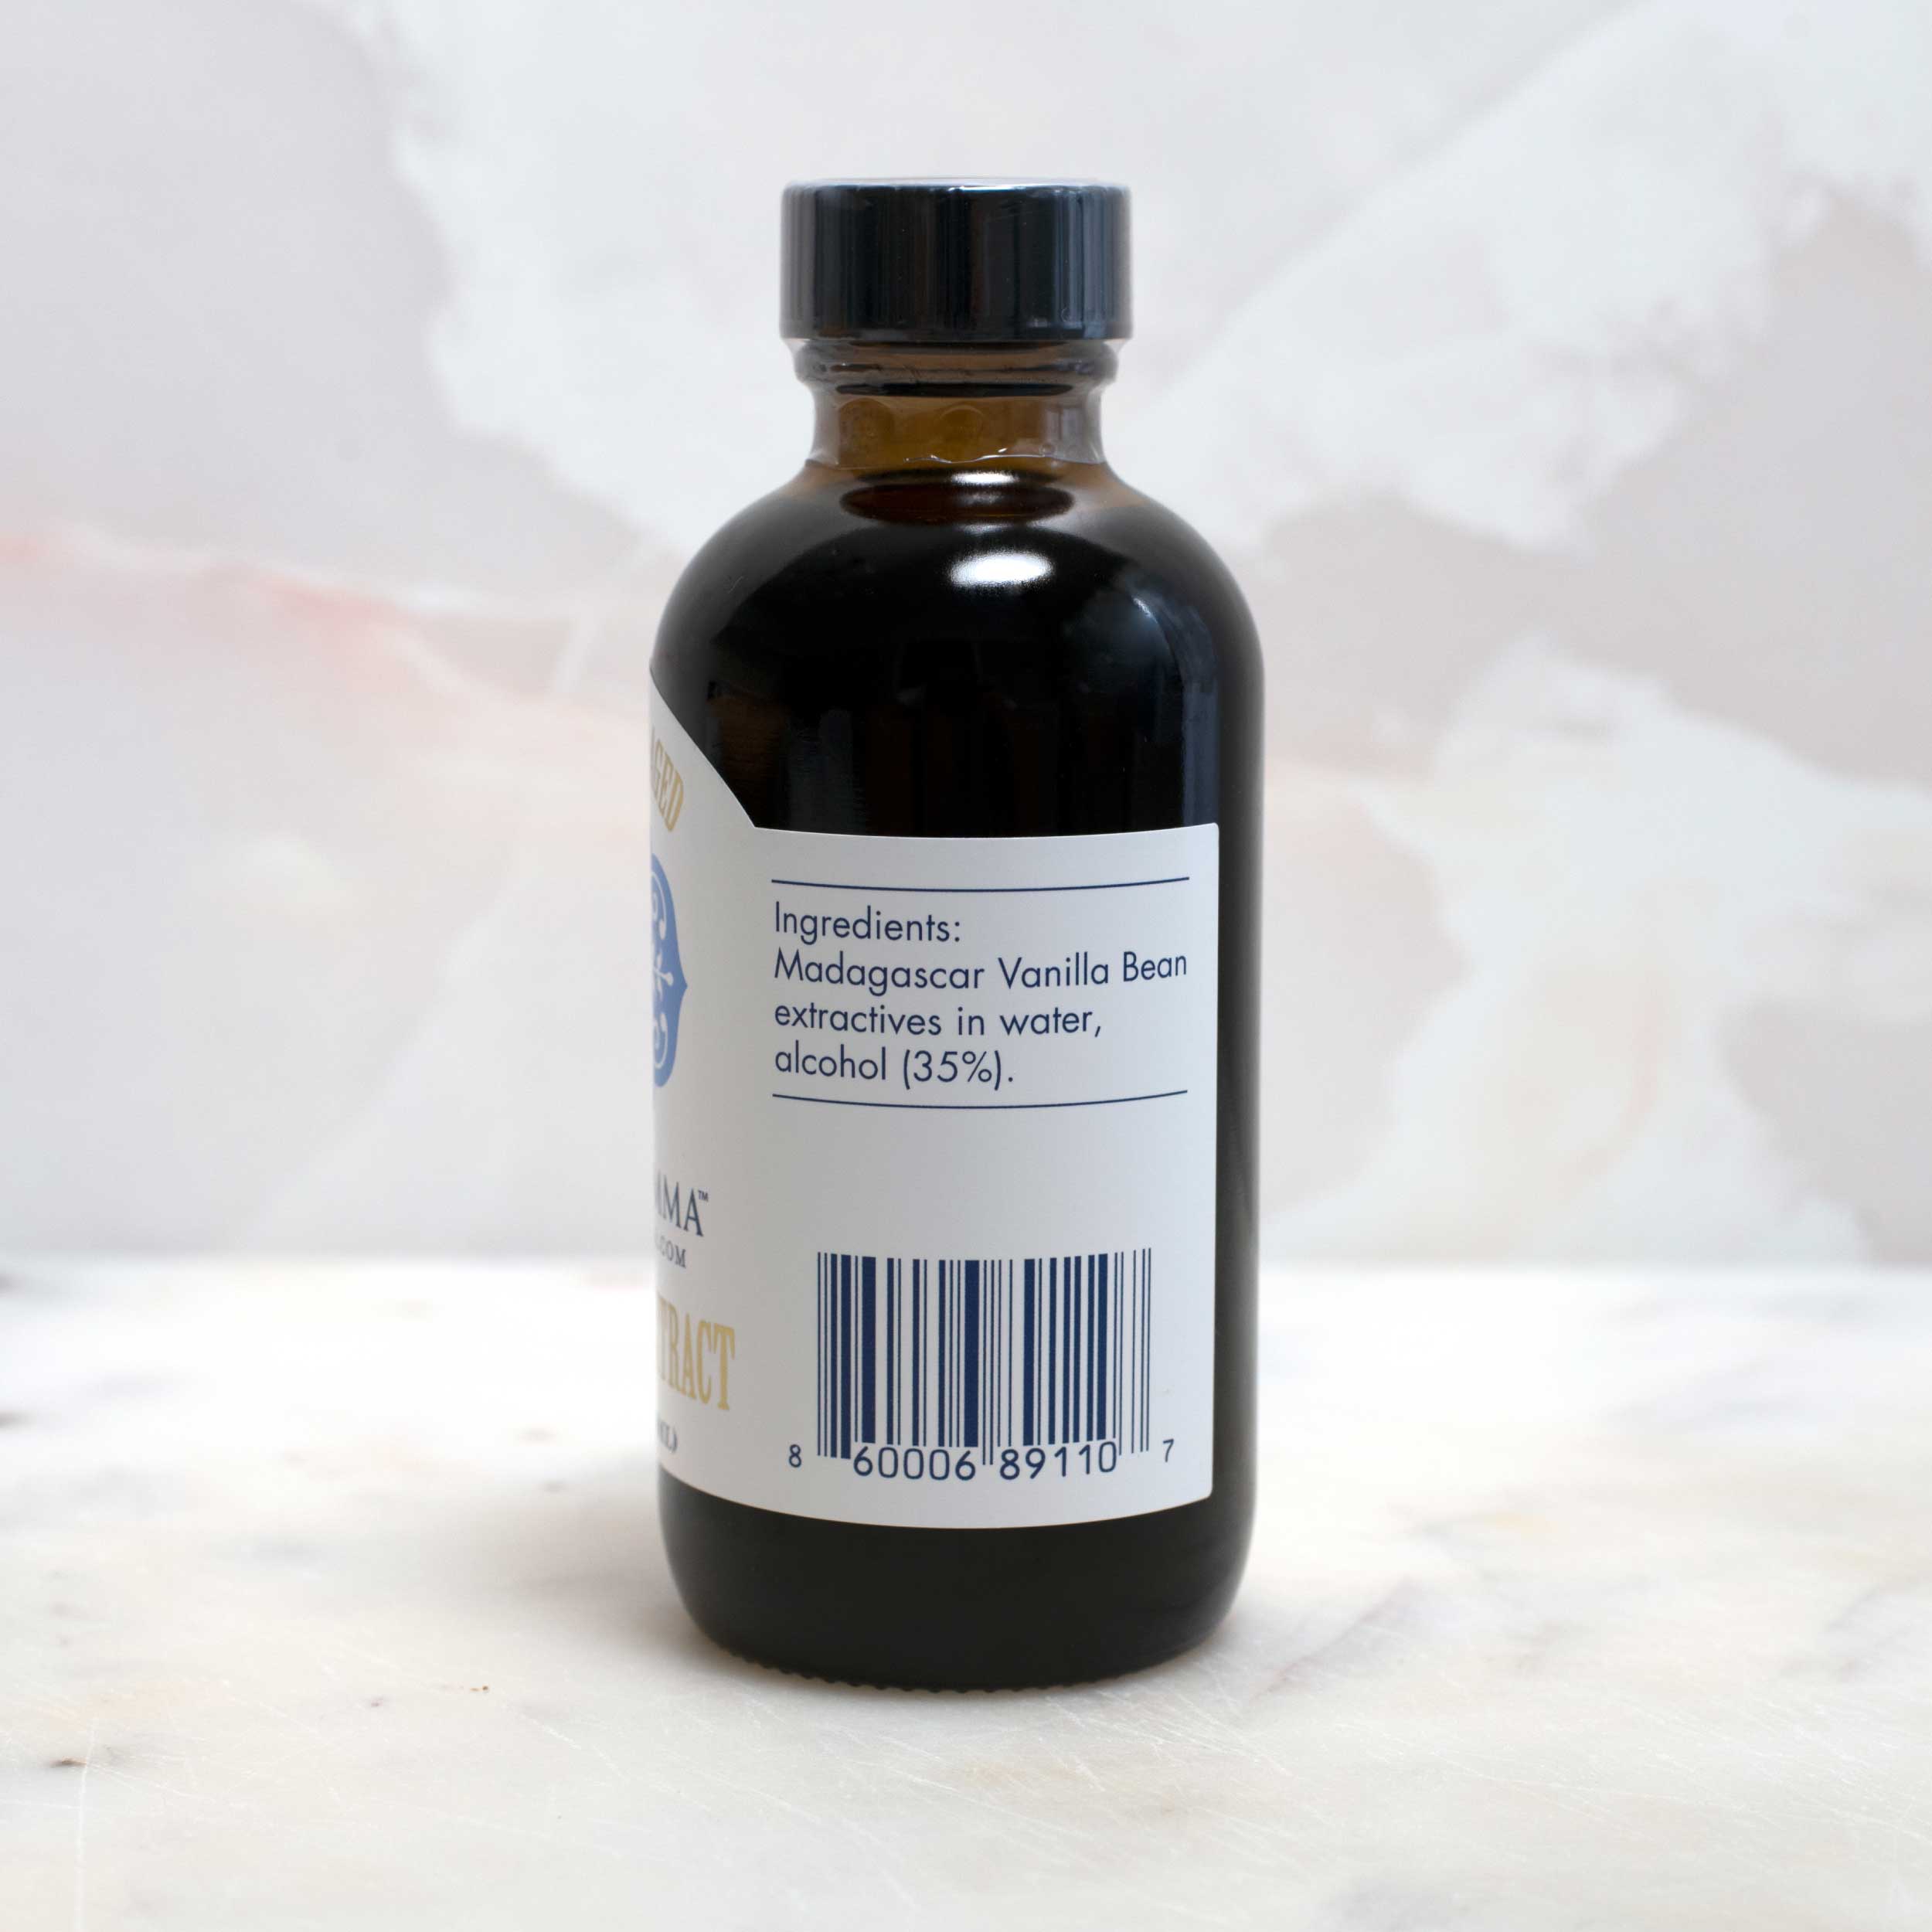
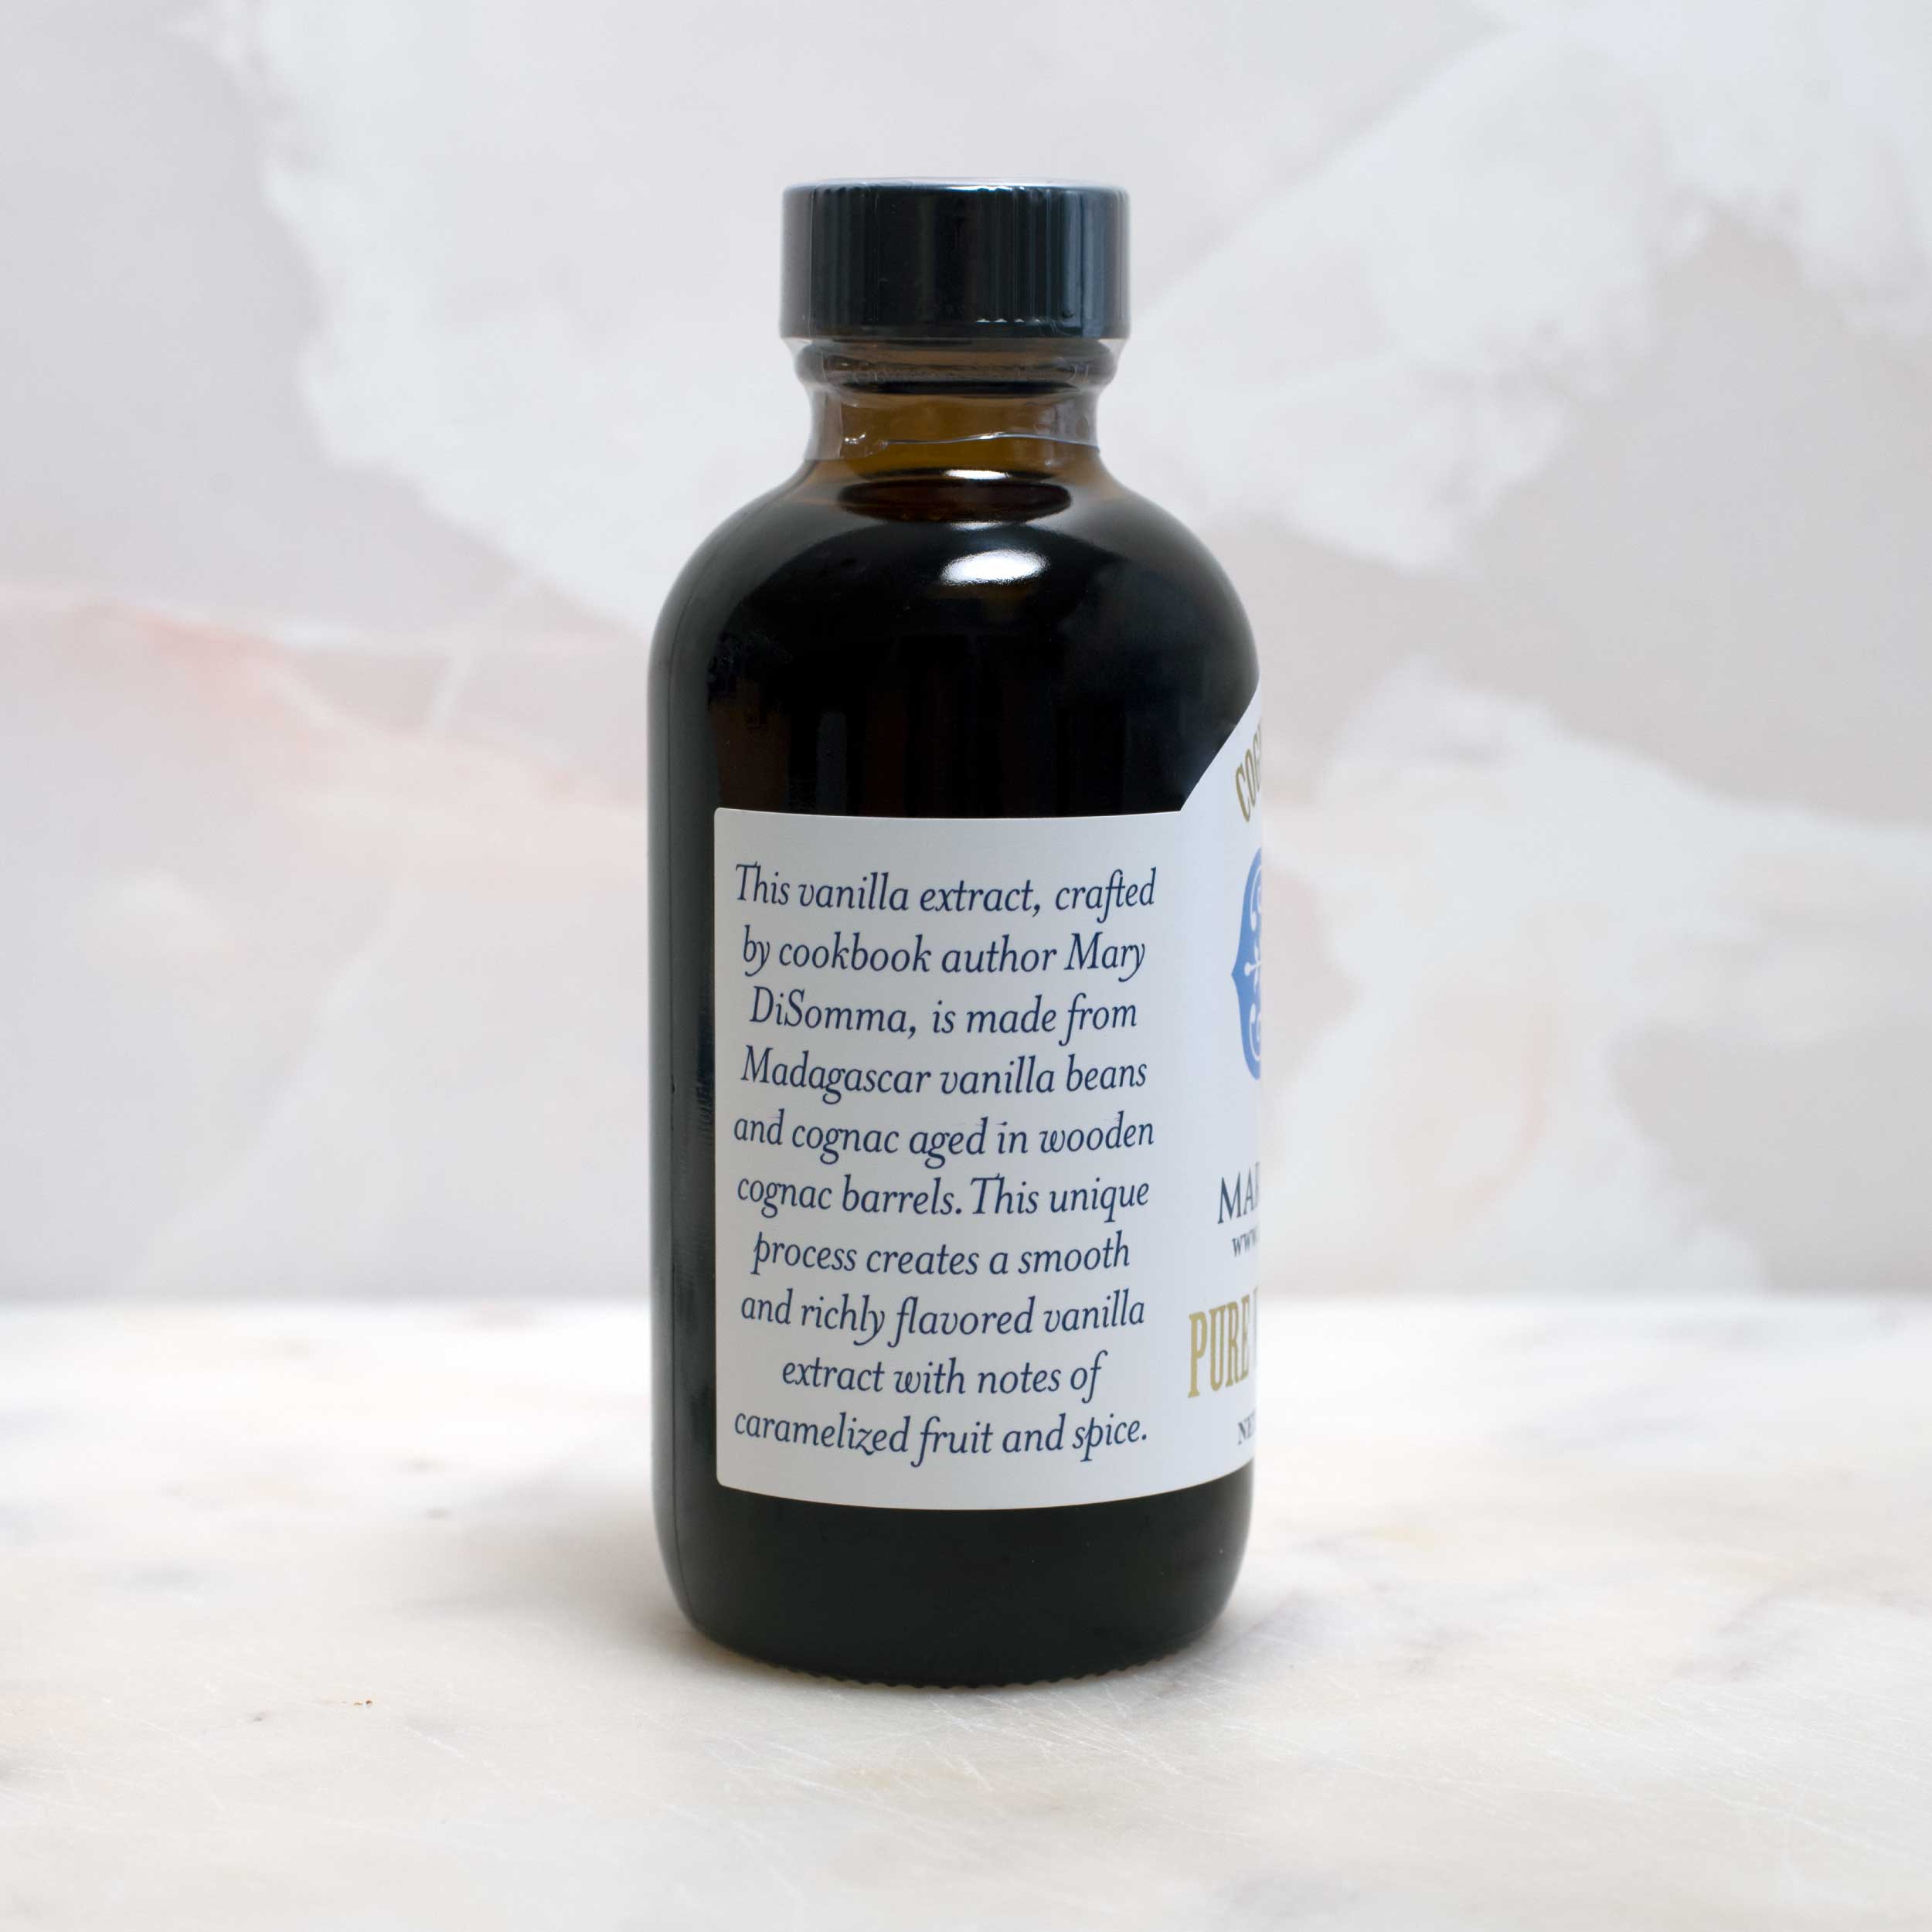
- 2 teaspoons Mary’s Cognac Vanilla Extract
- 1 cup whole milk
- 1 recipe Mary’s Stabilized Whipped Cream
- 4 to 5 cups mixed berries (blueberries, raspberries, strawberries)
- Fresh mint leaves
- Confectioners’ sugar
Instructions
- Prepare the cake: Preheat the oven to 350 degrees. Spray three 8-inch cake pans with nonstick cooking spray. Line each with a round of parchment paper. Spray the top of the parchment paper with nonstick cooking spray.
- In a mixing bowl, whisk together the cake flour, baking powder, baking soda, and salt. Set aside.
- Place the room temperature butter into a bowl of a stand mixer fitted with the whisk attachment. Beat on medium-high speed until smooth and creamy. Add the sugar and beat for two minutes until creamed together. Using a rubber spatula, scrape down the side of the bowl occasionally so all of the ingredients get fully incorporated.
- With the mixer on medium-low, add the egg whites in two batches, beating until combined. Use a spatula to scrape down the side of the bowl. Increase the speed to medium-high and beat for 2 minutes. Add the sour cream and vanilla extract and beat until combined.
- Turn the mixer speed to low and add the dry ingredients slowly. Mix until just incorporated. With the mixer still on low, slowly pour in the whole milk. Mix on low to combine. Be careful not to overmix the cake batter at this point!
- Divide the batter evenly between the prepared pans. Bake for 22 to 24 minutes or until a toothpick comes out clean when inserted into the center of each cake.
- When they’re ready, remove the cakes from the oven and let them rest for 10 minutes on a cooling rack. Take a paring knife and loosen the cake from the edge of the pans. Invert the cakes back onto the cooling rack and carefully remove the parchment paper. Let your cakes cool completely before frosting. Note: You can make the cakes a day ahead. Wrap each cooled cake layer in plastic wrap and keep refrigerated until needed.
- When you are ready to finish the cake, you can prepare the whipped cream frosting! Just follow my stabilized whipped cream recipe. You will love this technique! By adding a little unflavored gelatin to the whipped cream, it will stay “stabilized” for several hours at room temperature or for one day in the refrigerator.
- Now it’s time to assemble the cake: Use a serrated knife to even out the cakes if they have a “dome” on them after baking. This is called leveling the cake layers. Place one cake layer on your cake stand with the flat bottom of the layer facing down. Scoop a heaping cup of the whipped cream on top. Using a flat offset spatula, spread the whipped cream evenly over the cake layer. Arrange a single layer of ⅓ of the mixed berries on top.
- Top with the second layer of cake and spread another heaping cup of whipped cream on it followed by another layer of ⅓ of the berries. Note: If your strawberries are large, you can cut them in half or quarter them for this part! Don’t slice them too thin, though—if they are too juicy, they will water down the whipped cream.
- Top with the third cake layer. I like to have the flat bottom of this layer facing up, so I have a nice flat top with no extra crumbs from leveling. Spread the remaining whipped cream on top and garnish with the remaining fresh berries. If you like a lot of berries, feel free to add more! If you have extra whipped cream, keep it in a bowl and refrigerate it for later.
- If desired, right before serving, garnish with fresh mint leaves and dust with confectioners’ sugar. Enjoy!